Outline- I have chosen Outline as my starting point for this personal response. After looking at the brief of the outline and having a quick look at some of the artists work that also work within outline,For example Man ray who I have previously researched and completed projects based on his work, I really like his work and the individuality of each image. I realised that there was a large range of techniques and processes that I could use within my theme in order to create a successful outcome. I recognised that with the use of these different techniques I would be able to gather a high level outcome as I show a range of techniques used. I feel that this theme would challenge my imagination as well as allowing me to express my and develop my skills further.
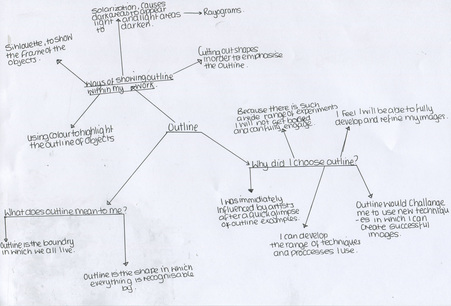
Mind Map of outline ideas.
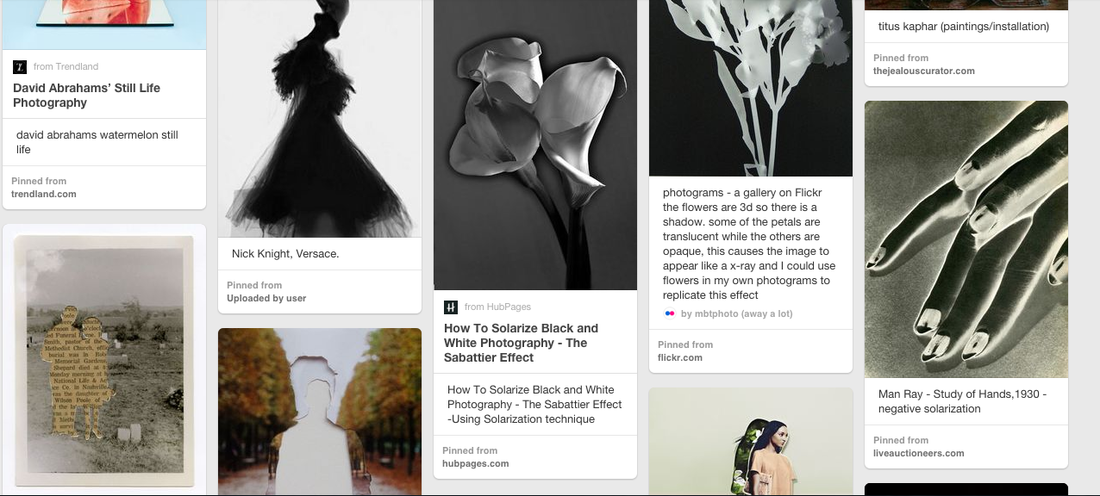
Pintrest
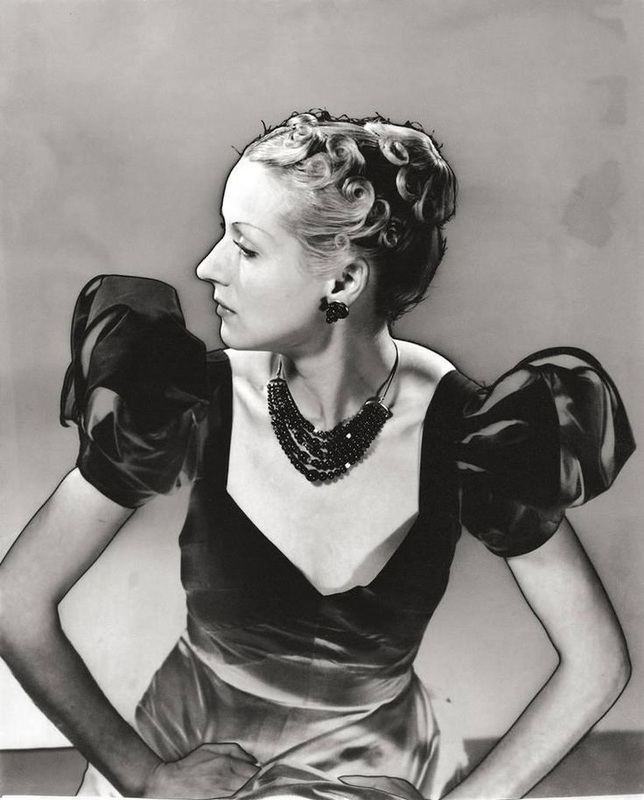

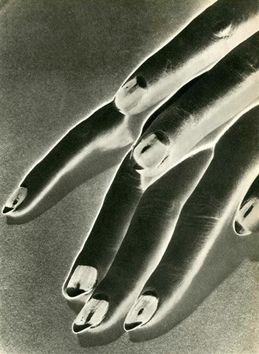
Man Ray- Man Ray used the process of solarisation in order to highlight the outline of these hands in which the developing image is exposed to light during the development process. This image is very simple and has lots of space within the image in order to allow the key features of the image to stand out. The solarisation process creates a high level of contrast within the image as the re exposure causes curtain elements of the image to lighten and other elements to darken. The process of solarisation was found upon by accident, when a mouse ran across one of their feet, resulting in the light to be turned on. The process of solarisation was discovered accidentally by Man ray. When he was in the dark room with his wife, a rat ran over her foot, resulting in her turning the light on in panic. After the image had finished developing this effect was noticed.
|
Image Evaluation.
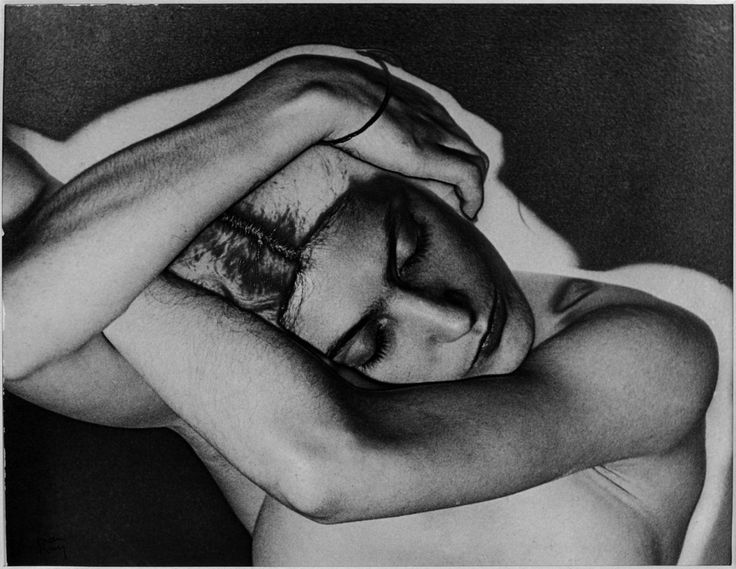
The solarisation process creates high levels of contrast within the image as the re exposure causes curtain elements of the image to lighten and other elements to darken. There is lots of tone within this image, the background is very grainy, adding texture to the image. The contrast in texture further more makes the subject of the image and the outline of the subject stand out. There is also contrast which can be seen in the difference of colour within the image. The light lying upon the outline of the images contrasts with the darkness of the background. The bright light of the outlines creates line within the image. The image contains a large about of shadow within the image which adds some depth of field to the image. I think this is an effective photograph as it contains a large amount of formal elements within the image and is made using a high level technique. These solarised images were initially created accidentally, when lee miller felt a rat run across her foot, in which she turned the light on in panic. causing the developing images to begin to expose for a second time. |
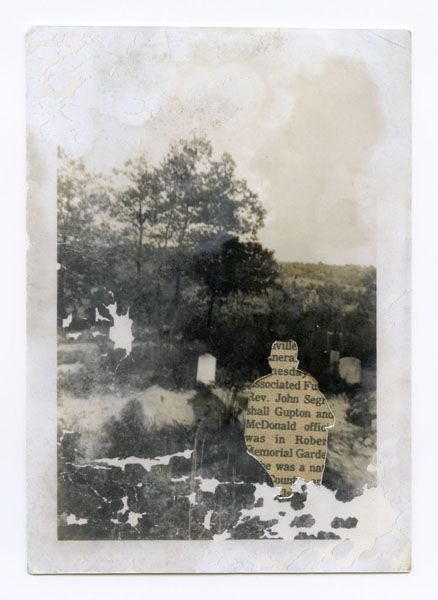


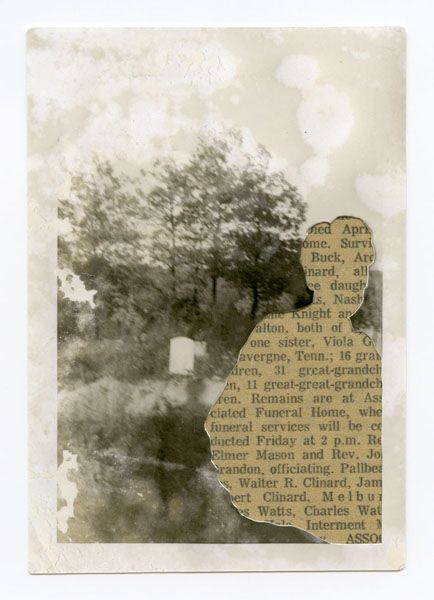
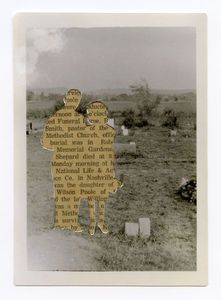
Greg Sand - Is an artist who explores the ideas and themes of, Time, Death and Existence. He works mostly with digitial Photography, In these images he has manually cut out, the outline of the subjects within the images in order to emphasise the shape and outline of the subjects.
|
The gap of the missing silhouettes has been filled with some text, which seemingly adds a layer to the image and a sense of absurdity within the image. This also adds contrast within the image, between the black and white image in the background and the brownish tones of the paper in the cut outs, This contrast draw the eye to the text, making the focus point of the image the missing figures, meaning that the outline of the figures is exaggerated and highlighted within the image. The silhouettes of the figures is very bold which contrasts with the small delicate looking elements within the image.The background of the image is full of lots of natural objects and are all dispersed at random points within the background, this gives the image a larger depth of field. I think that Greg sands has artificially made the image seemingly older than it is in reality.
|

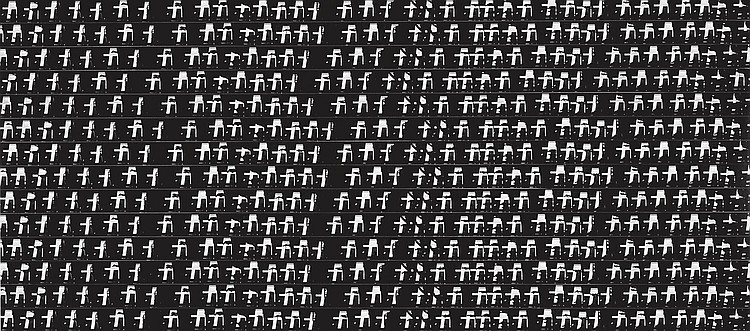


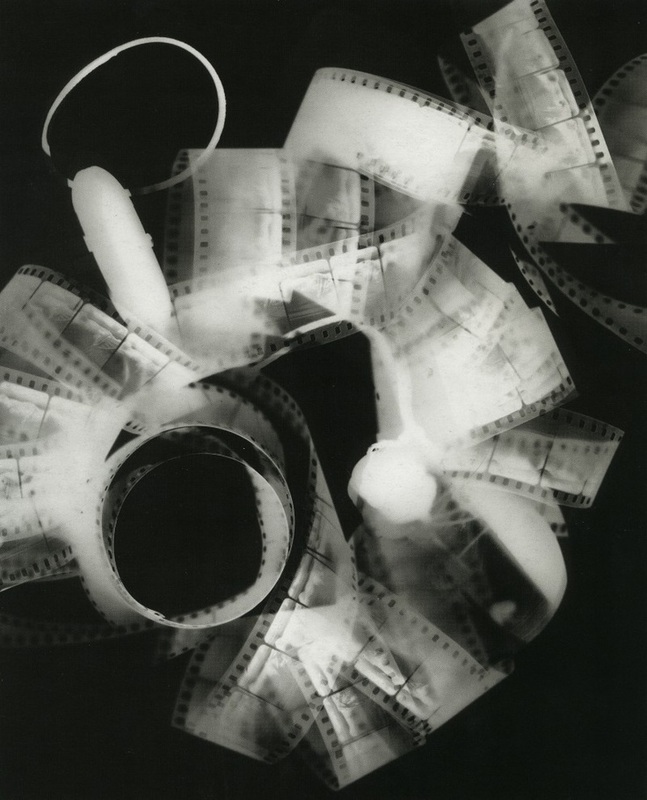
Ray Metzker- Ray Metzker is an American photographer, he is well known for his high contrast composites. He worked with light in all of his photography, focusing on the juxtaposition within his images, Metzker worked with negatives, creating solarised images, and double exposures in order to experiment with the different uses of light within his images, and the ways in which different levels of light can completely transform the visual recognition of the images.

|
The intense levels of contrast within this composite really makes the image as a whole stand out as well as the individual slides within the composite. When looking at this image from a distance the individual features of the image blend and you are left with a random pattern however when you look at the image closely you can see that the patterns are made up of individual body features, for example you can see the silhouetted outline of hands and torsos. These individual features adds a vast amount of lines to the image. within each frame there are small fragments were you are able to see ore detail to the feature, for example you can see a small silver line following the path of the elbow against the torso, or following the curve of the breast, these small silver lines and different levels of contrast in the different frames adds some tone to the images and highlights a few frames within the grid a they are lighter than the surrounding frames. I would really like to experiment with creating composites, whether it be using a person or with a range of different objects in order to create a similar effect.
|
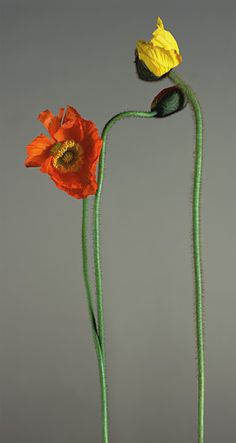

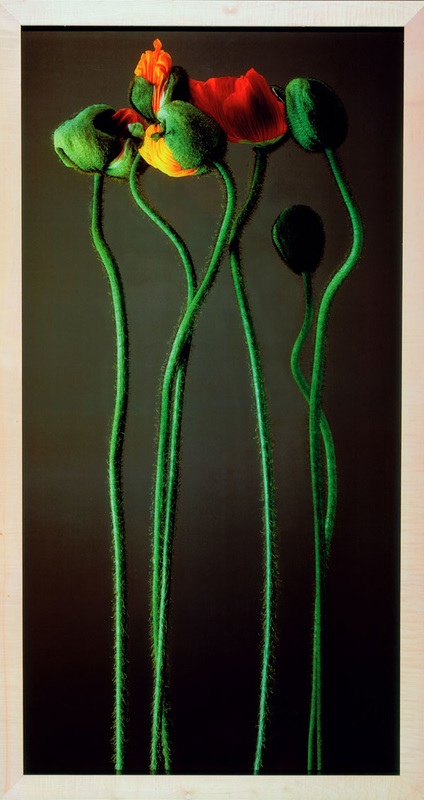
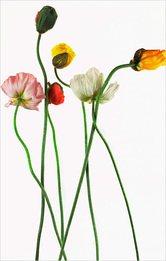
Bill Beckley-For all of Bill Beckleys artistic life he has focused on the rules of minimalism, in which he takes images of natural elements that you would find within the surroundings. Images that are simple in their composition of elements making
|
The background of this image is very pain, this creates a large amount of negative space within the image. The petals of the flowers have strong bold coloured petals which contrasts with the plain background. Each flower is of a different size and colour which makes the images messy. However the random placing of each flower and the overlapping of the flowers creates emphasised lines within the image which also makes a series of unplanned shapes and patterns with in the image. The intertwining stems creates a fragmented effect, as well as filling a large proportion of the negative space within the image. The colours of the flowers are luminescent and really bright which makes the elements within the foreground of the image standout on top of the white background.
|
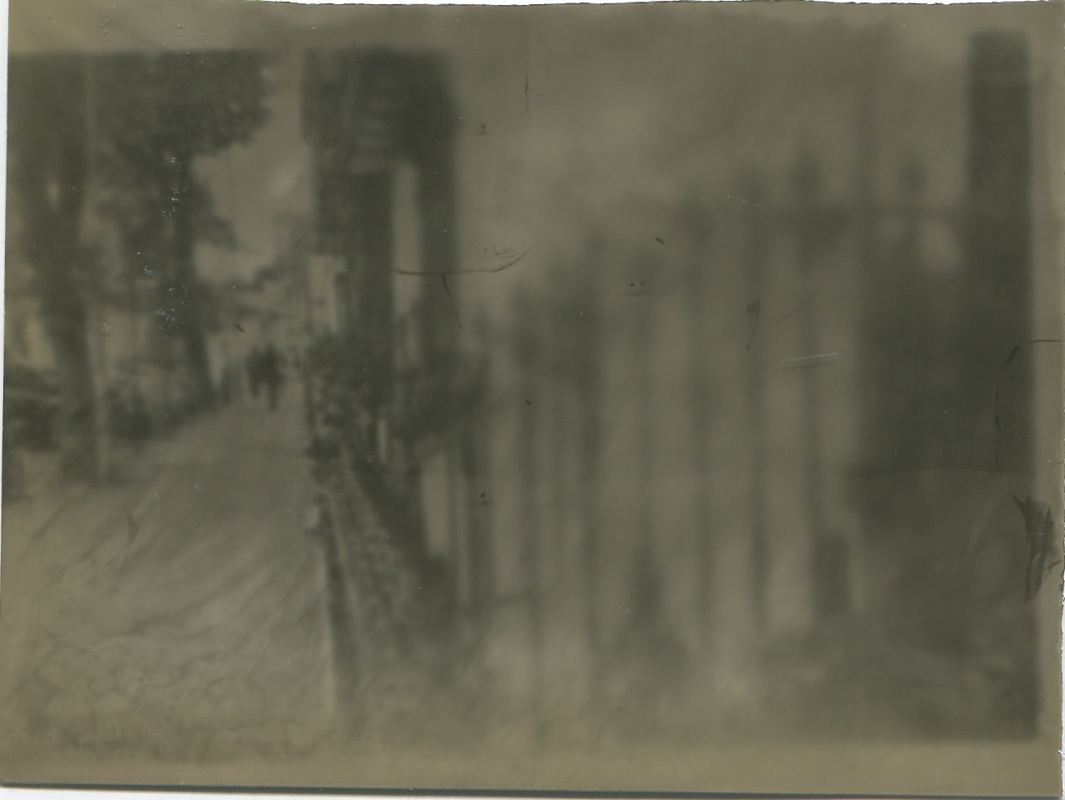
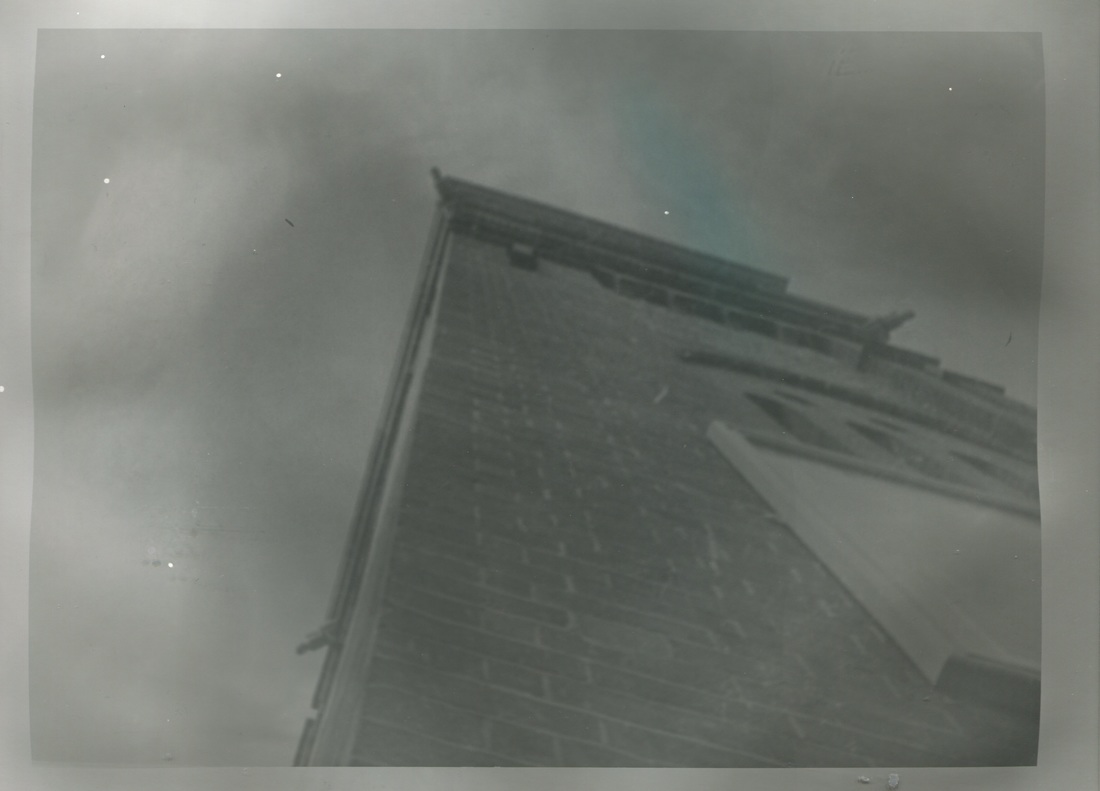
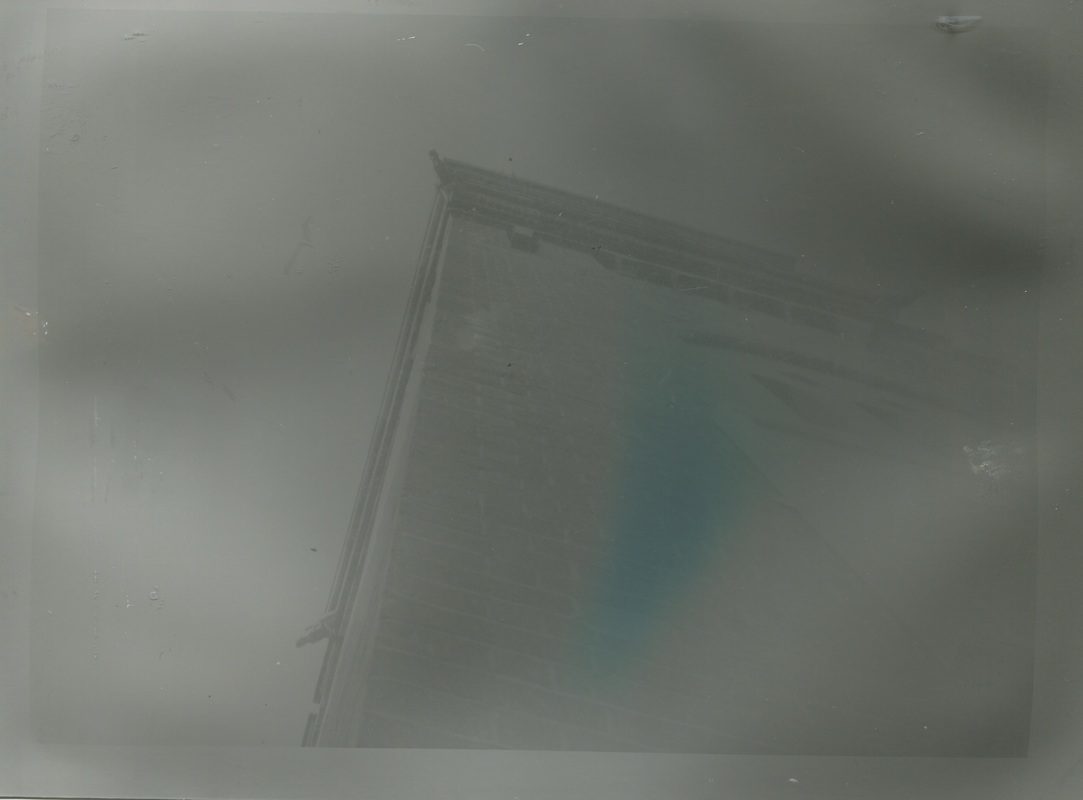
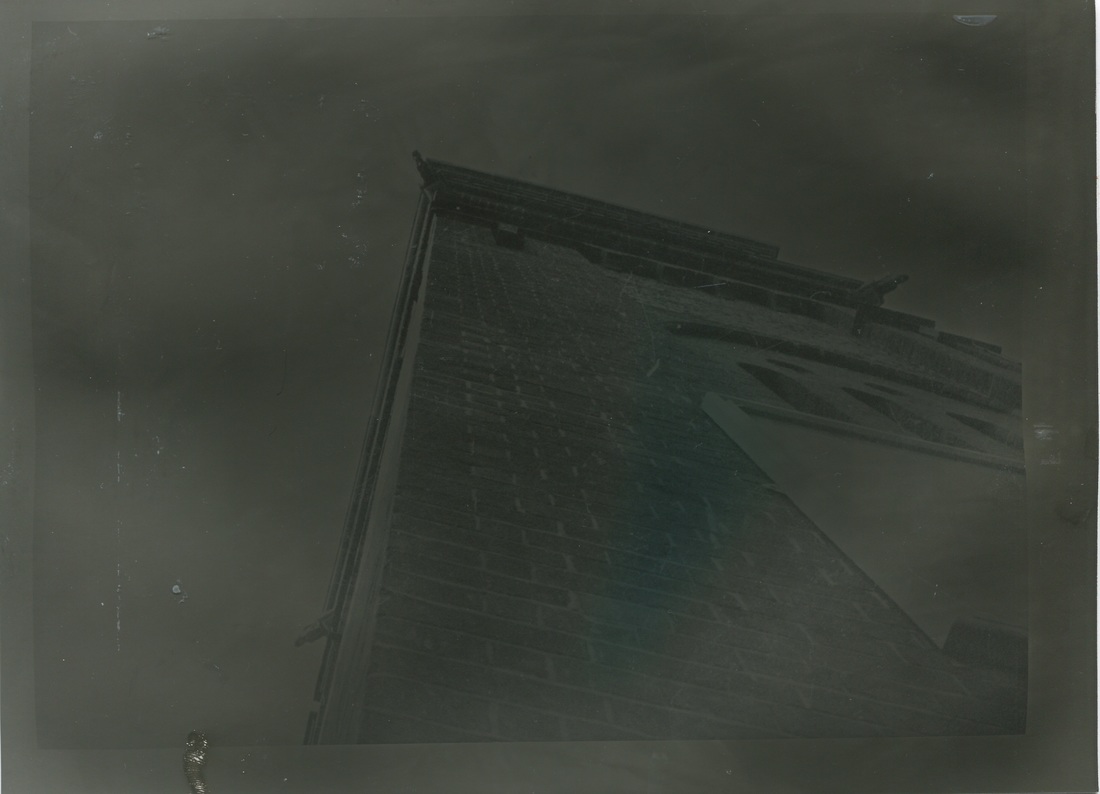
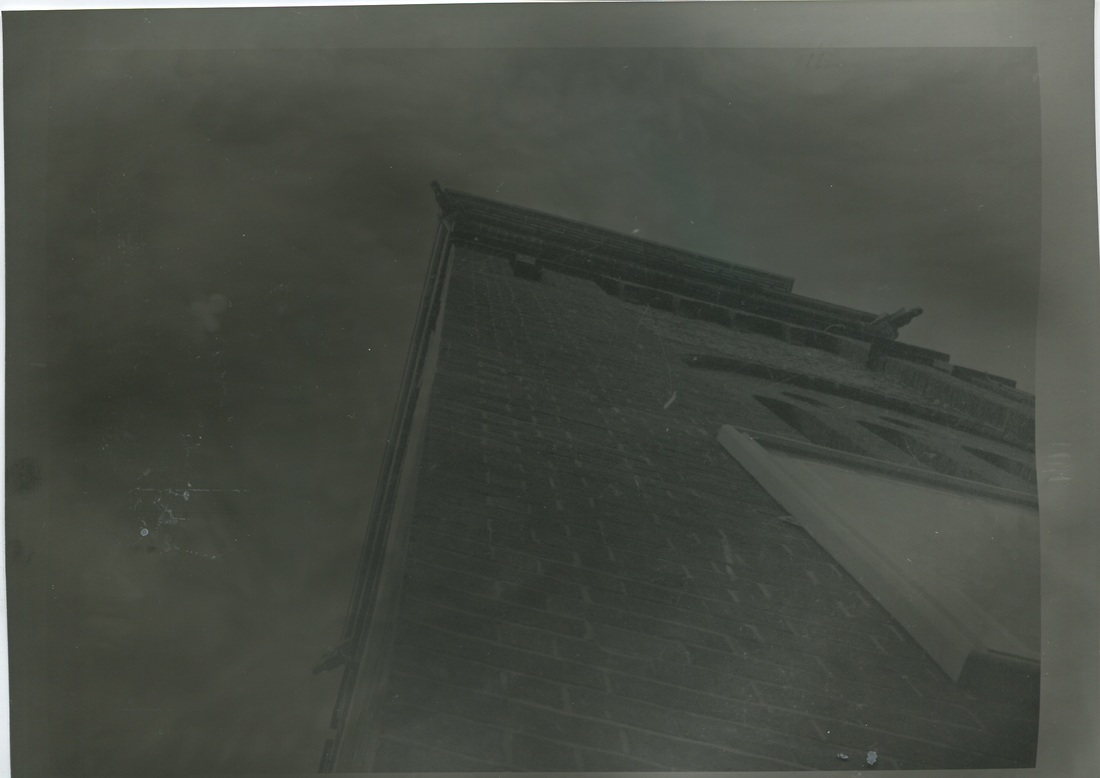
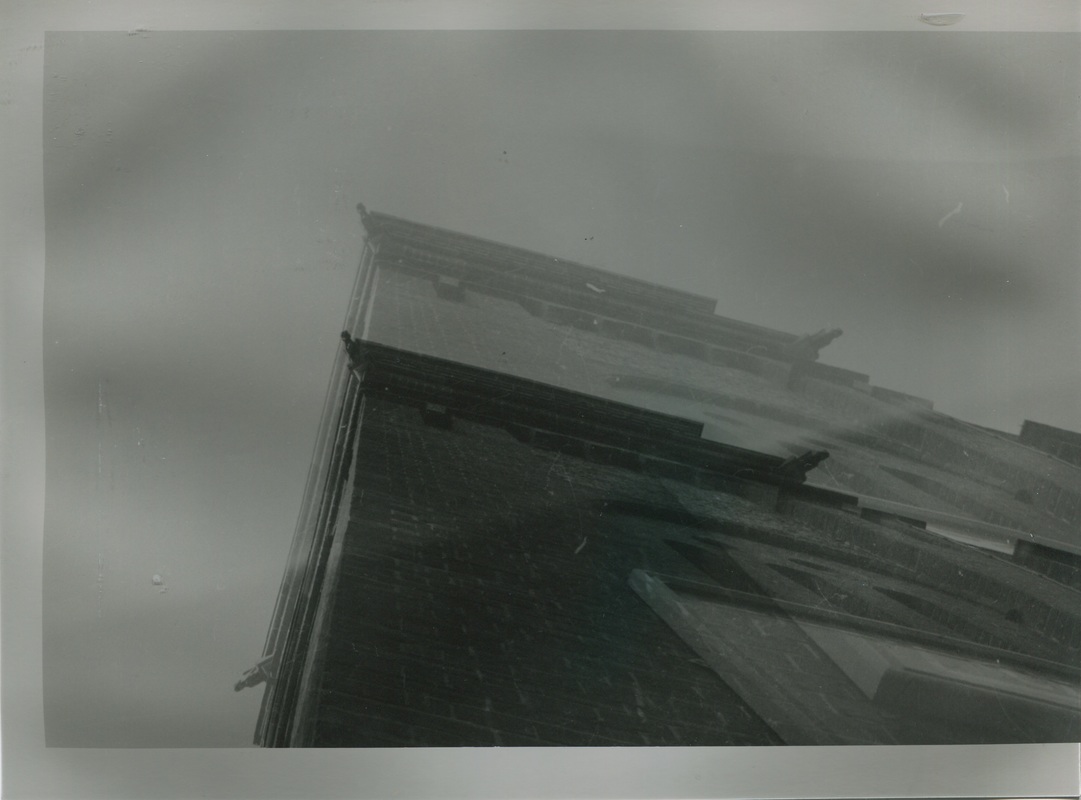
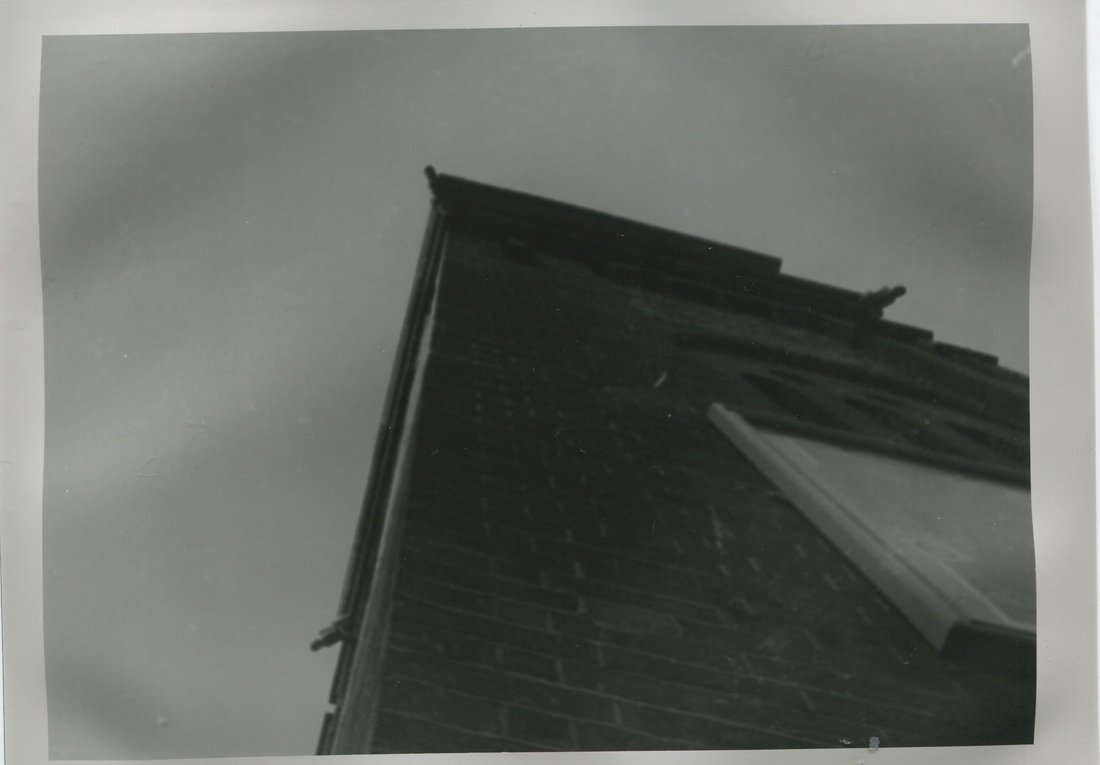
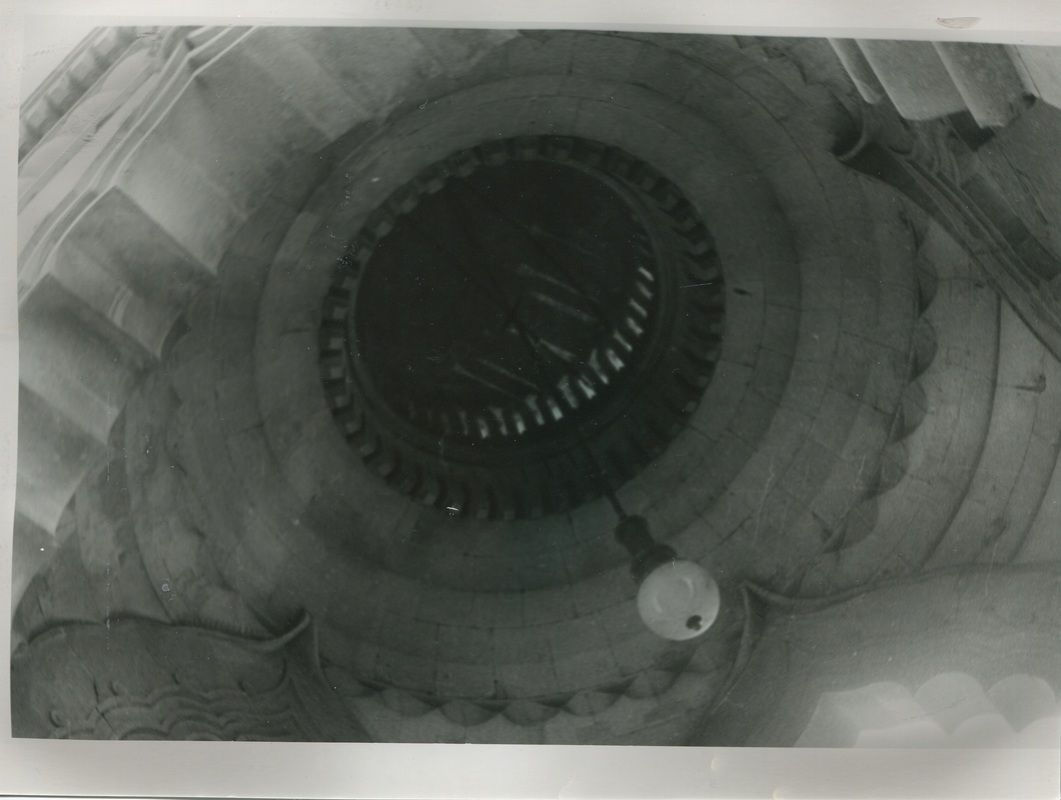
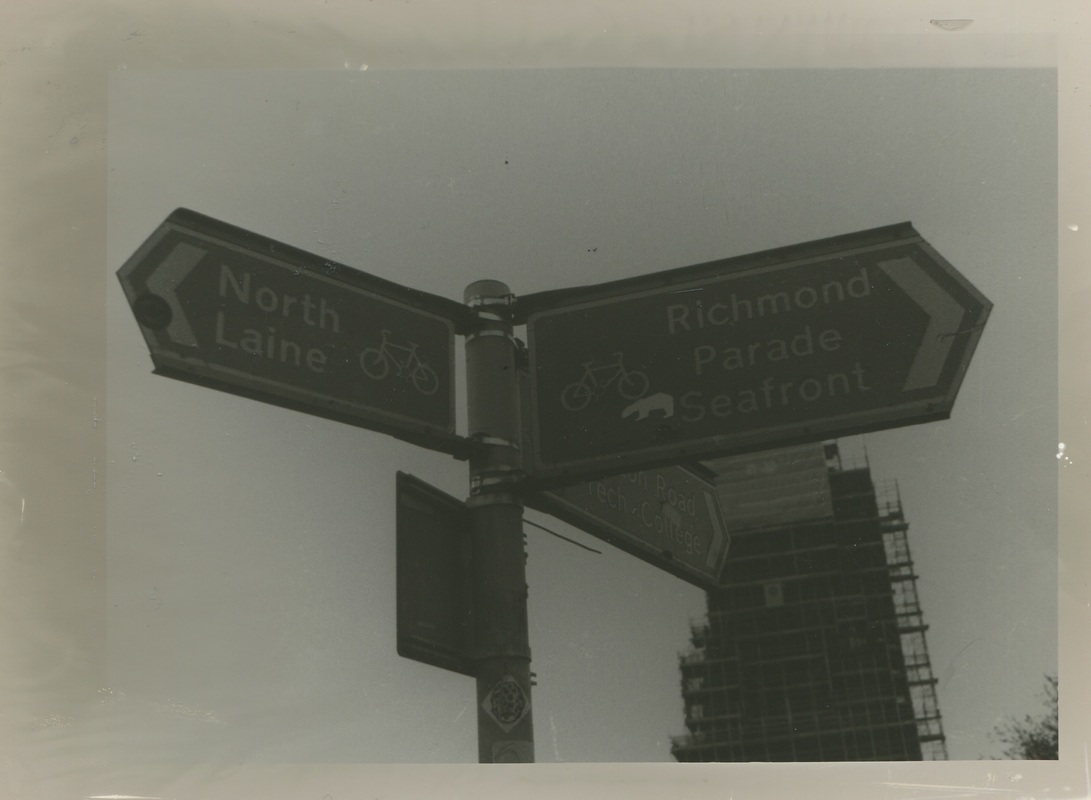
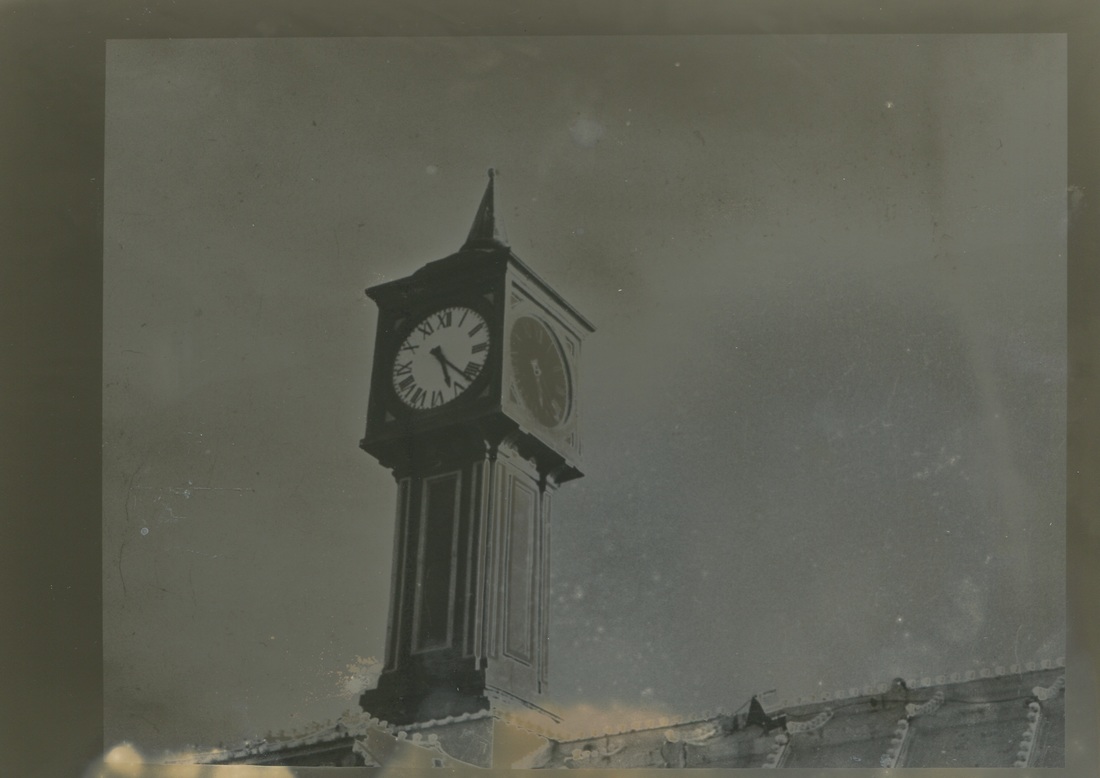
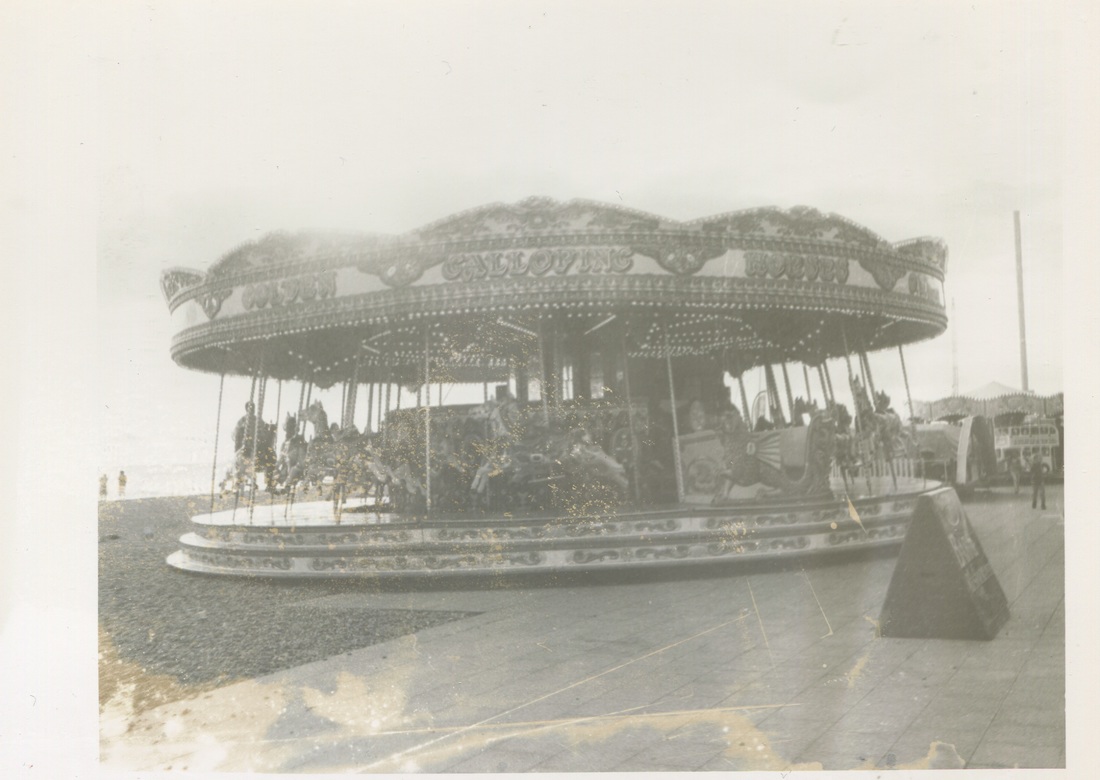
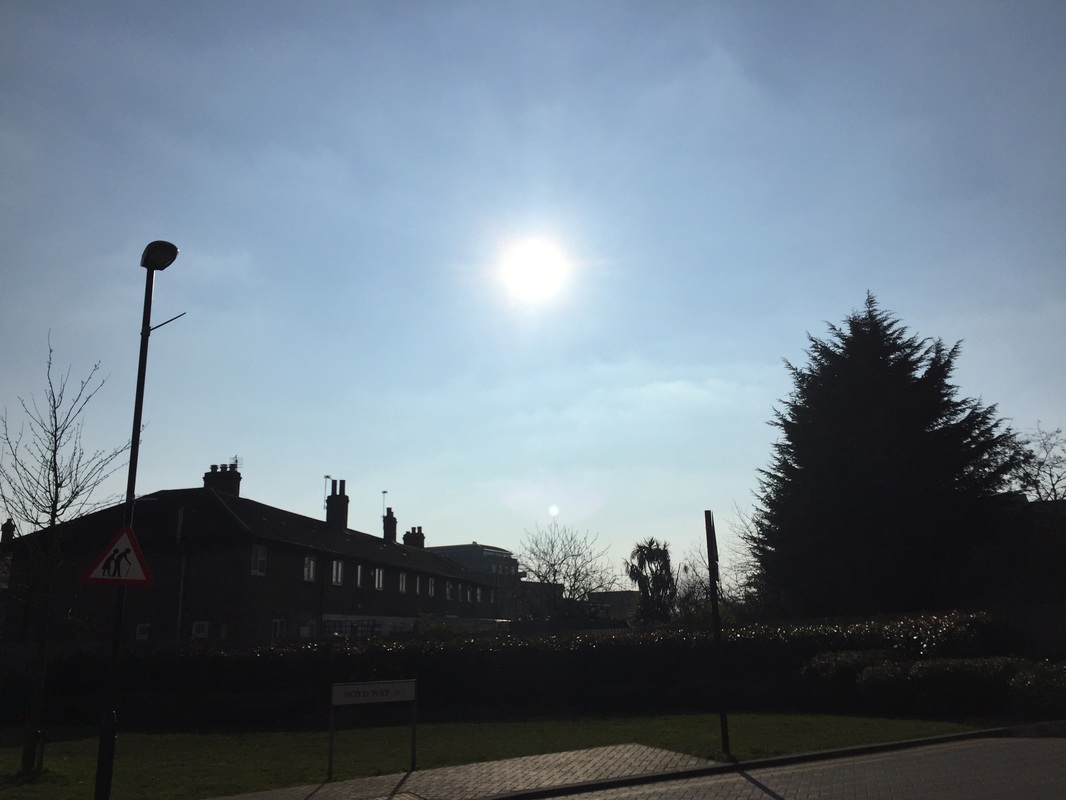
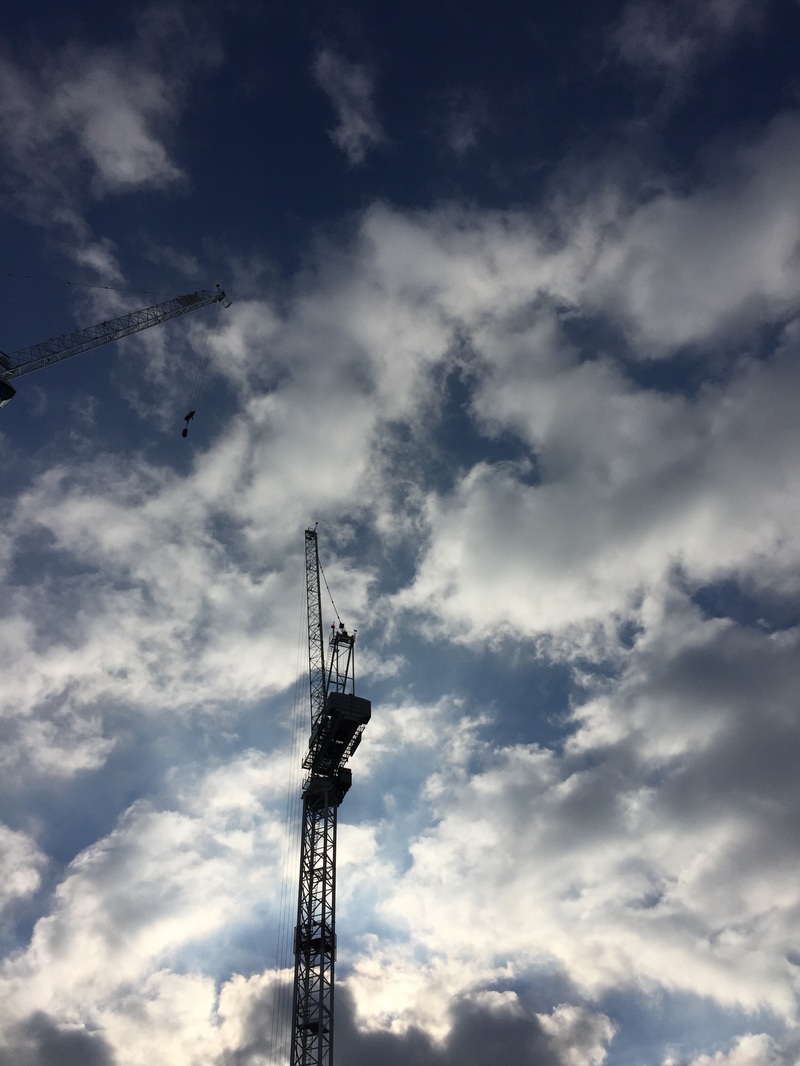
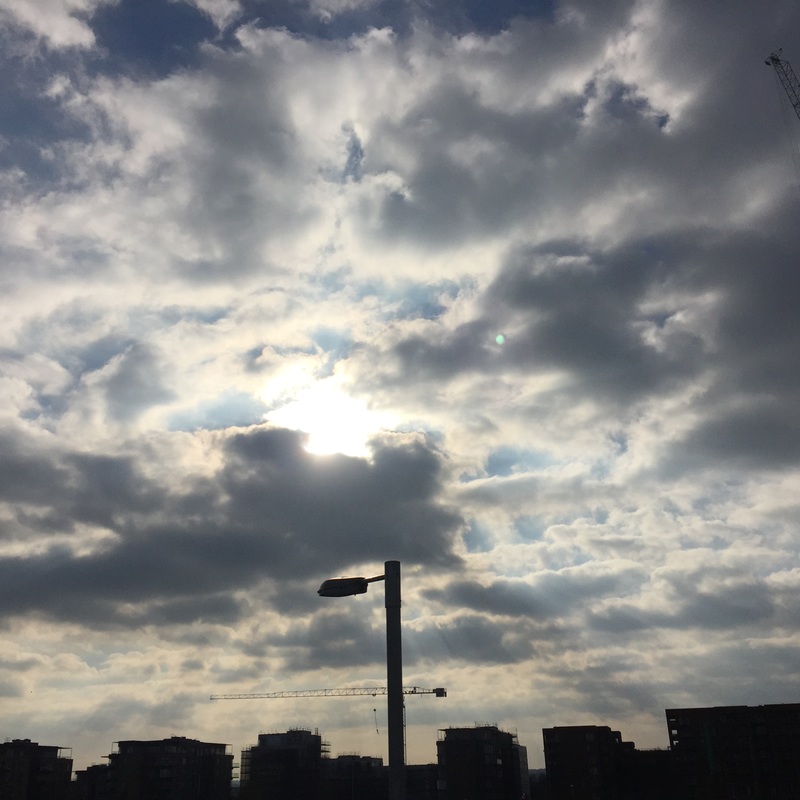
1st set of images.
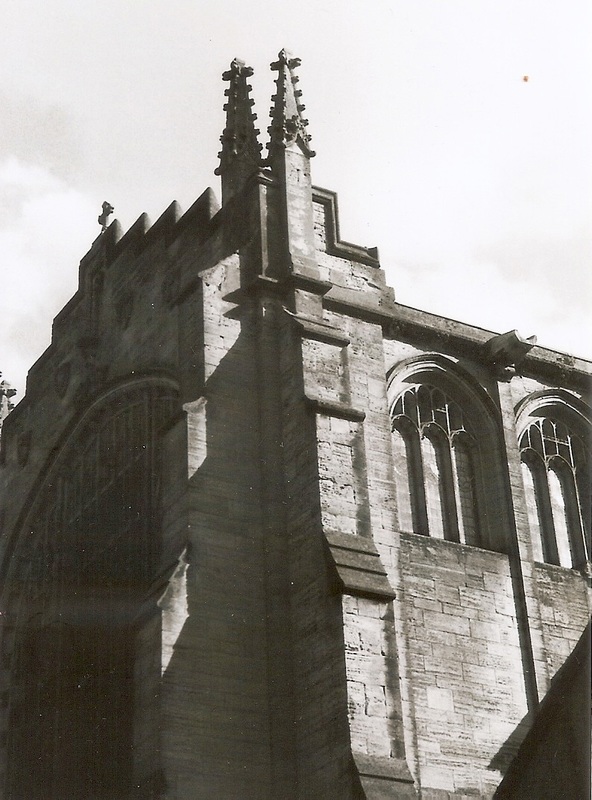
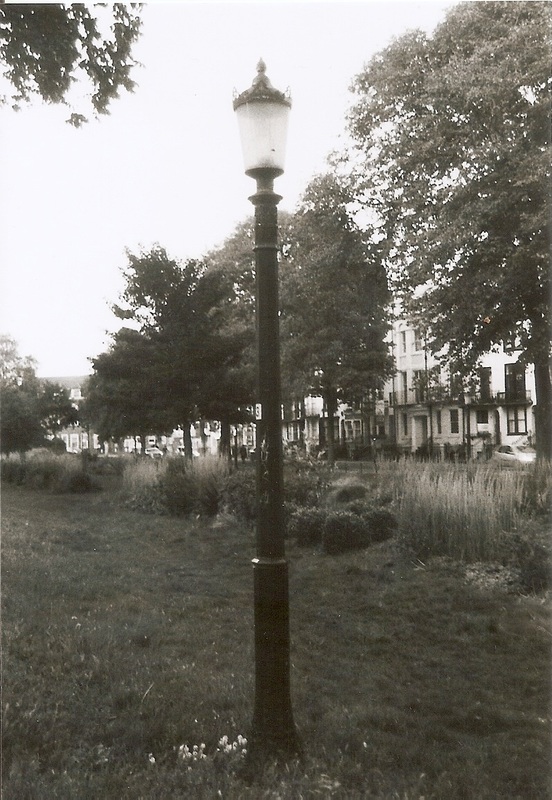
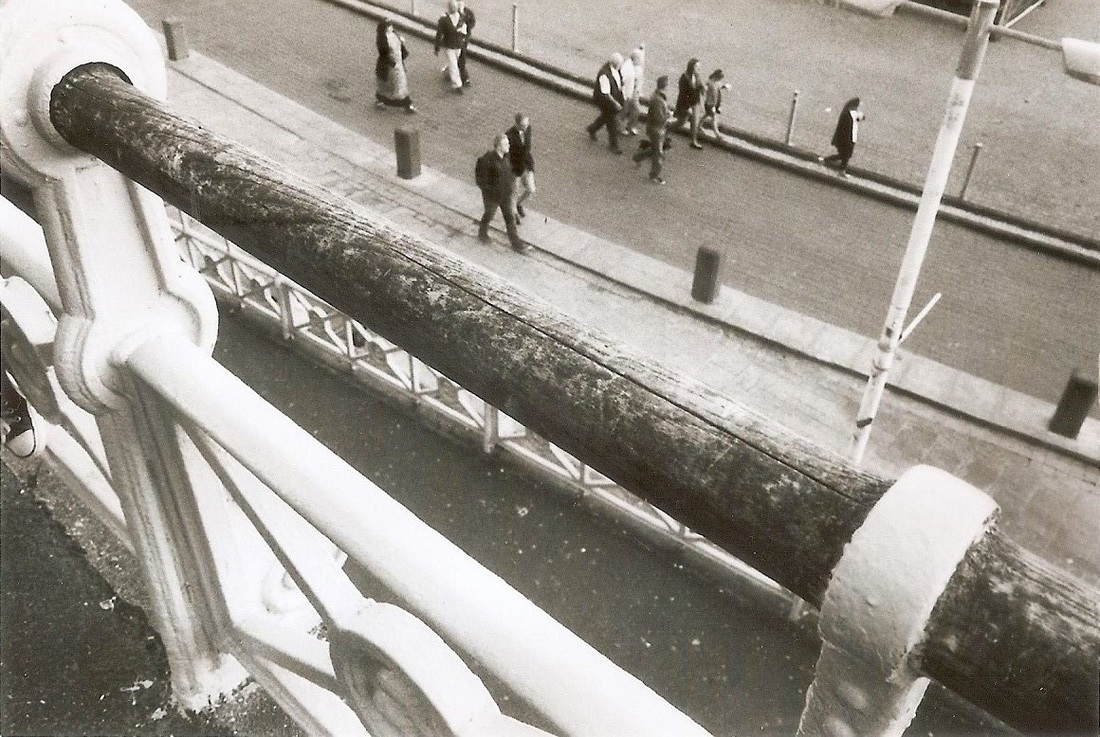
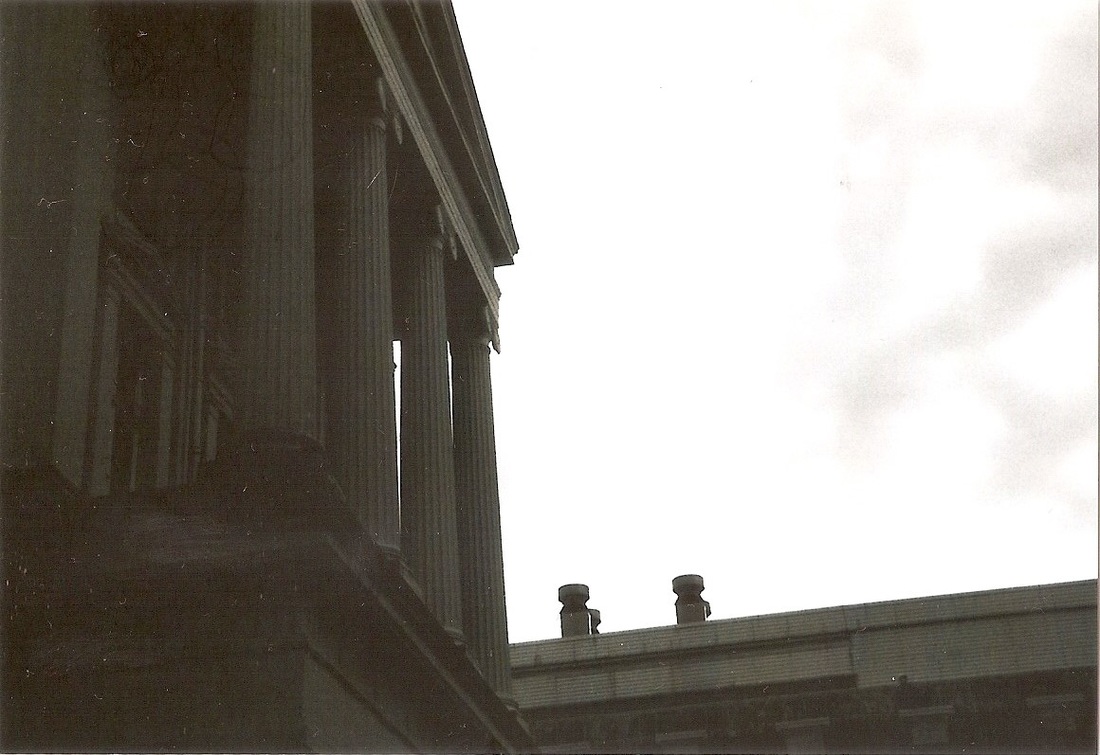
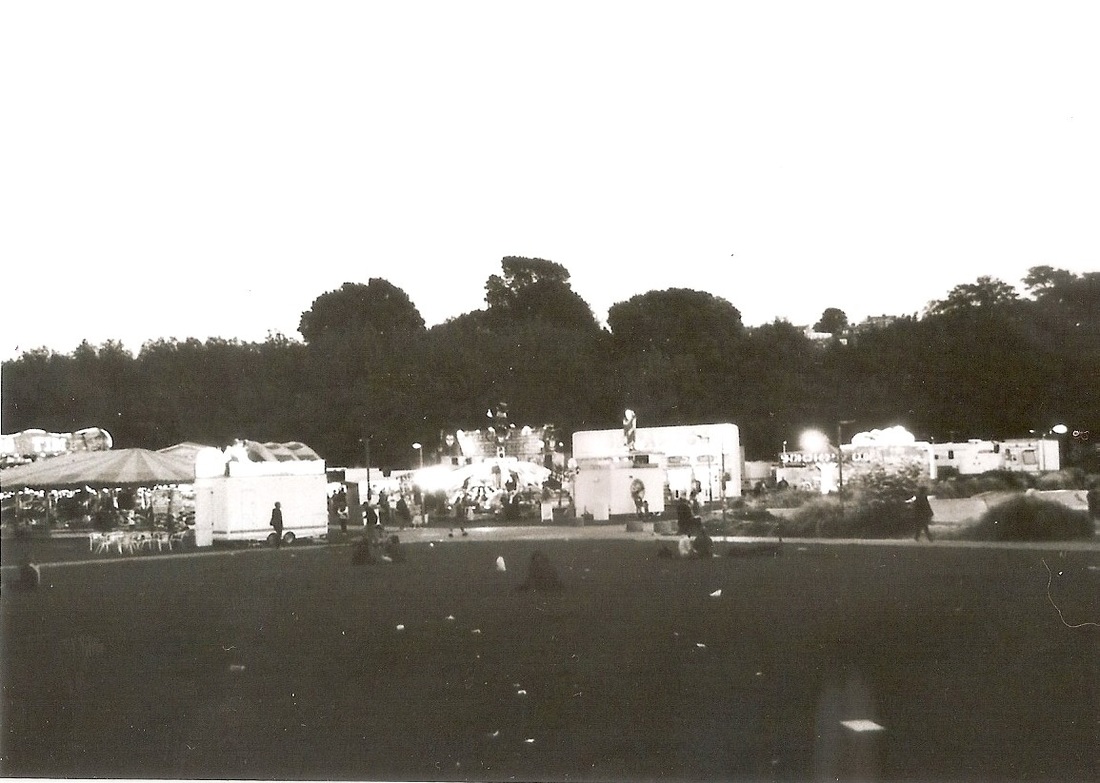


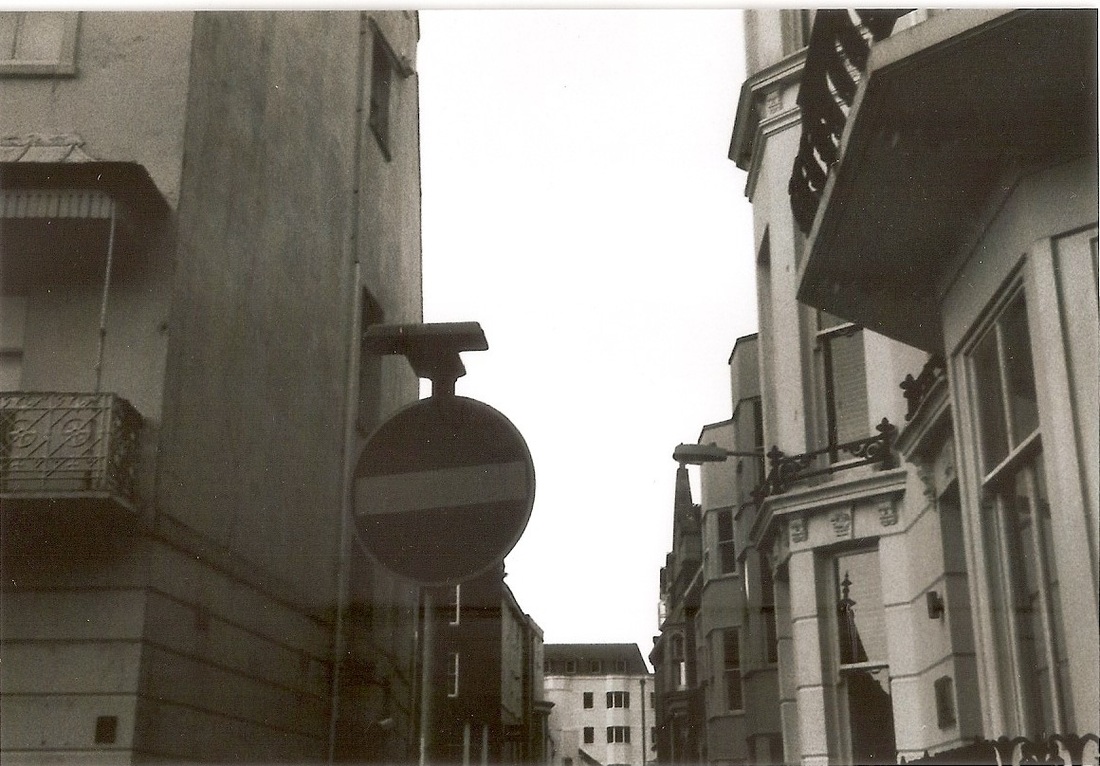
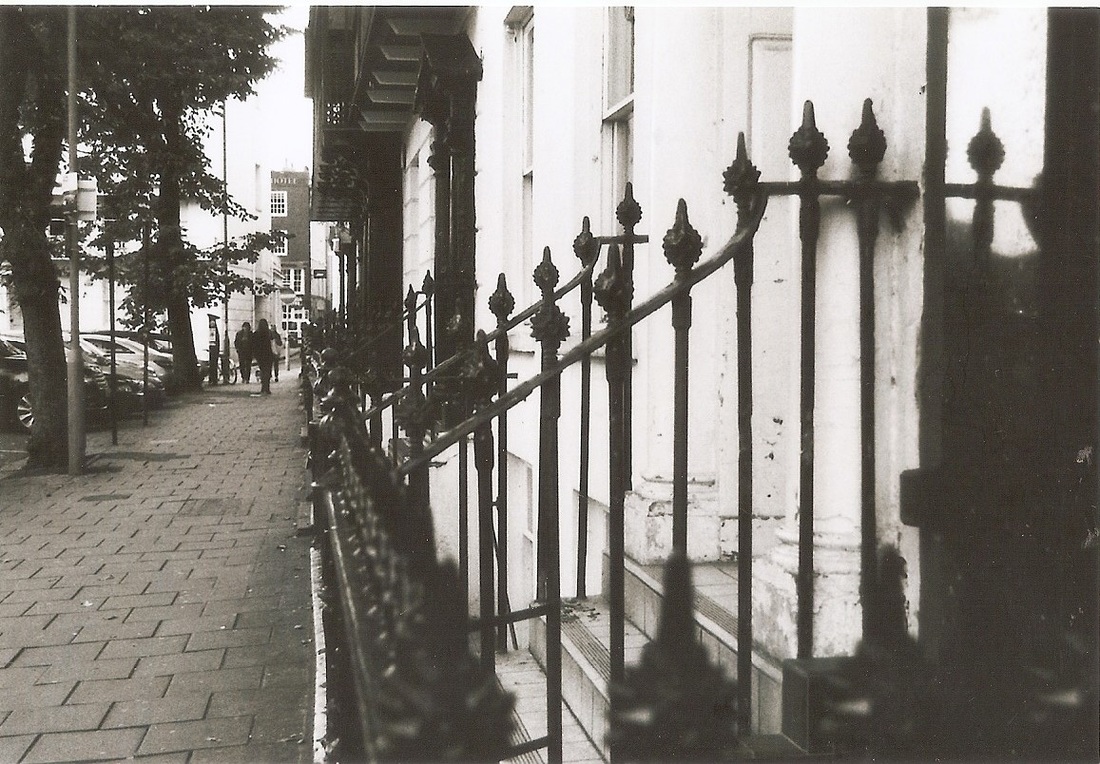
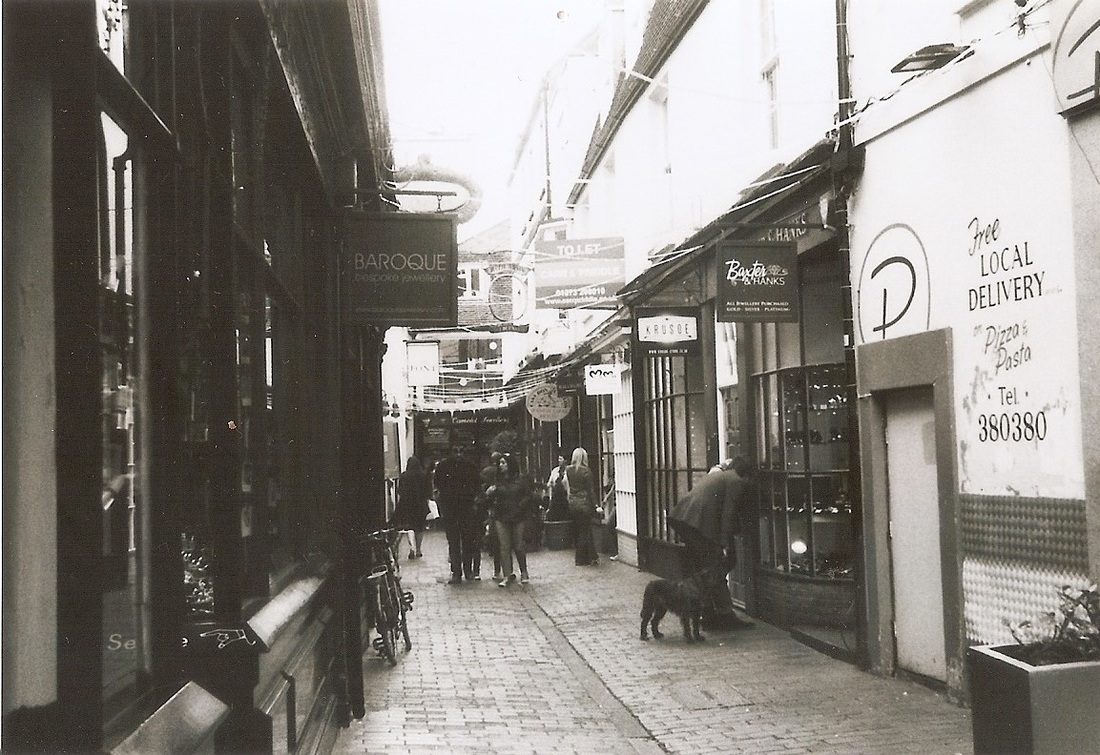
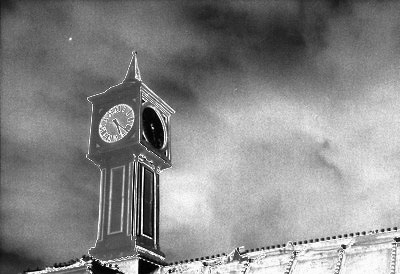
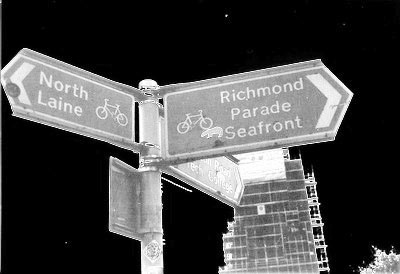
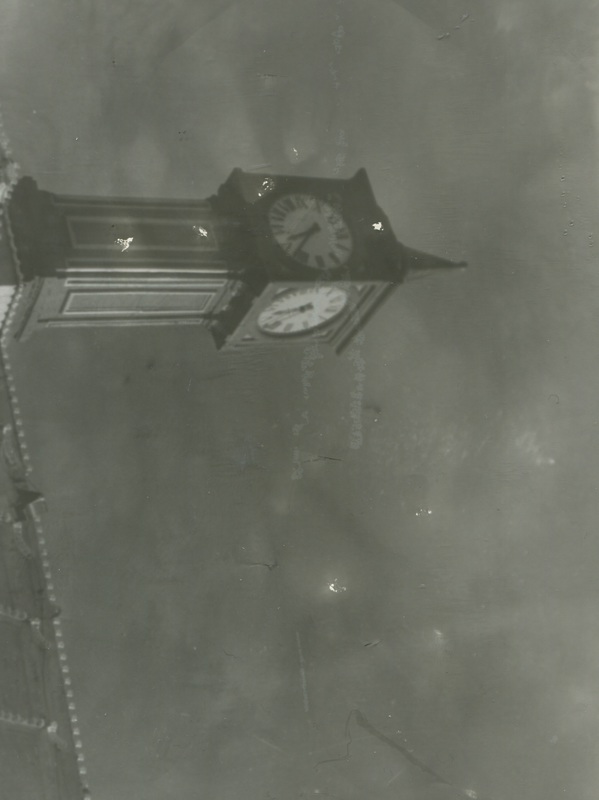
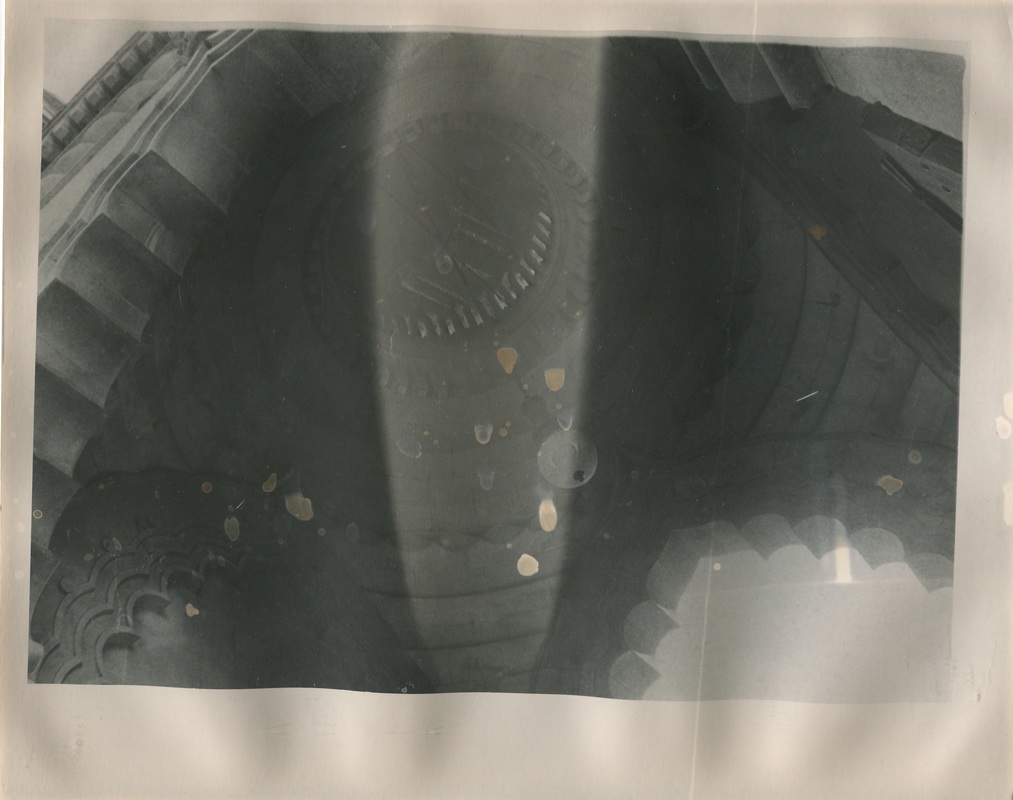
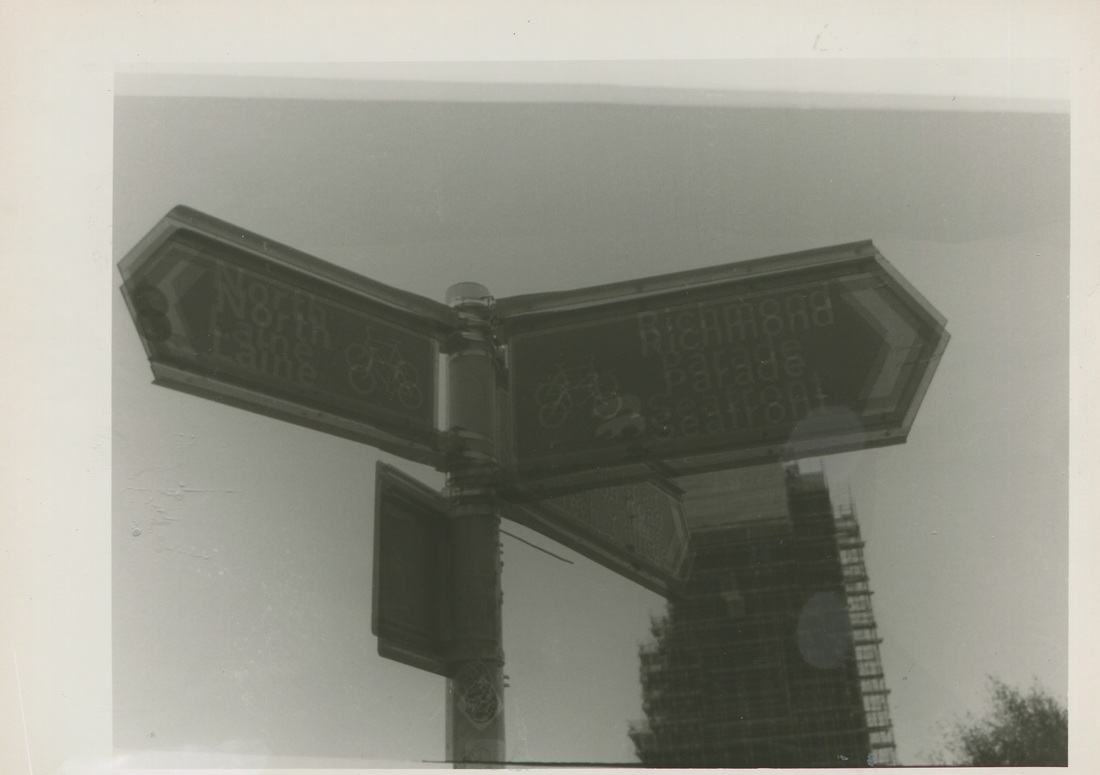
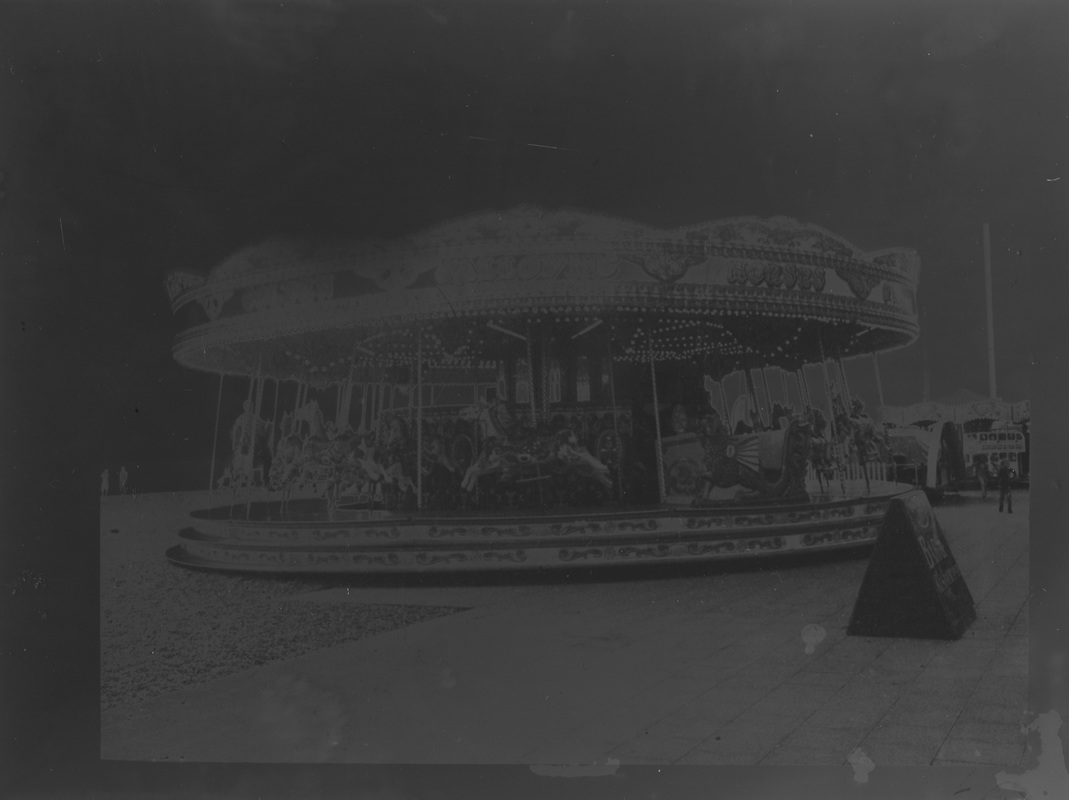
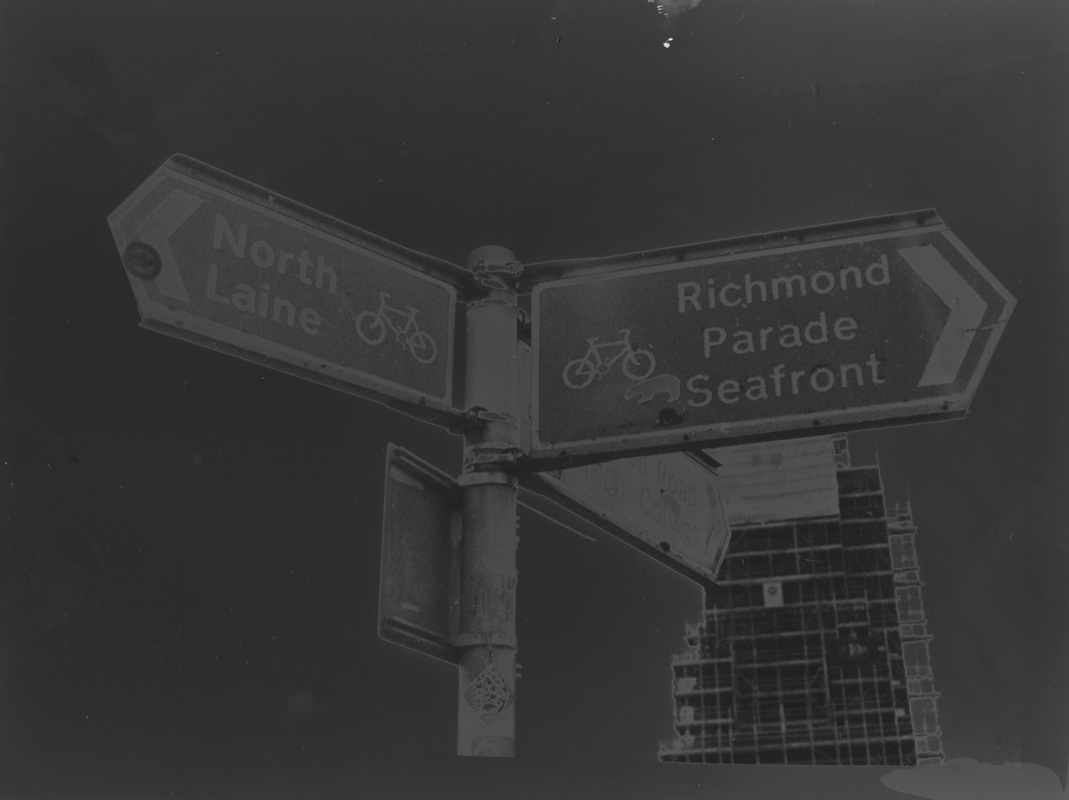
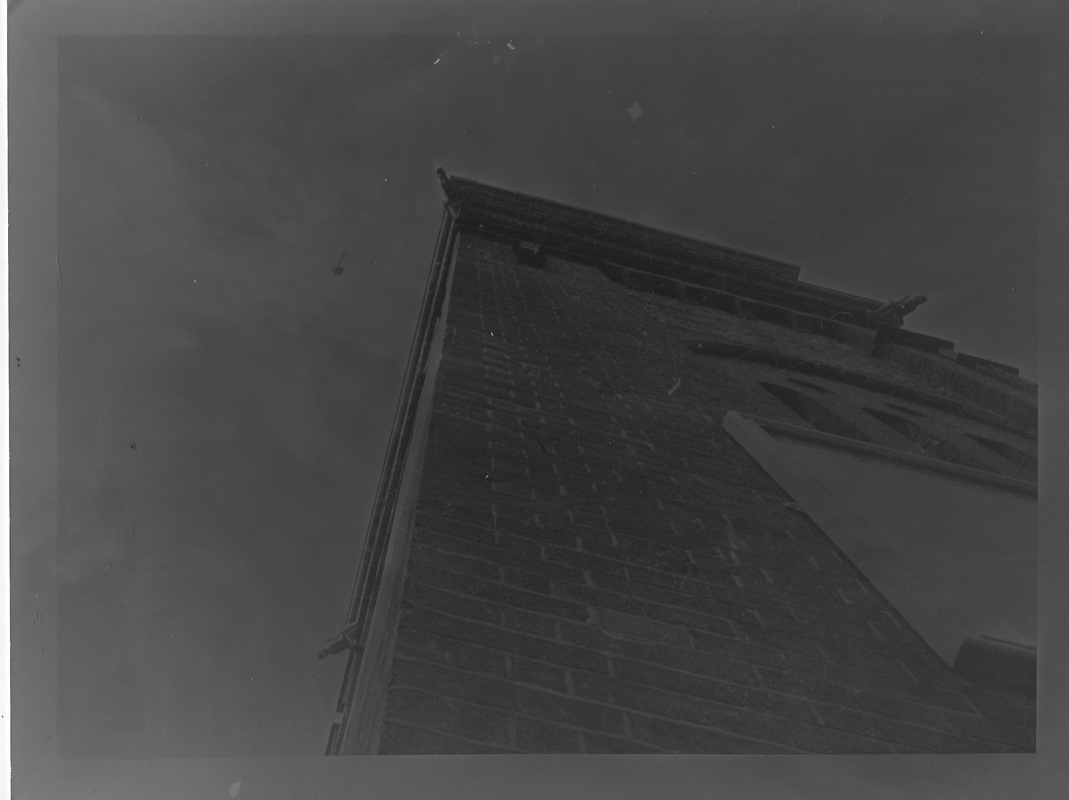
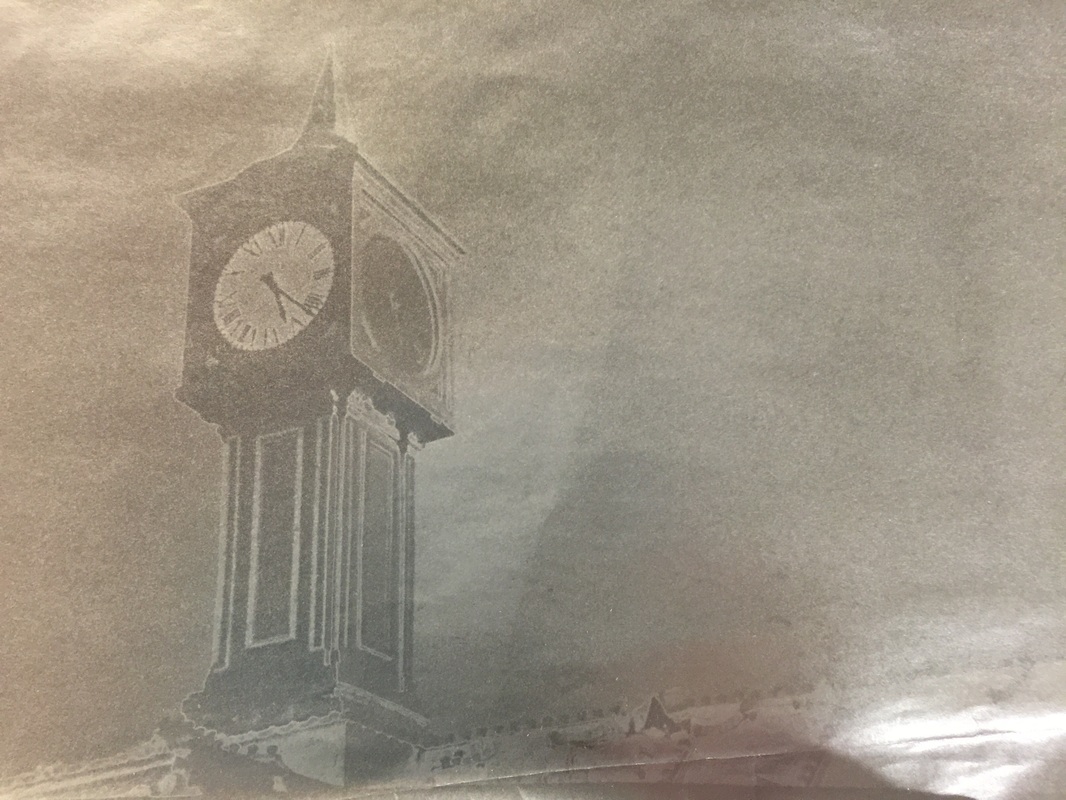
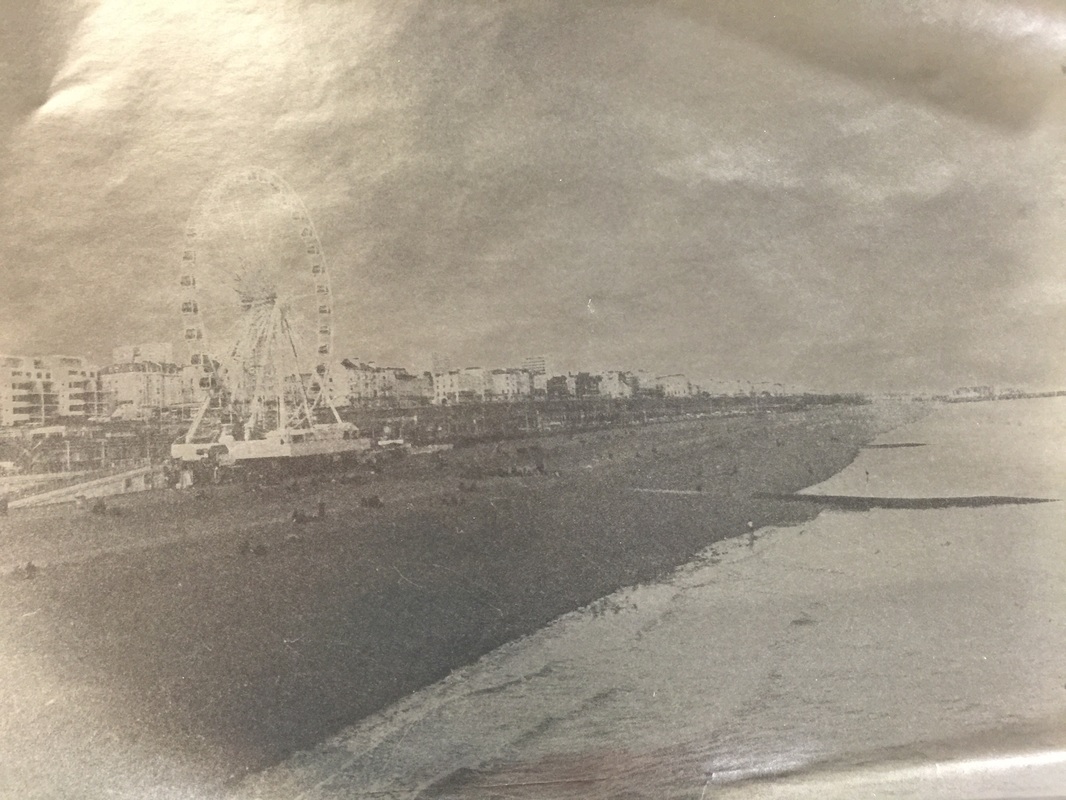
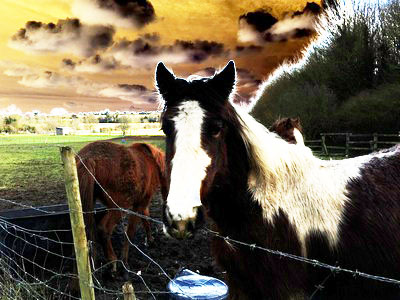
Using the negatives from these images, I am going to experiment with Solarisation, in order to further emphasize the outline of these images and it would add development as well as use of different technology and skills to my work as i will be using developing chemicals and an enlarger in order to achieve the solarisatino effect that i am aiming to create.. However i think that as a start these images worked well as they showed the basic outline of a shape as well as the fact that they included multiple formal elements for example line within them which helped to make the outlines of the object standout within the background of the images. All of these images were taken on a film camera and black and white film was used to capture them. I think the best image within this series is the image of the clock tower, as the image is very simple and the outline of the clock tower is the main subject within the image however a large amount of tone , contrast ans texture is created by the clouds within the background of the image.
Solarisation, Using Photoshop

The process of solarising these images using photoshop, allowed me to develop my understanding of photoshop and i was able to introduce myself to a new range of skill that I could use further on within the project. These image were very effective as i was able to successfully create the solarised effect on these images. After researching how to do this and practising the method became relatively easy, I really like that each image, even though were created in the same way are all have a very different appearance. The highlighting of the darker elements within the image adds a sharp contrast within the image as well as creating new visual lines within the image that maybe would not have necessarily been noticed prior to this experiment.
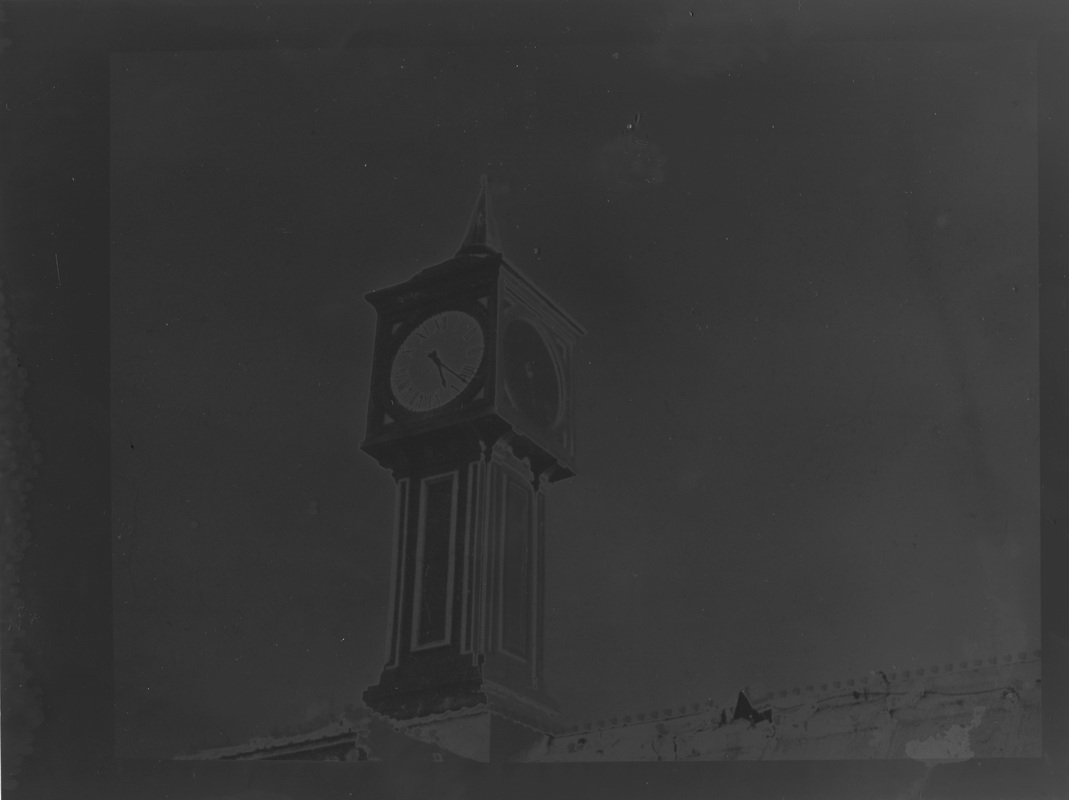
Solarisation, In the dark room
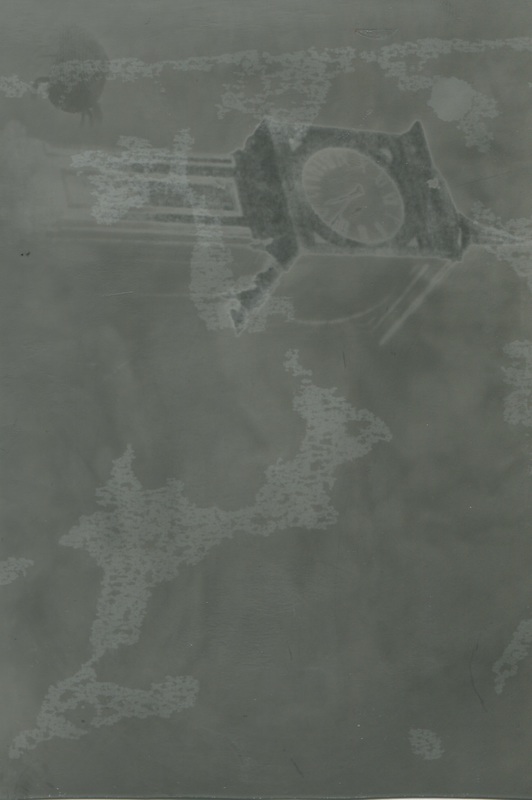
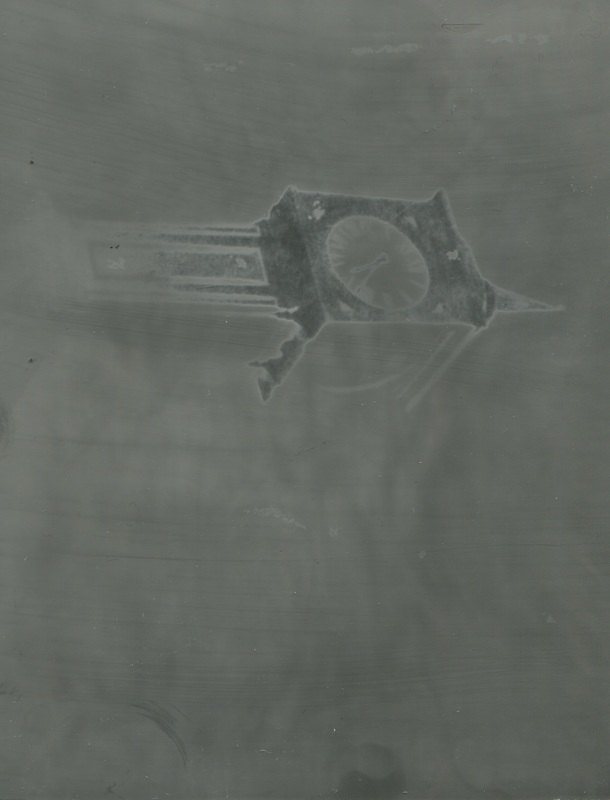
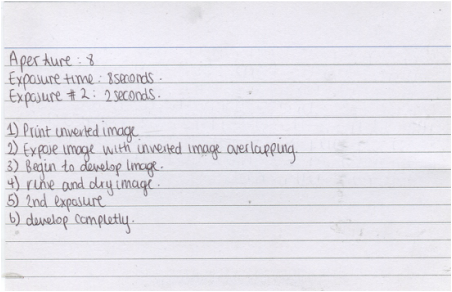
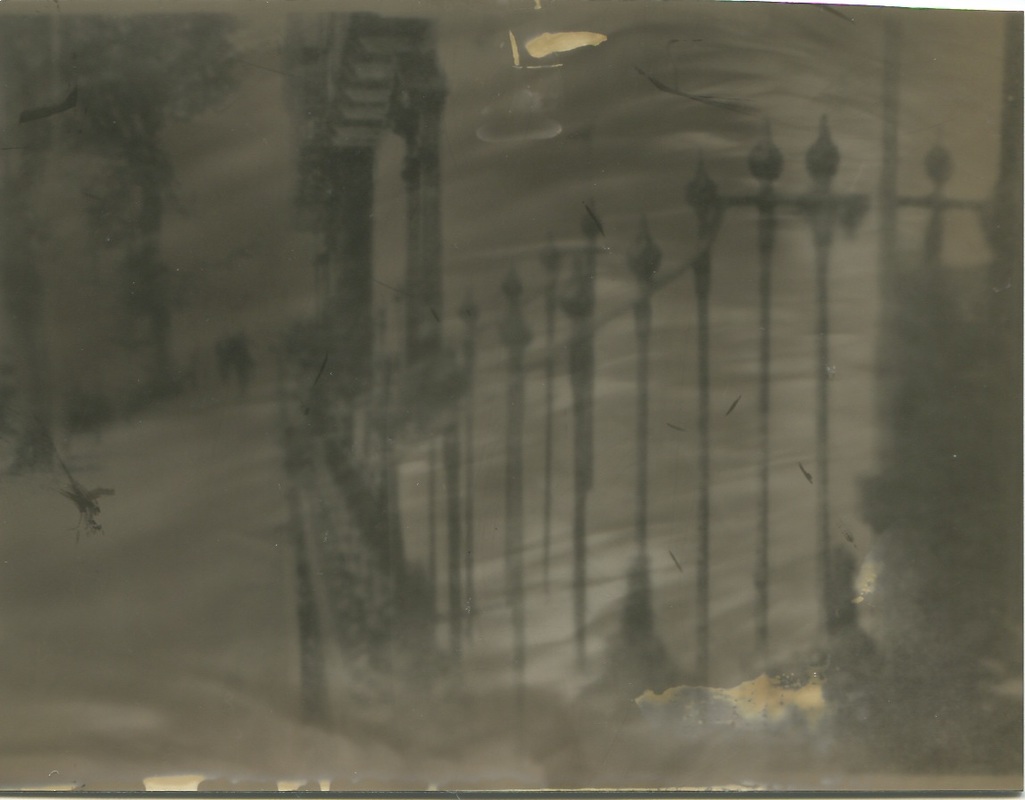
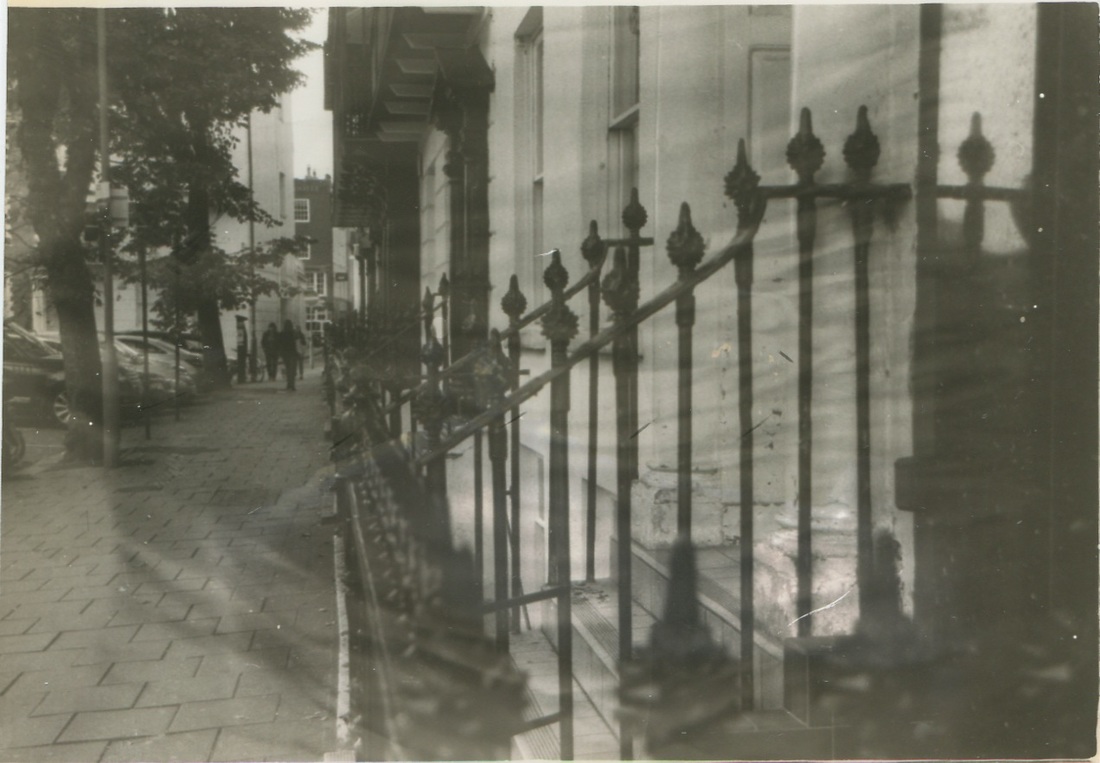
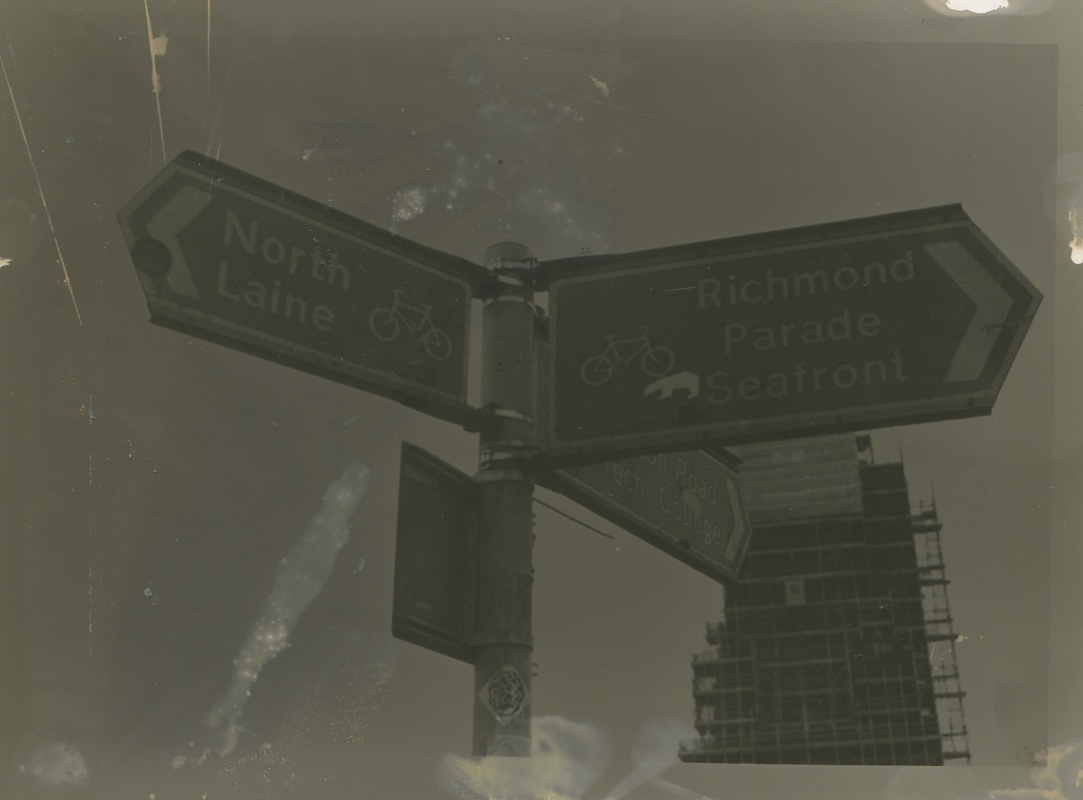
These images turned out relatively well considering the fact that this was my first attempt at this experiment, However i could greatly improve on these images. I managed to create the solarisation effect onto the clock tower, similar to these created with photo shop, however the images turned out rather dark, to improve this i could adjust the exposure time in order to make the images lighter. I had the aperture on 8 and an exposure time of 8 seconds under the developer and 2 seconds on the second exposure. making these images within the dark room allowed me to increase my skill level during this project, as well as being able to use different techniques within my project. To develop these images i am going to use experiment with different exposure times and apertures in order to create a clearer image.
|
This is the process i followed in order to complete these images. I will use this step by step, with the same settings in order to complete further solarisation experimentation in the dark room. |
Within this experiment I attempted to create a solarised image, however these images didn't turn out successful, meaning i will persist to achieve a solarised image. Will do this by trying different techniques and different adjustments to the equipment and timings, for example changing the aperture and exposure times of the images. I was able to gain a basic guide to the steps i would have to follow to gain the desired effect, however these steps may change in the future, or i may find alternative methods to create the solarised images.
Darkroom experiments. |
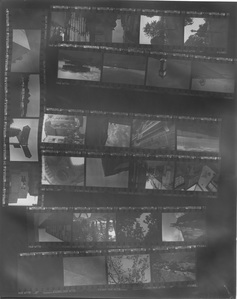
I created a contact sheet containing each slide of my negatives from the images i took at the beginning of the project. in which i can see all of my negative films on one piece of paper, this will make it easy for me to choose the negative that is idea for a particular experiment. For example i could see through out this sheet that the images with high contrast between the background and the different structures within the image would be idea for me to use during my solarisation experiments. This also allows me to see the different types of images i have, in order to quickly choose the image i would like to use for different types of experiments. |


These images are my attempts at creating solarised images, I feel that at the end of this set of experiments i was begining to find the perfect technique to make a repetitive series of solarised images. Many of these images did not turn out the way i had hoped, however i believe that i am one step closer to achieving the aspired outcome. Never the less, every time i attempt to create a solarisation piece inthe dark room, i always leave with an increased knowledge of how to use the different equipment, for example the enlargers, I am also getting used to mixing my own chemicals, knowing the measurements. As well as that i am able to gain more experience in different environments within the photography world.
Successful dark room experiments.


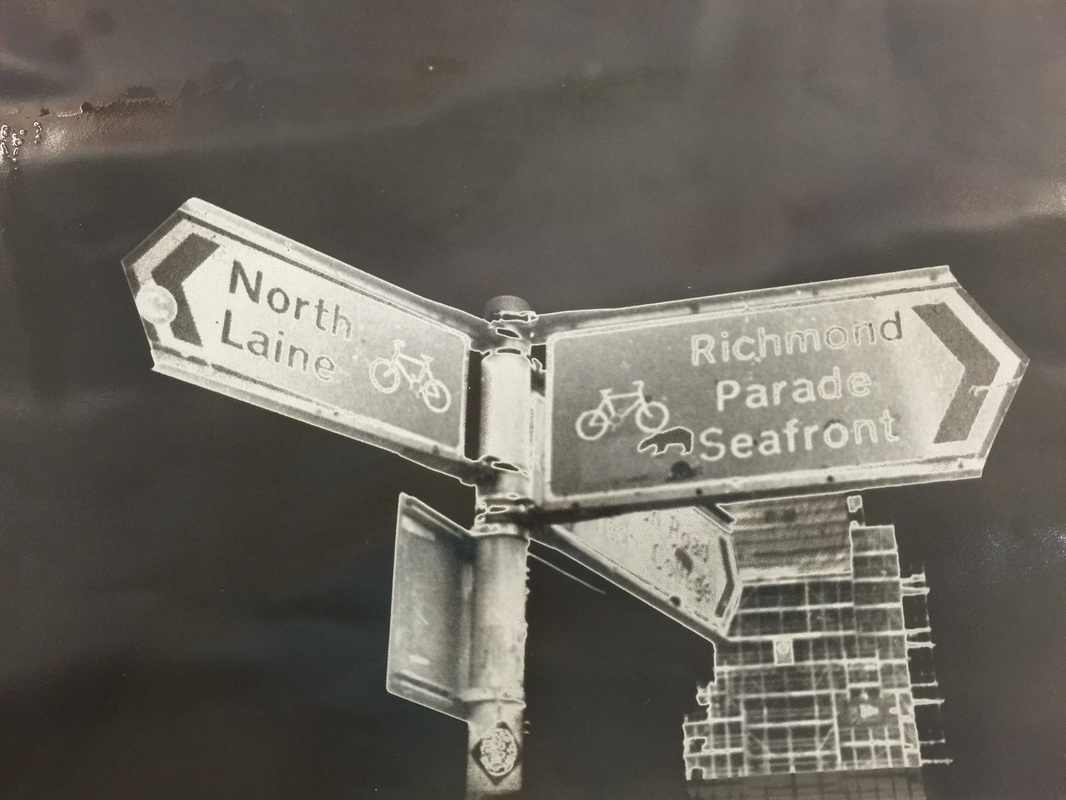
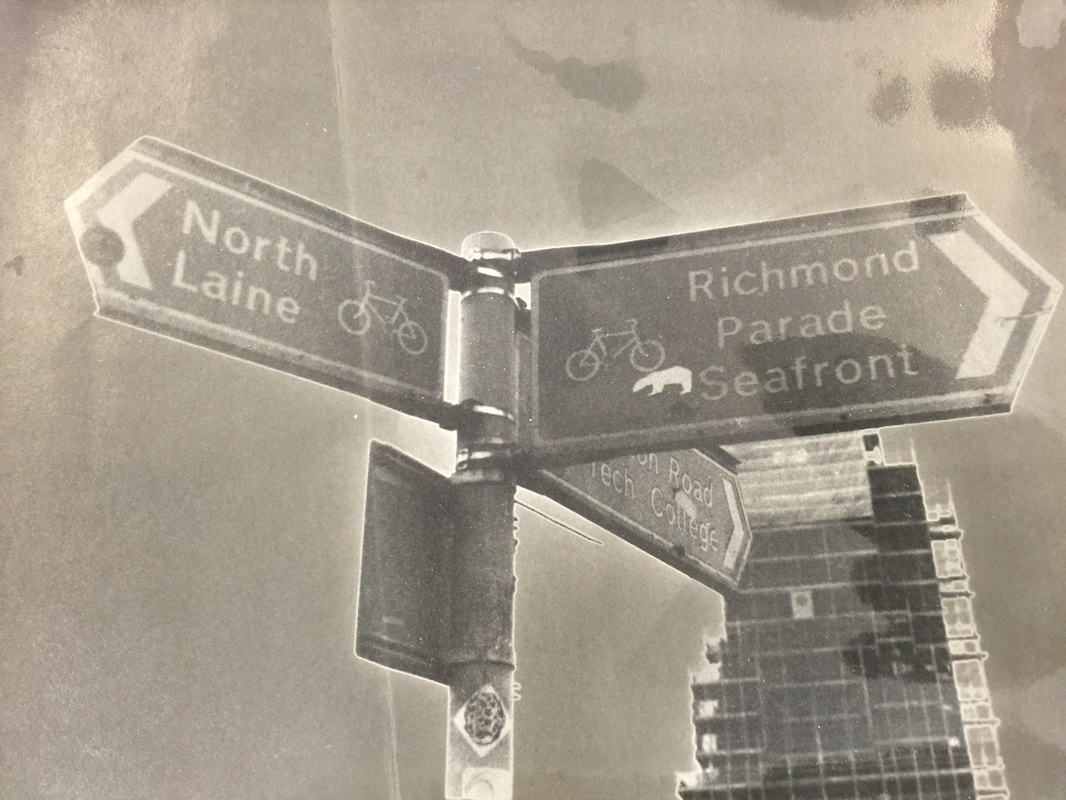
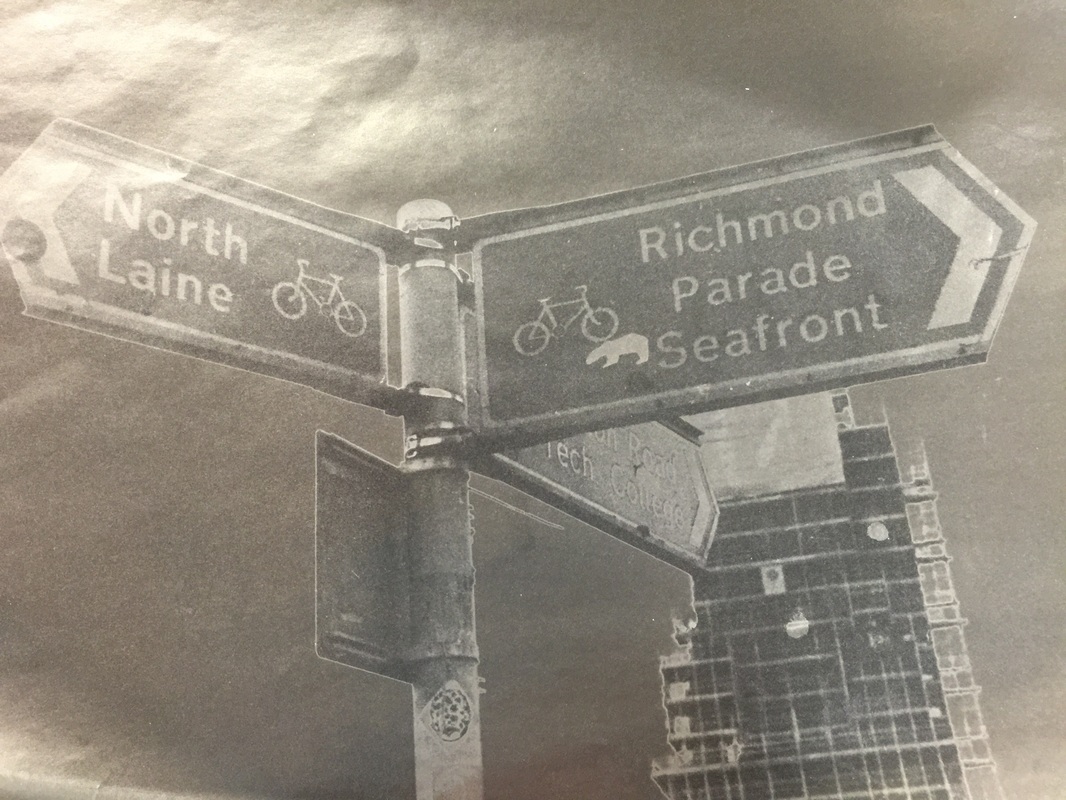
I am really happy with the outcome of these experiment, after finding a method that worked on a negative, i tested it on different negatives and to check the reliability and the ease of which the outcomes can be replicated. I used an enlarger with the aperture set on 8. I initially exposed the image for 8 seconds under the enlarger containing the negative. I began to develop the image in developing solutions, as the outline of the image began to appear, i exposed the developing image to 10 seconds of artificial light, by turning on the light in the dark room. After this 10 seconds i turned the light off and continued to develop the image as normal. The outcome was a clear solarised effect, in which the outline of the image is given a highlight, against the dark background of the image, this causes the structures/ elements within the image to be emphaised and are made to stand out against the contrasting background. I am going to choose a series of images which go well together in order to create a possible final piece. As well as that, i am going to experiment with using paper negatives, to see how different the outcome with that is compared with the normal negatives.
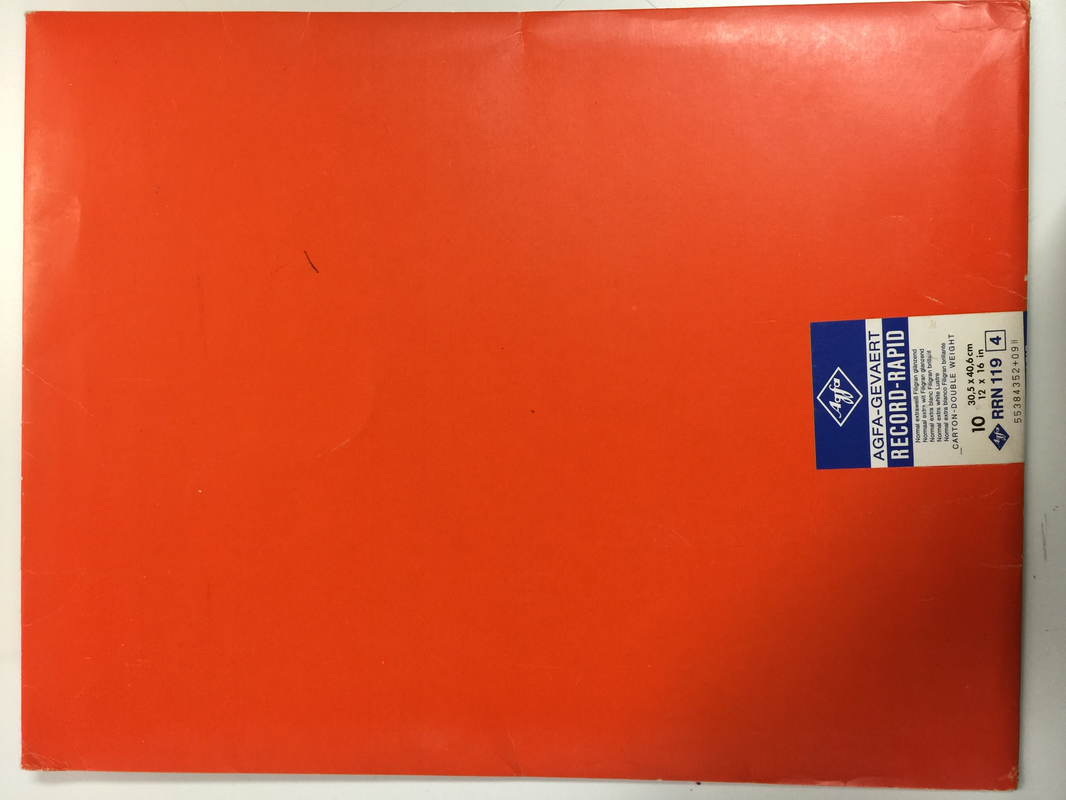
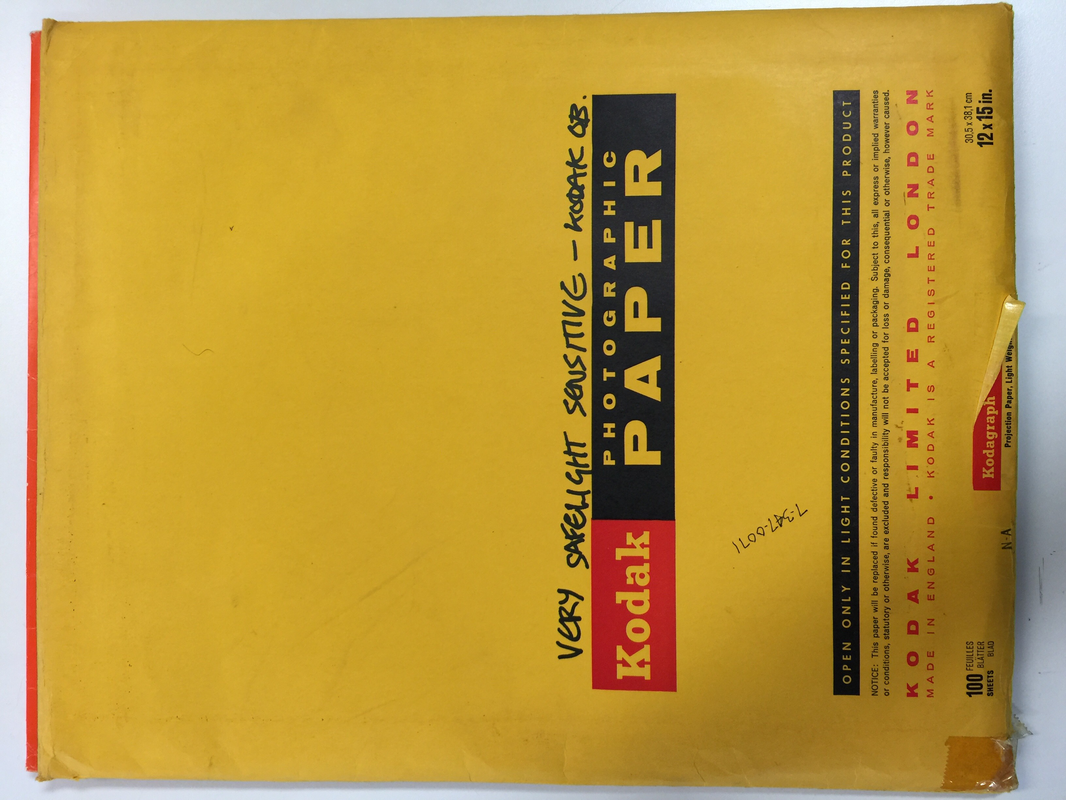
As one final development and presentation decision for this final piece, I decided to experiment with different types of photographic paper in order to see how it would effect the outcome of the image. I did not realise the effect that these papers would have on the developed images. these two papers give the images such different effects but both images are so unique that it is very difficult for me to make up my mind on which one to use. The Agfa paper was given to me to use in school, and the Kodak paper was bought in a second hand shop.
|
Agfa- Record Rapid, A3 photographic paper.
Pro's
|
Kodak- A3 photographic paper.
Pros
|
1st Final piece
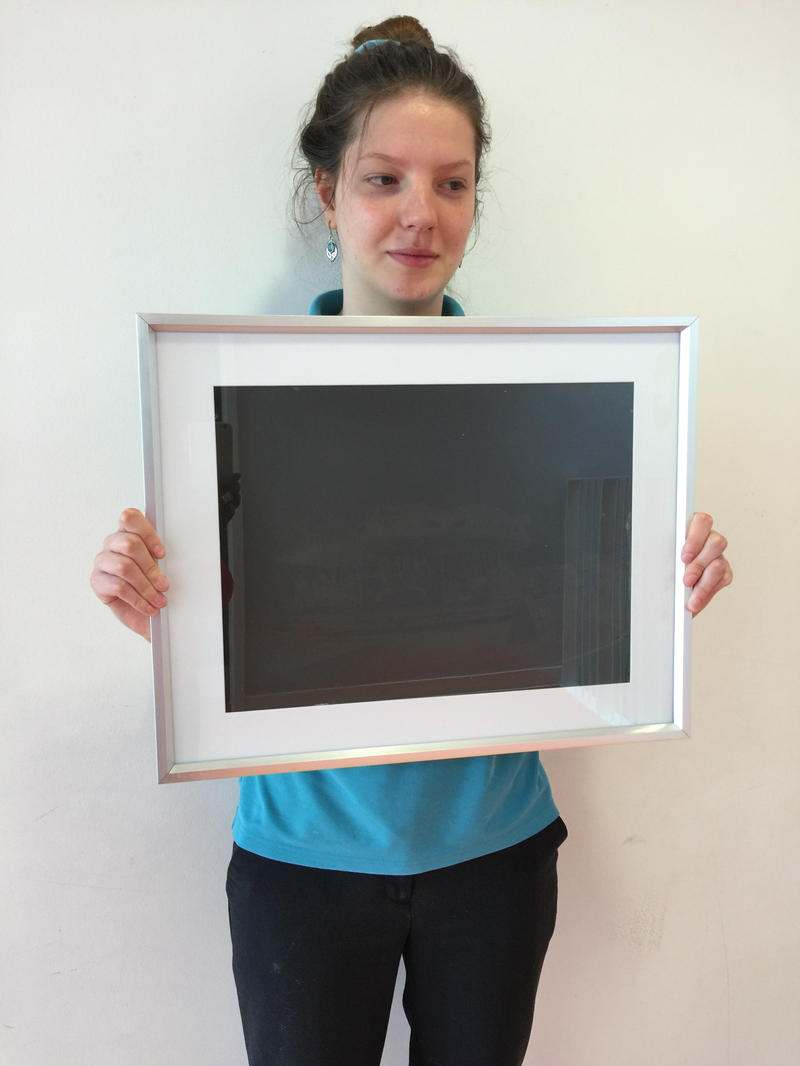
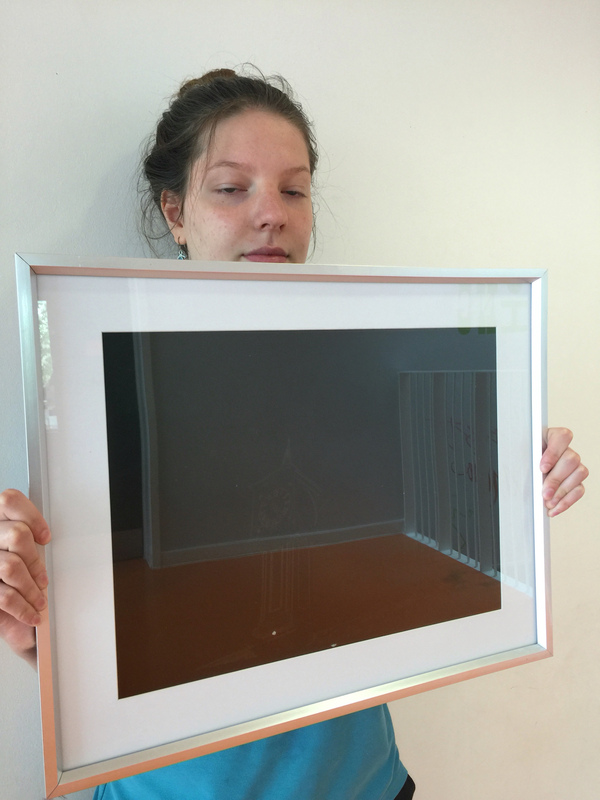
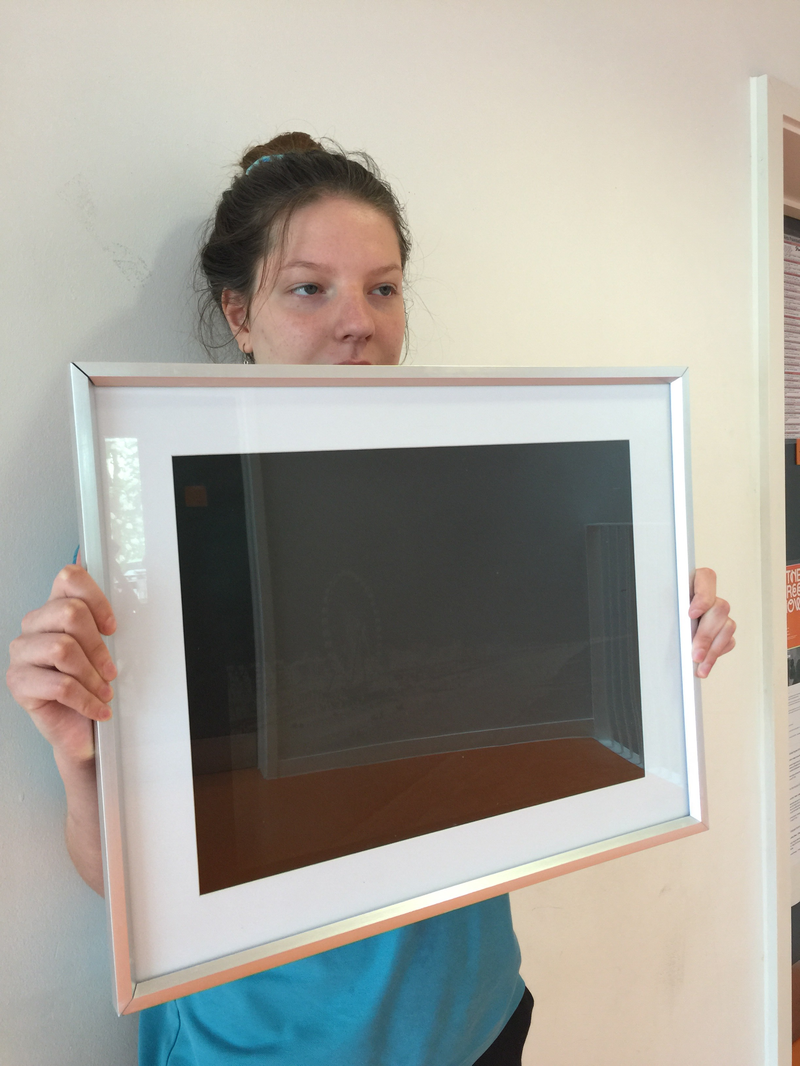
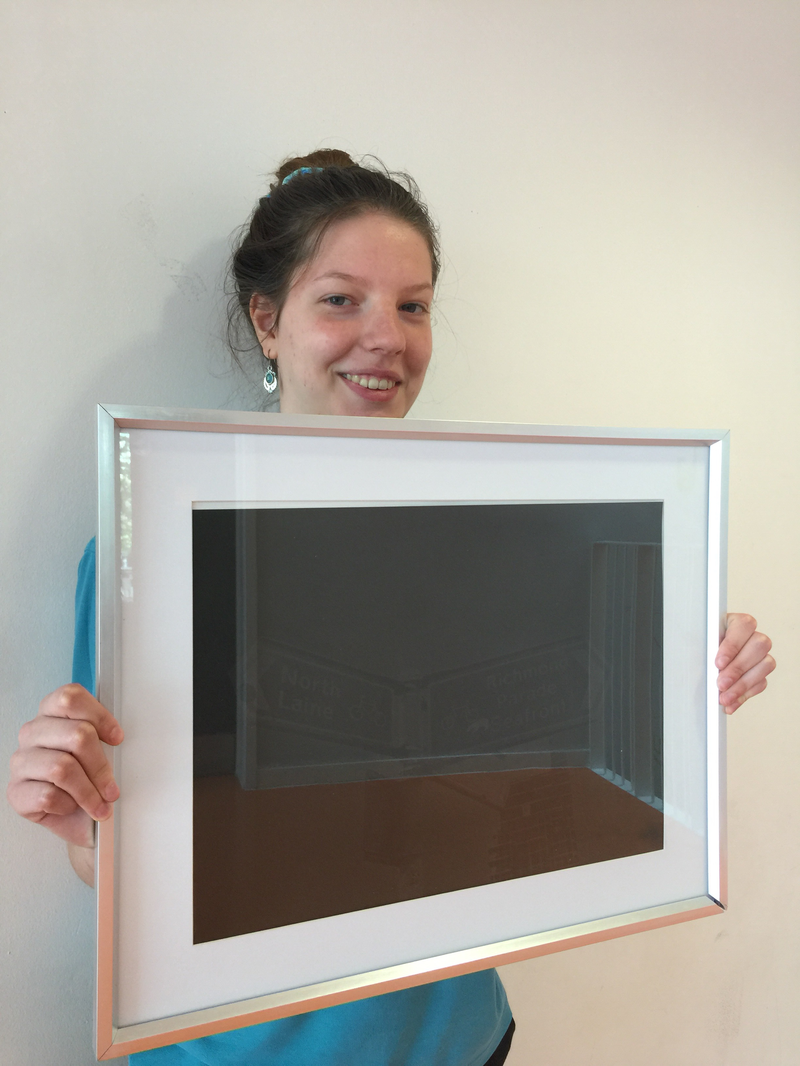
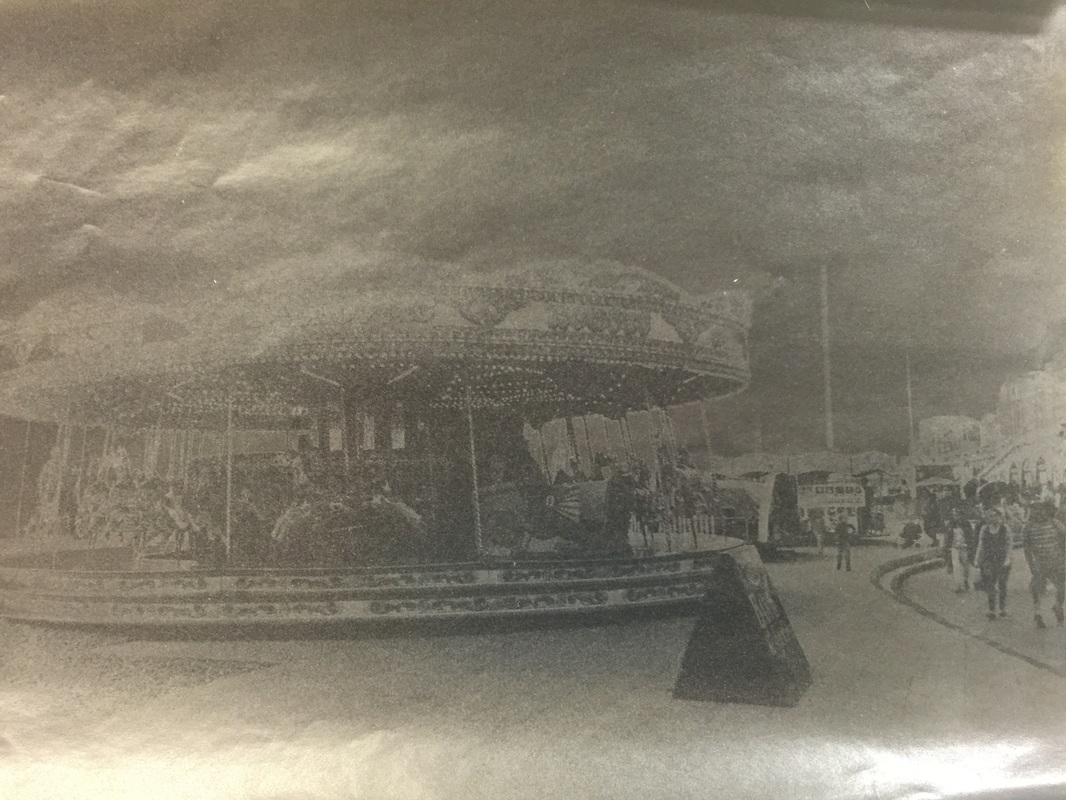
I decide to use the Kodak Photo paper and when dry the images formed where much more detailed and there was a grey tonal effect of top of the image that really added a new characteristic to the image, I feel that these images work well together as a final piece as they are able to compliment each other as well as bring a new feature to the piece, for example, each of the images contains a large amount of fine detail within the background and foreground, however some images for example to image of the clock tower contains a lot more empty space within that image, compared to the image of the carousel which is very detailed and busy, with an element in each segment of the image. I have really enjoyed working on this final piece, This is possibly my favourite series of images within the whole unit, due to the fact that i have worked the most on it, refined it in the most detail and the process of creating the soalrized pieces really fascinates me. Due to the silver tones within the image, the framed image acts similarly to a mirror, in the fact that it has a strong reflective surface, meaning it is quite difficult to see the actual outcome.
Raw Images


These sets of images, were taken in order for my to experiment with the use of experimentation of cutting out the silhouette of the figure within the image in order to emphasise the outline of the subject within the image. However I could use some of these images to use as the image within my solarisation. Most of these images are very simple however they contain a large amount of contrast meaning that the effect of the solarised images will be more visually outstanding.
Solarisation using photoshop.

I used photoshop to experiment with the solarisation of images and so i would be able to see the differences between digital solarisation and solarisation that has been created within the darkroom. I feel these images have turned out really well. The photographs where easy to edit and create. As well as the fact that the solarisation on photoshop is more reliable and controllable than when done in the dark room. I am going to experiment with making the solarisation pieces in colour rather than in black and white, to see what the difference is between them.
Coloured solarisation using photoshop.
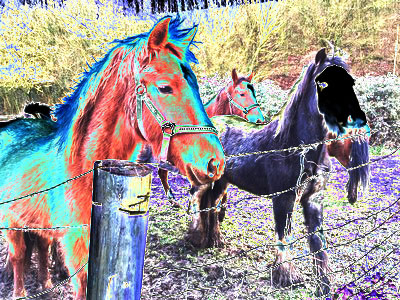
These images turned out quite well, there is a range of tones, lines and colours within the images. However personally i prefer the black and white versions of these images as there is a larger amount of tone and contrast. It was good for me to experiment with coloured solarisation as it broaden my experiments and development.
|
Research
|
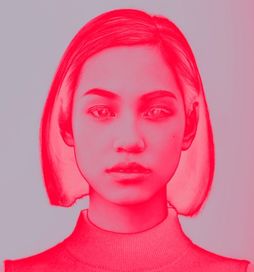
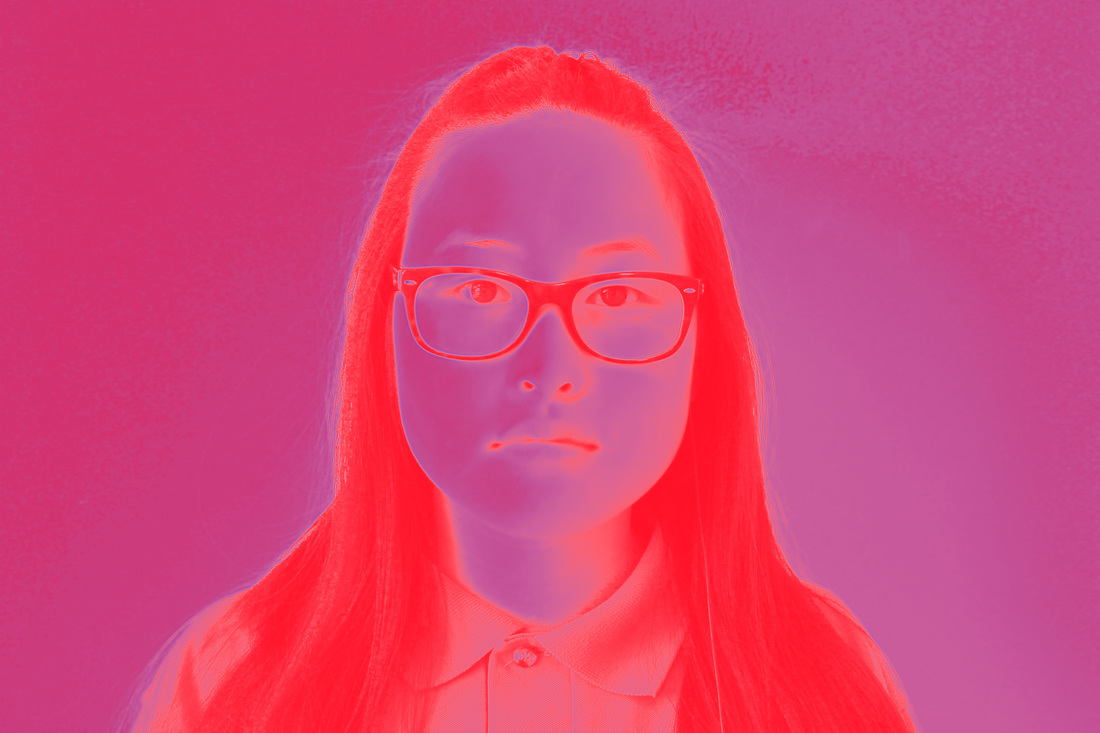
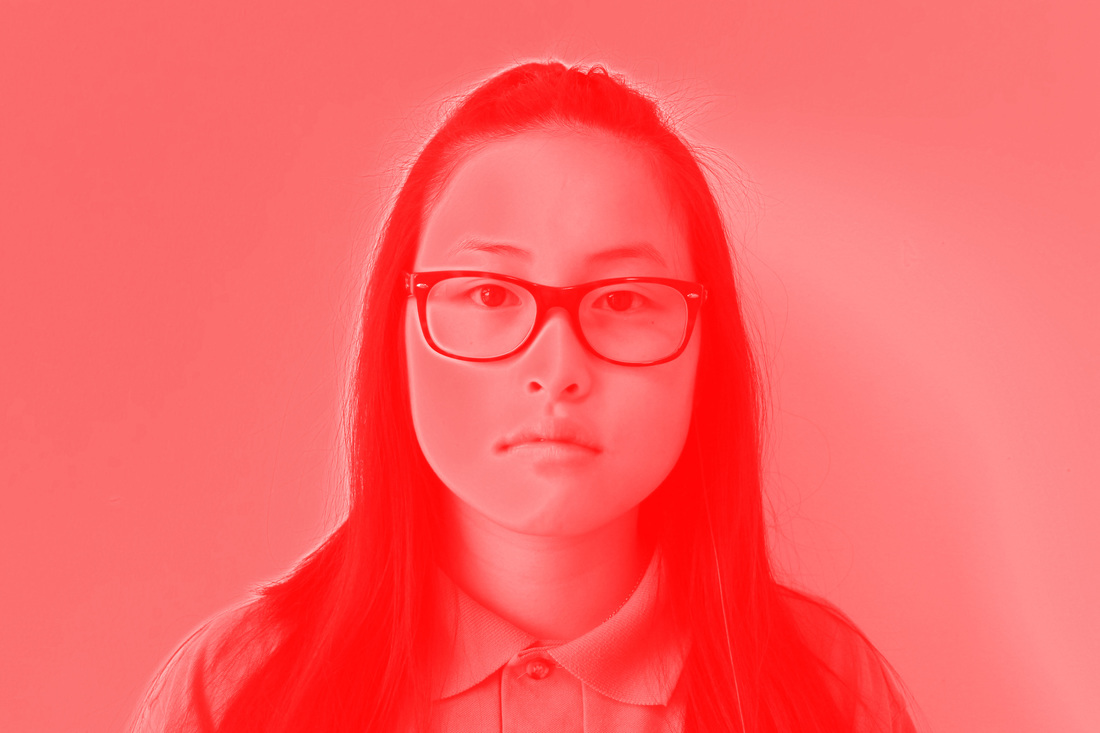
I came across this image of Kiko Mizuhara on pinterest and it really caught my attention. I liked how the outline of the image is similar to a solarised image, however it has a bold colour over layered on the top. I would like to achieve something like this, in order to develop the solarised images i have previously created on photoshop. This image gives a clear distinction of the outline of the different element within the facial structure of the model compared to the usual solarisation which just gives a basic outline of each elements within the image rather than specific segments of the image. The different tones of the pink, the dark pink outlines and the soft pink element gives the image contrast as well as further highlighting the key facial features of Kiko. The accentuated features gives the image a vast array of lines, texture and tones within the image, causing it to appeal to the eye of the viewer.
|
Raw Images.
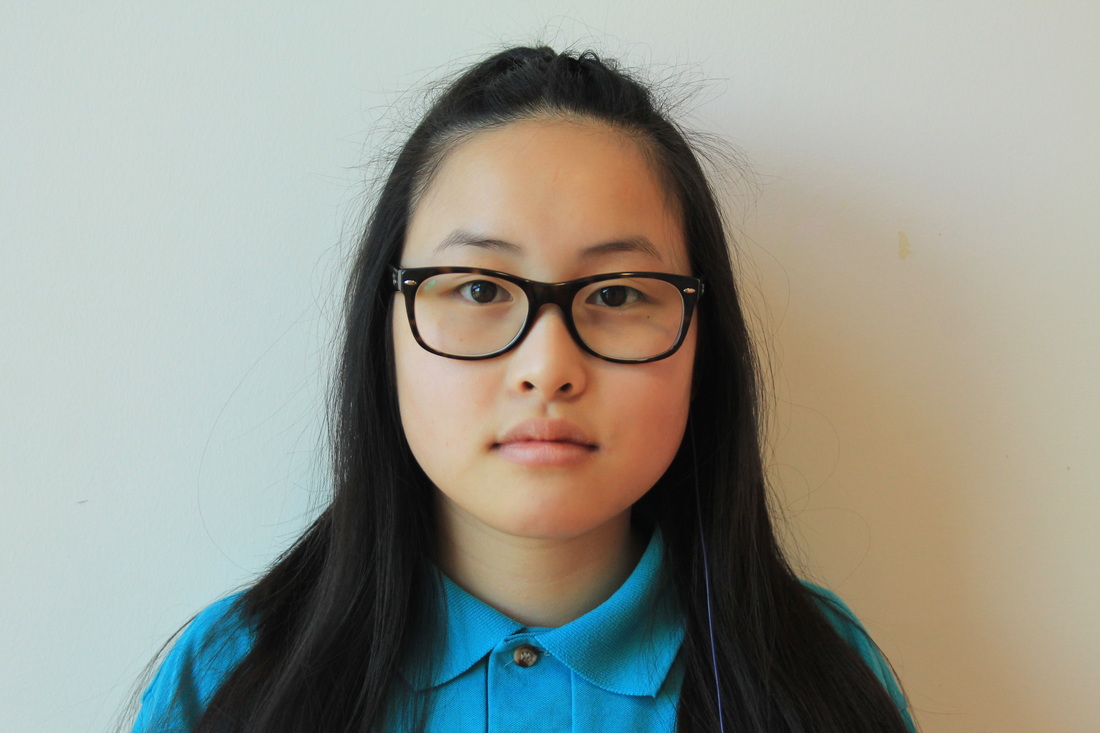
Attempt to replicate the researched image.
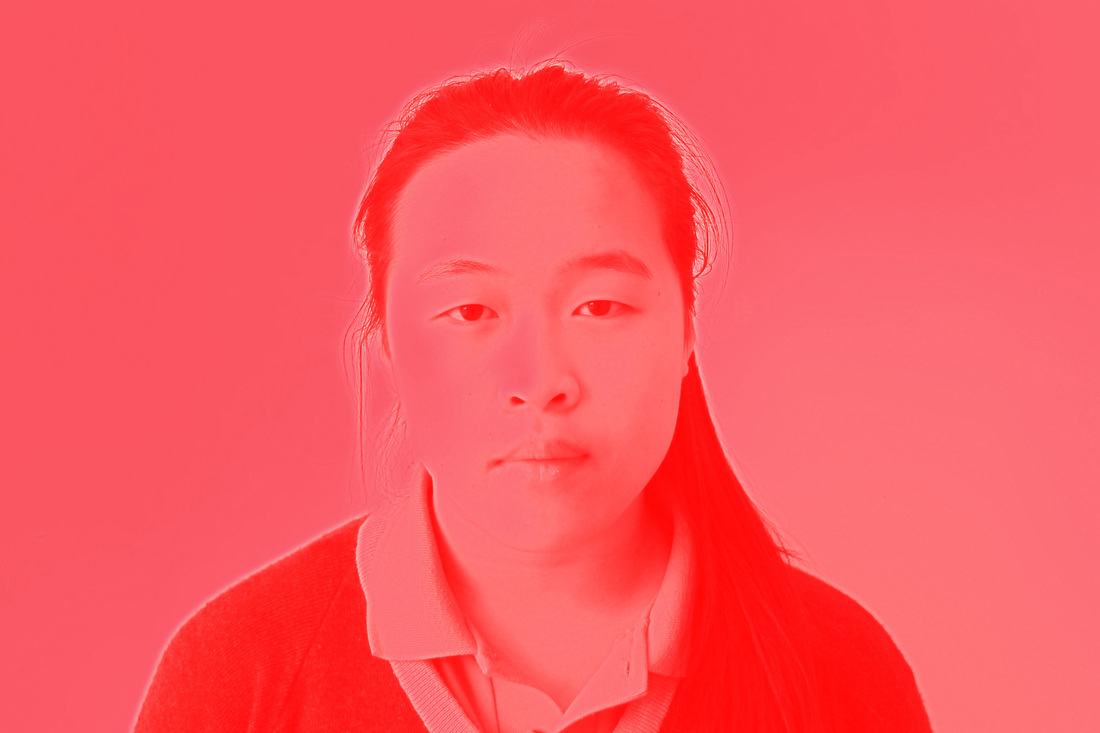
This experiment was not very successful. The outcomes of the images were amazing and was the outcome i had initially desired, however after creating the image on the left I had much difficulty repeating the outcome to create the same effect on another image. This meant that i was not able to create a series of images but instead was left with just one image. After multiple attempts to replicate the initial image, the image on the left was made. I really like how the subjects features are really bright and stand out within the image, however this was not the effect i had desired. Due to the inability to replicate the researched image and the initial image I have decided to try to create a coloured solarisation image using a different tool on photoshop.
|
|
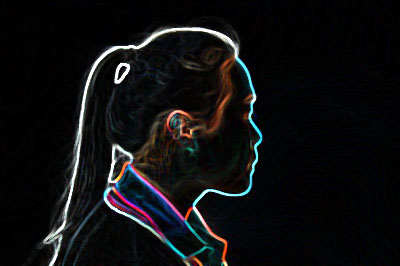
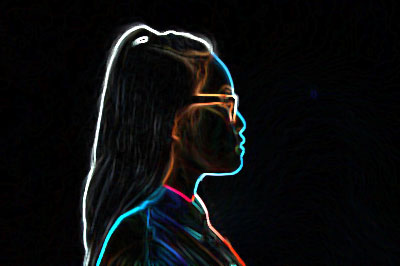
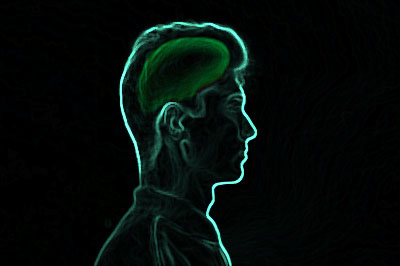
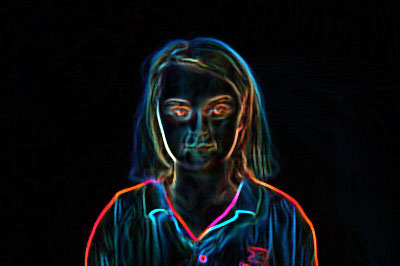
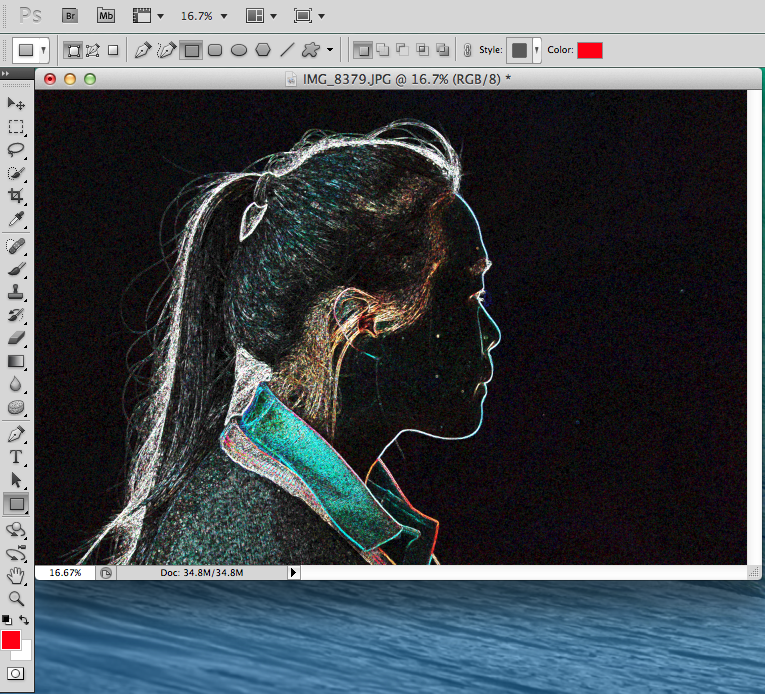
After trying a different way to create a coloured solarisation images on photoshop, I found this effect, I love how the bright bold colours stand out against the black background. The fact that all of the features have been highlighted within the image, even the small details which allows the images to have a strong contrast between the black background and the bright foreground. I feel that each image has the same visual effect, however they look slightly different, allowing for the images to look good together in a series of image. Each image has its individual qualities, but have similar qualities at the same time.
|
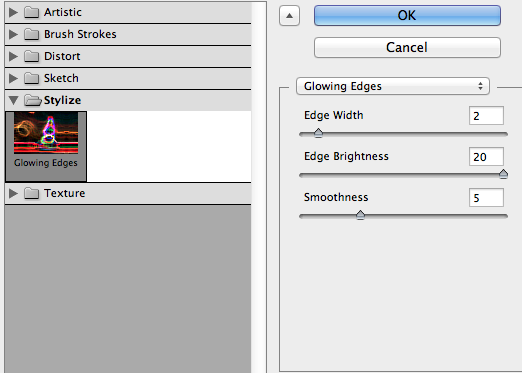
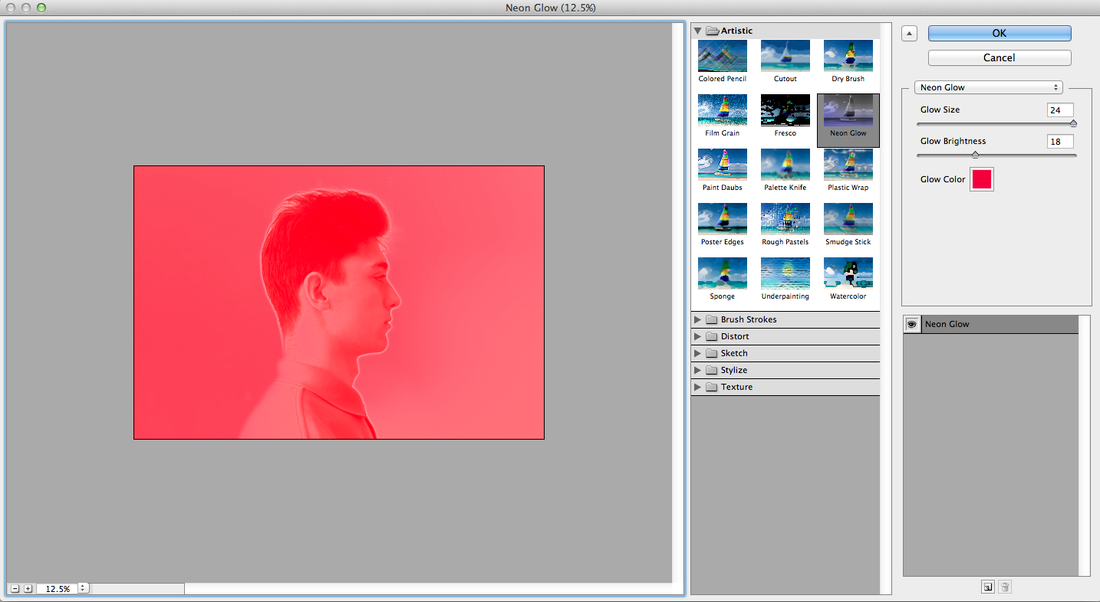
Step 1- Open the desired image into photo shop Step 2- press Filter-filter gallery-Artistic-Neon Glow Step 3- Adjust the Glow brightness and the Glow size to achieve the desired effect. |

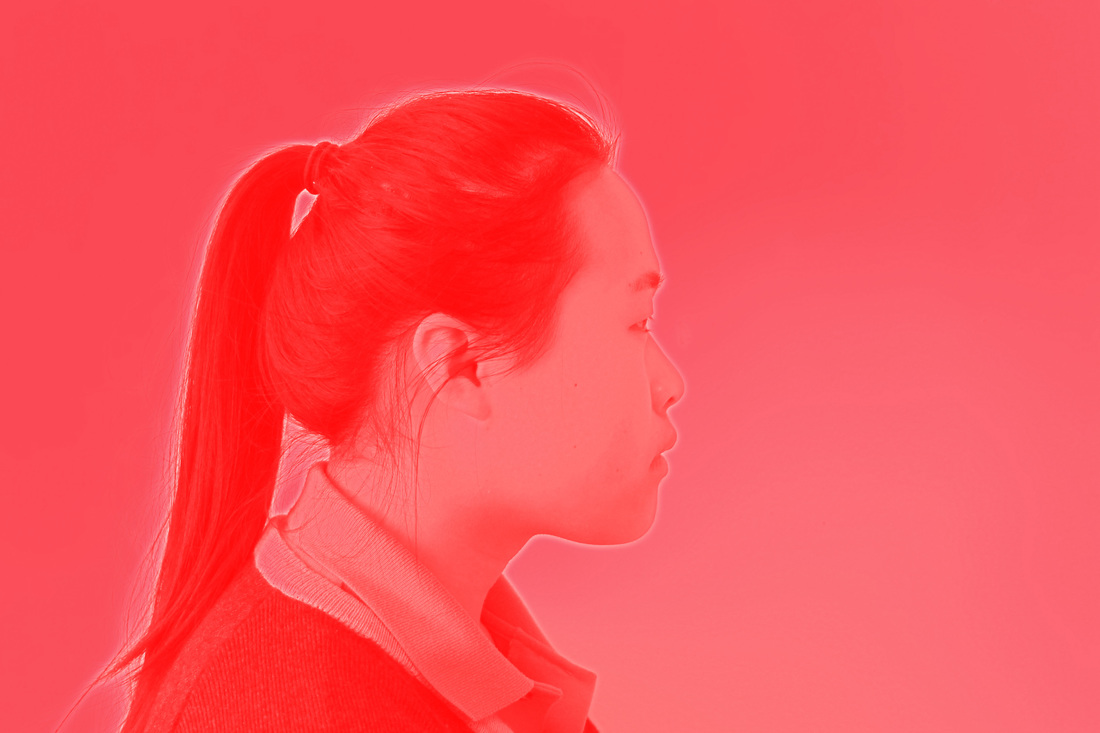
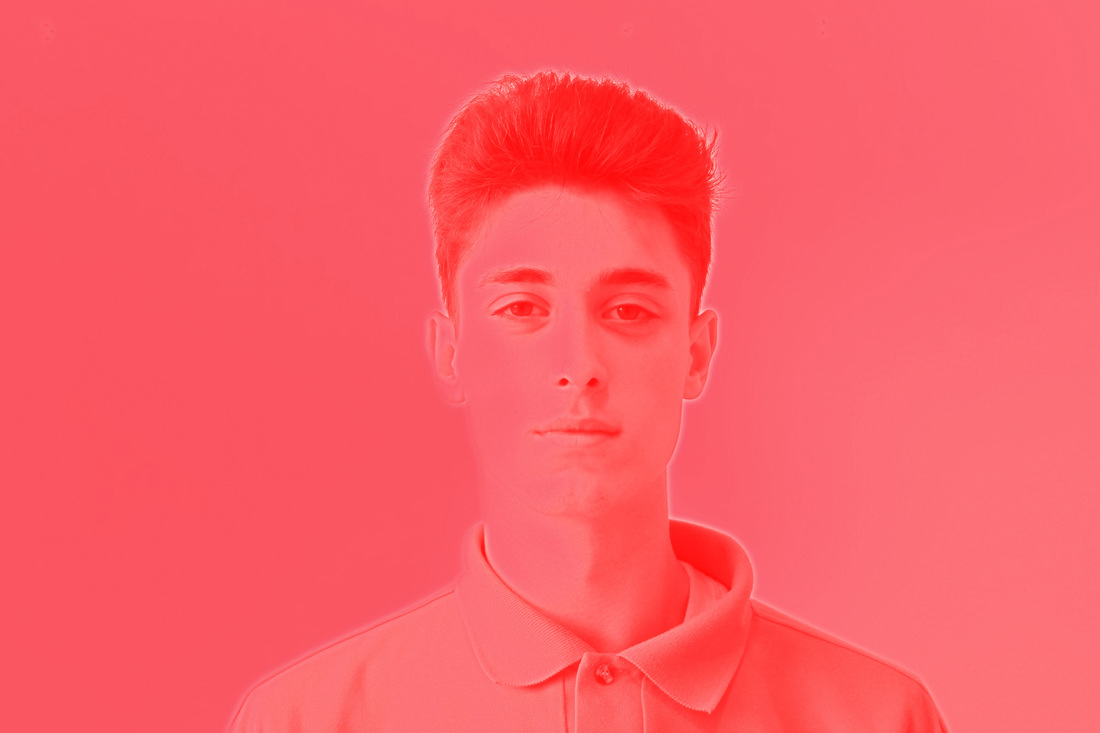
After a break from the photo shop solarisation, I decided to go back and have another go at trying to replicate the researched image. I really like these images, they all show the solarisation process which has added a large range of lines to the images. There is also a lot of colour in this image which makes the solarisation pieces differ from the usual pieces you would typically see when searching for them. There is not as much contrast between the images however there is still some contrast between the bright pink/red and the white outlines.
Research images
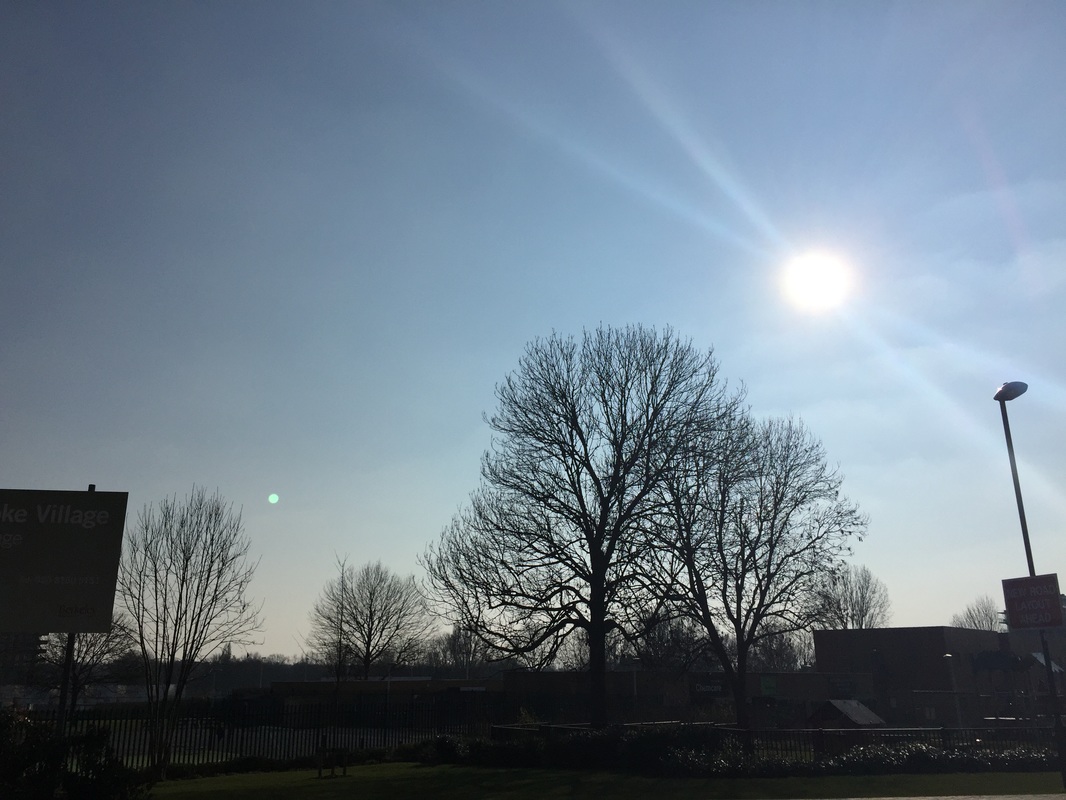

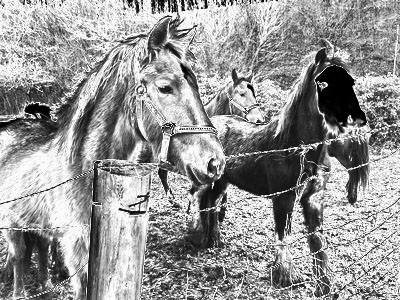
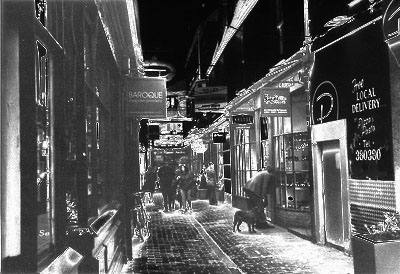
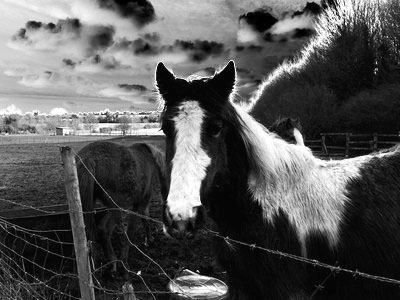
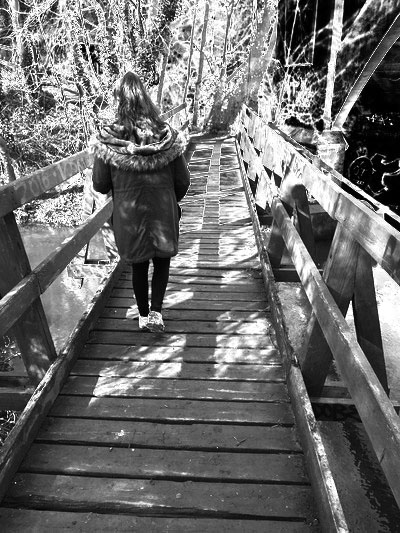
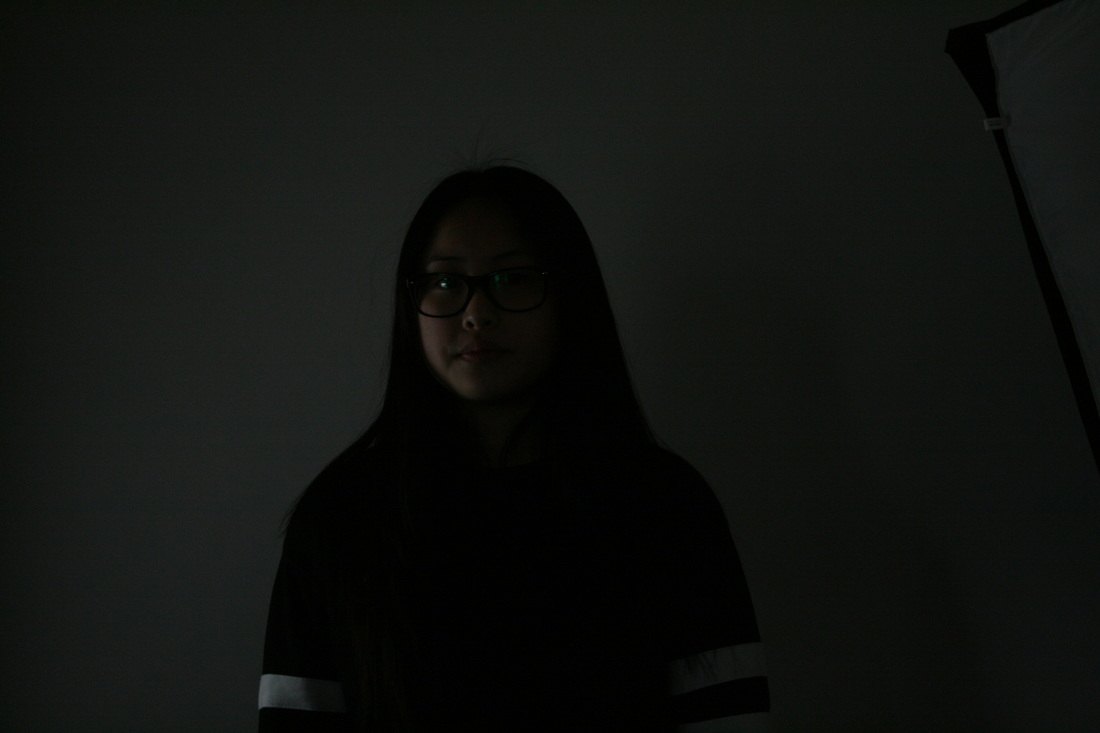
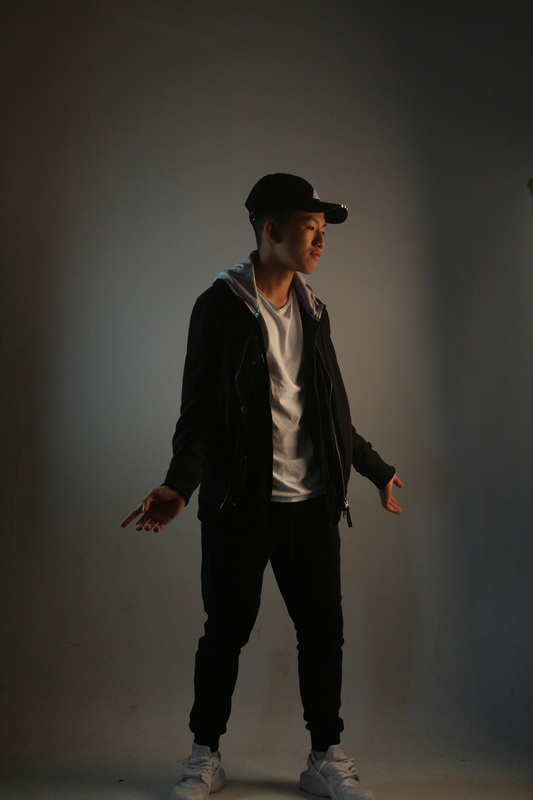
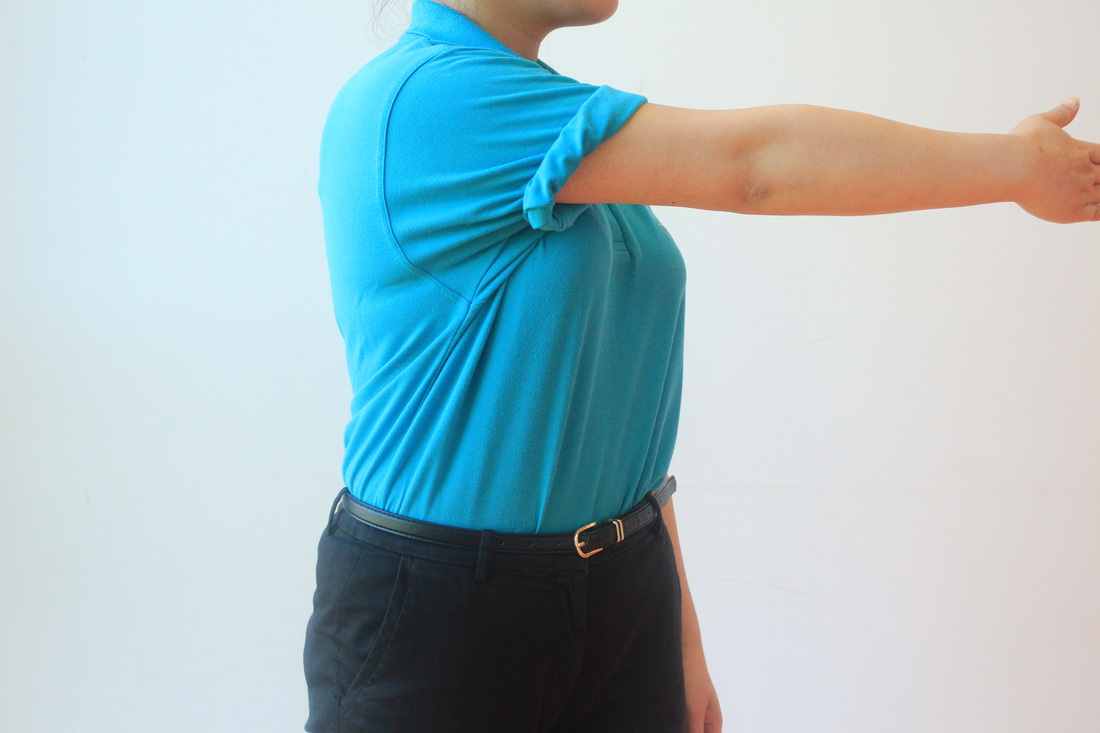
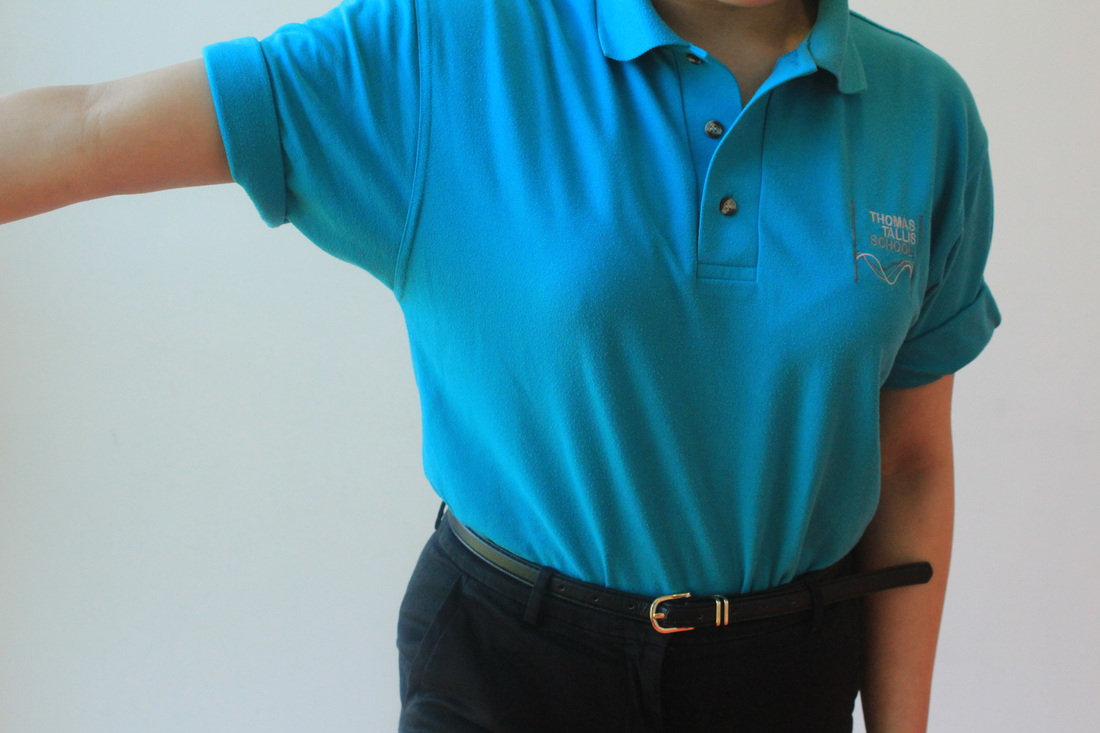
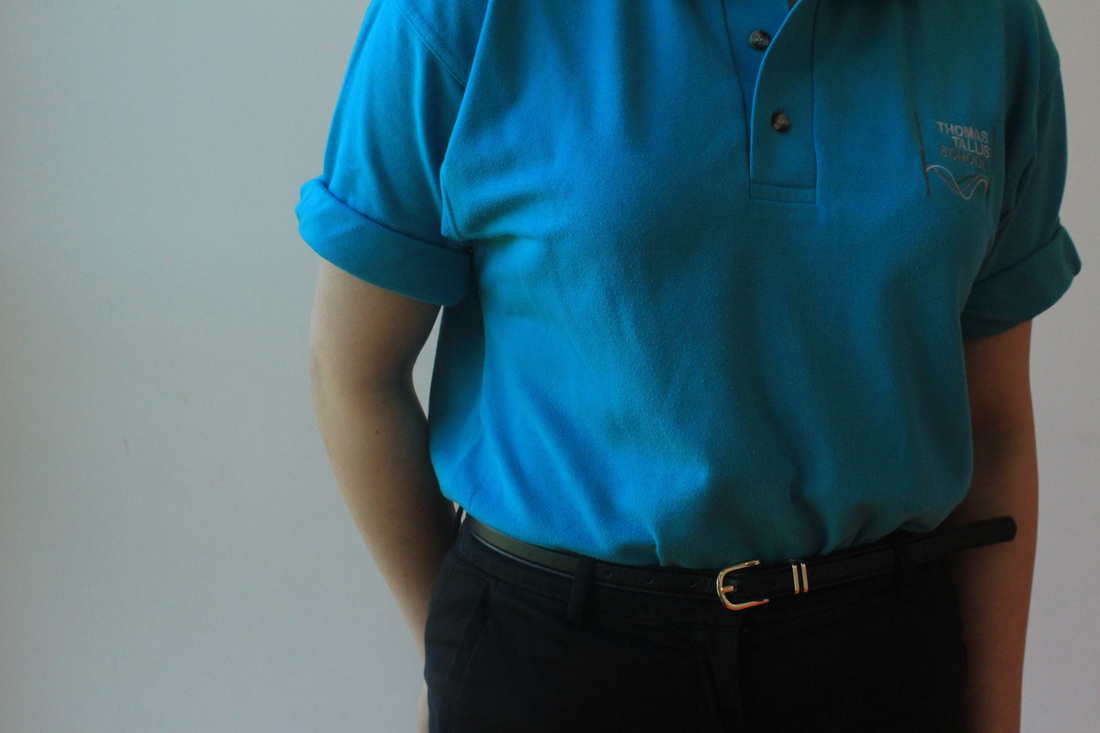
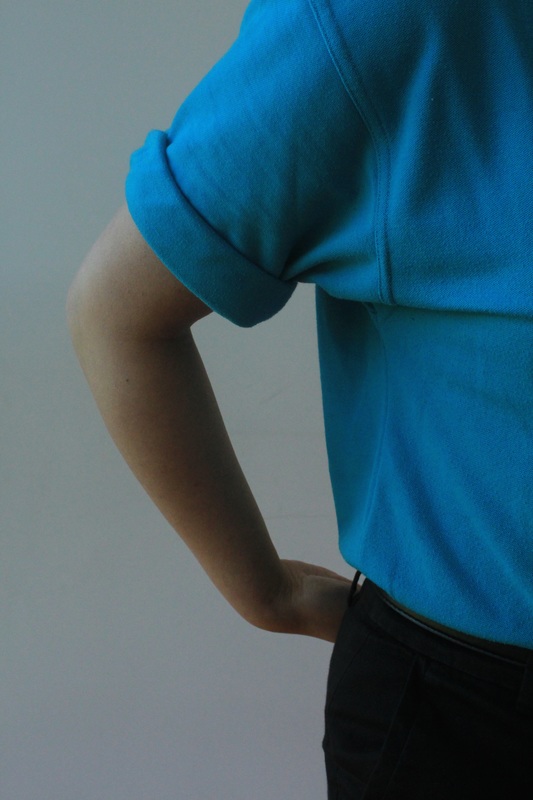
I decided to take a series of image, in order to experiemnt with how light can be minipulated into creating different effects naturally within an image. I decided to capture an image with the lens facing directly into the direction of the light in order to see how this effects the image. The outcome was clear that, I simple silouette would be casked upon certain elements within the photograph. This experiment has given me an increased knowledge of how changing the place of light in terms of what angle the camera is at can change the visual effect of the image.
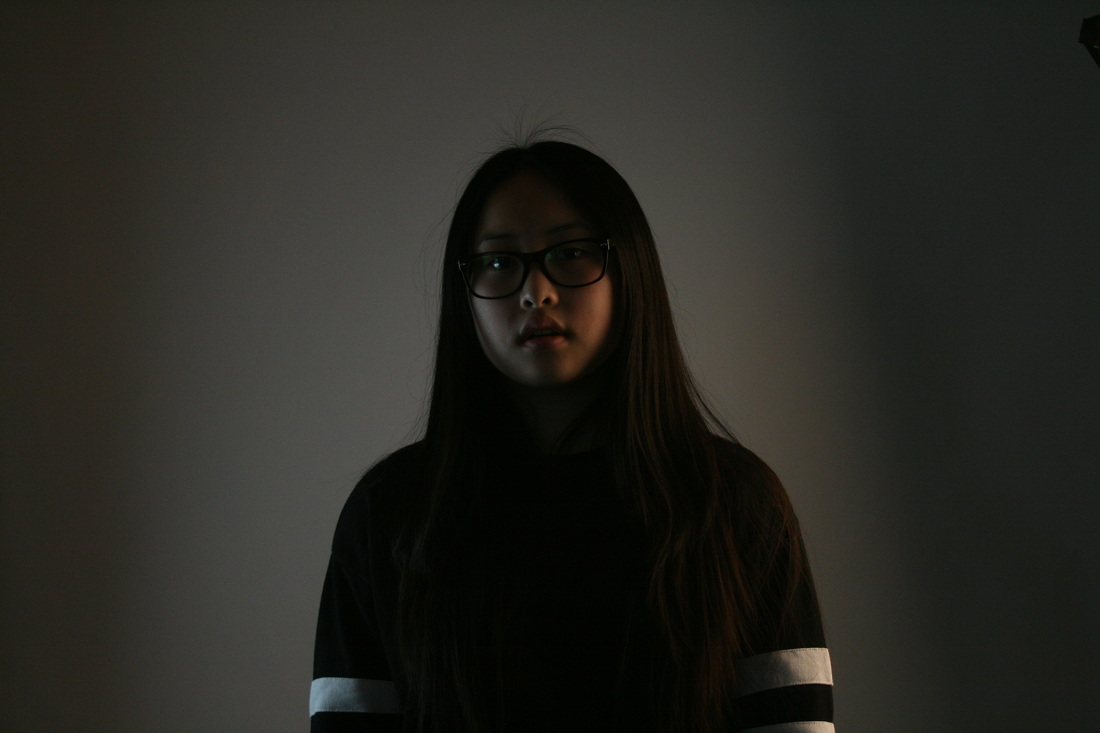

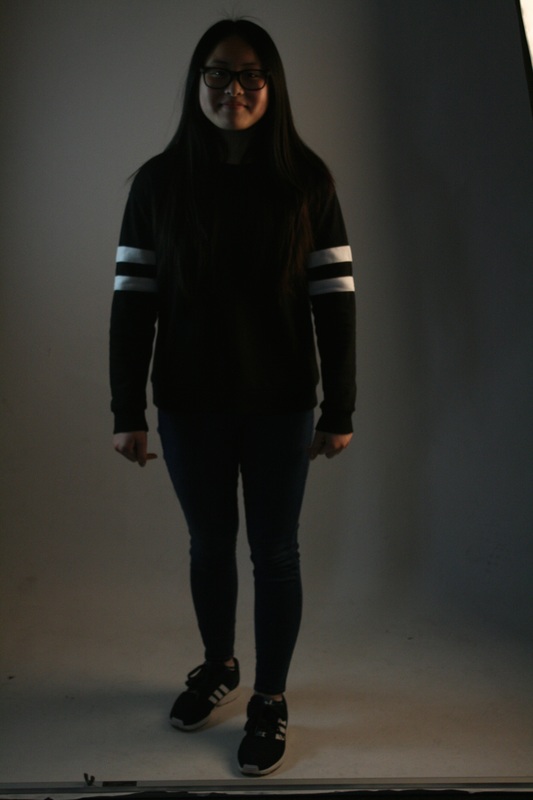
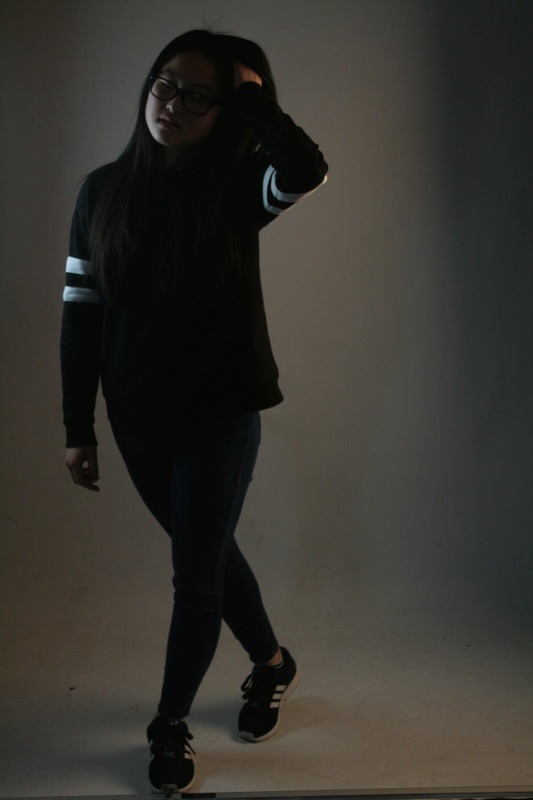
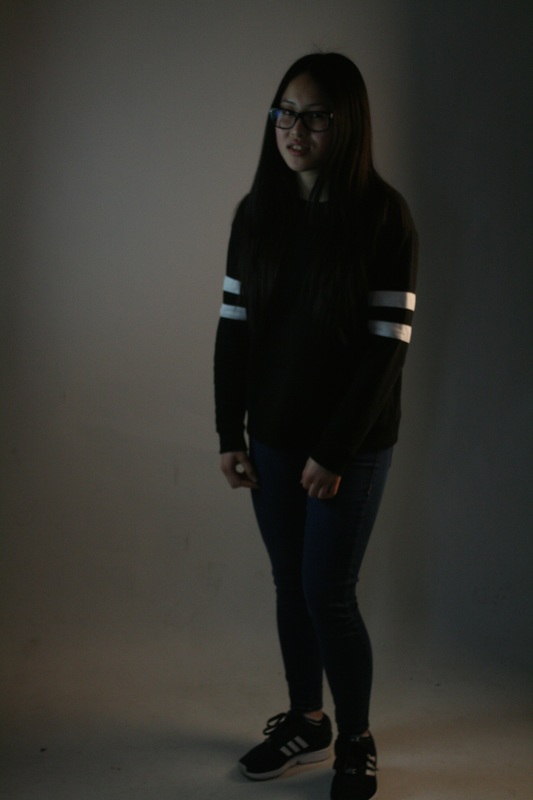
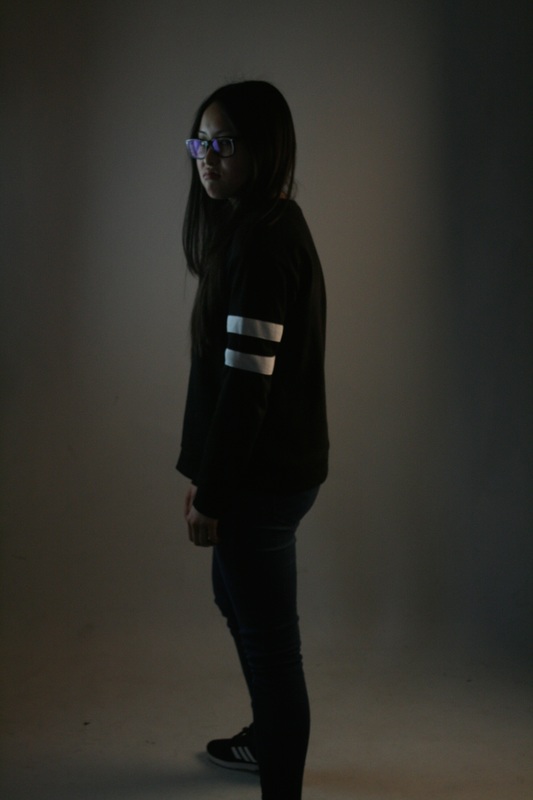
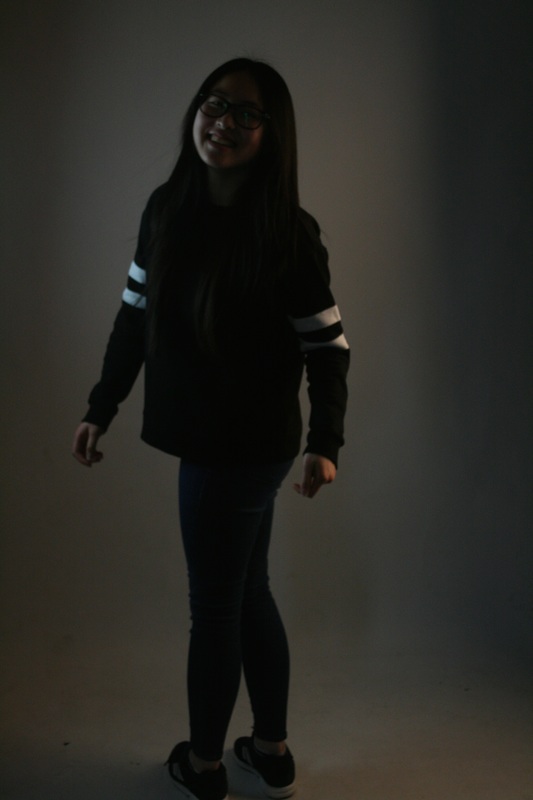
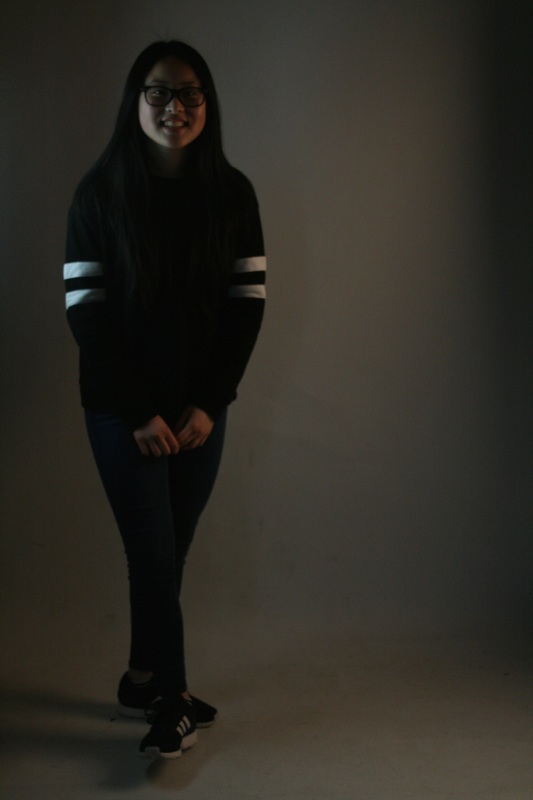
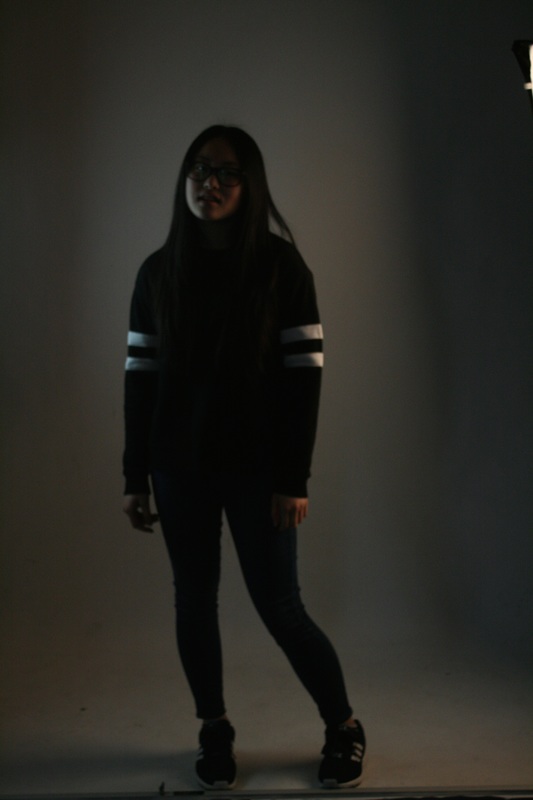
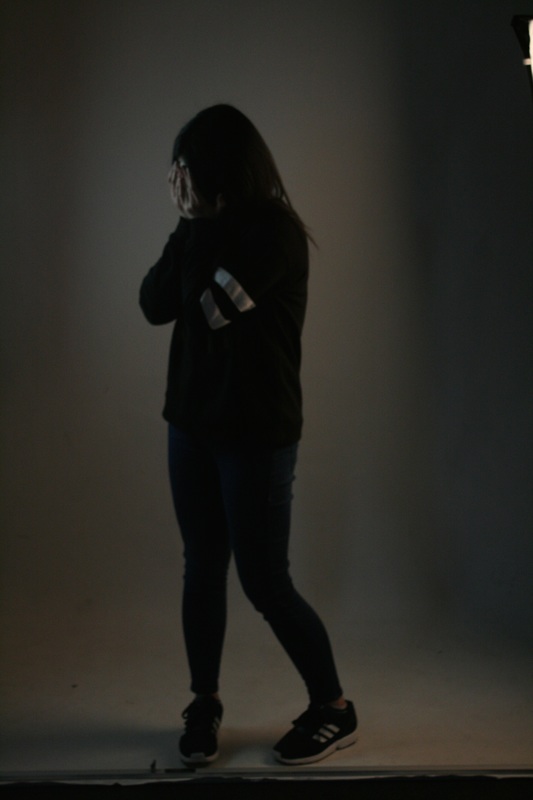
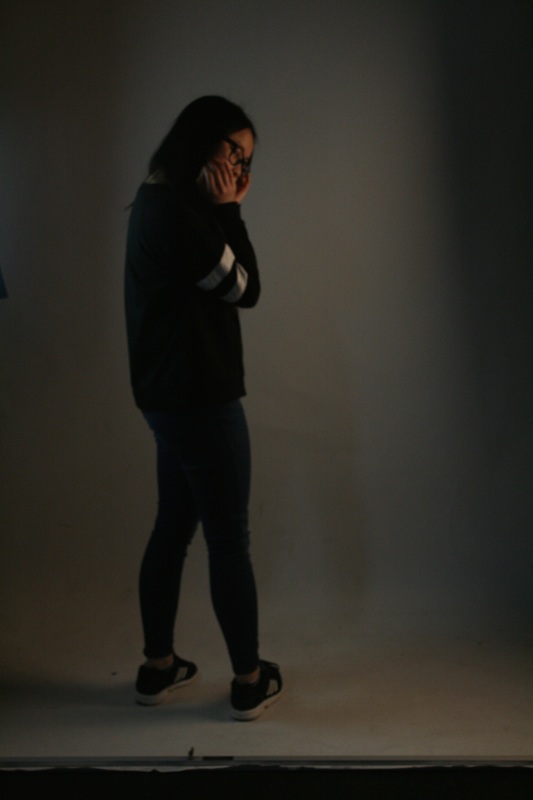
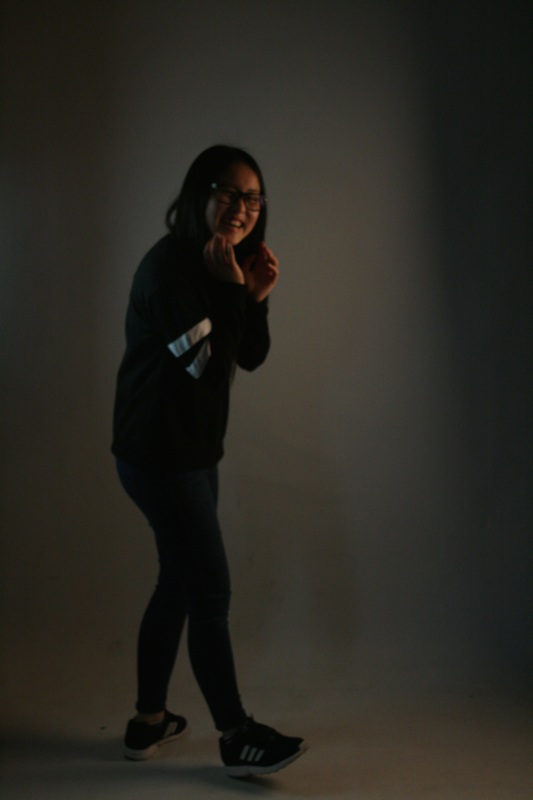
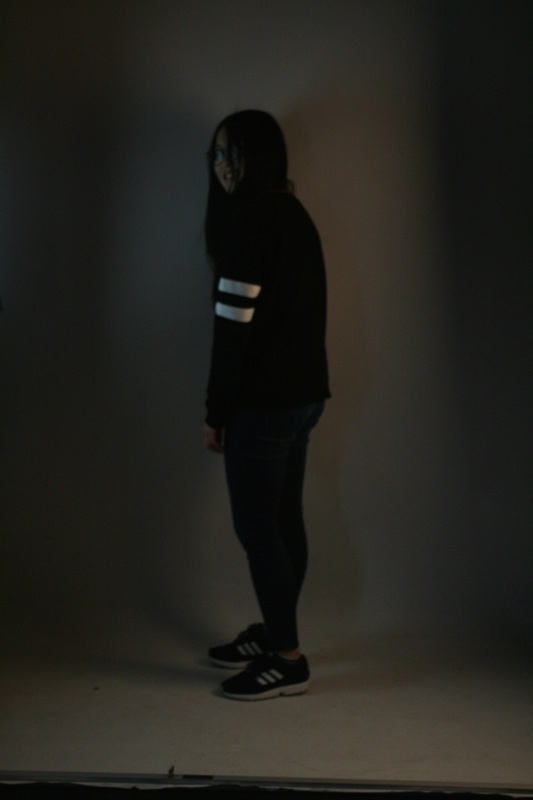
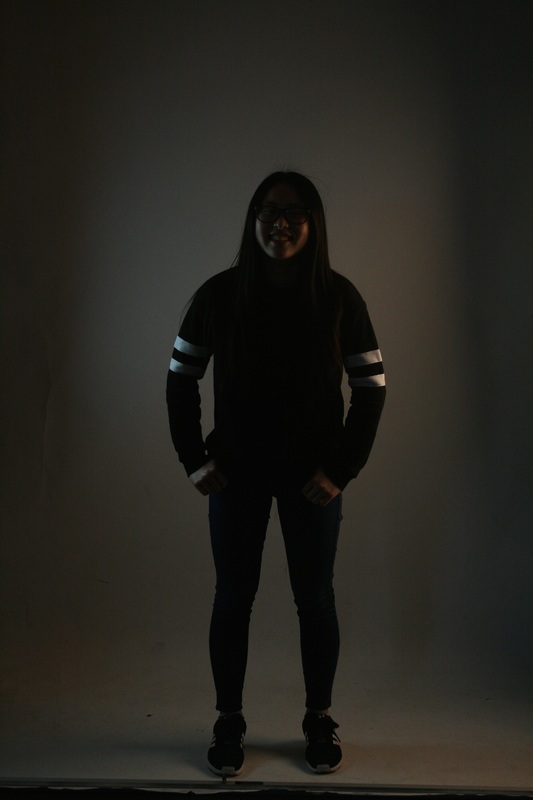
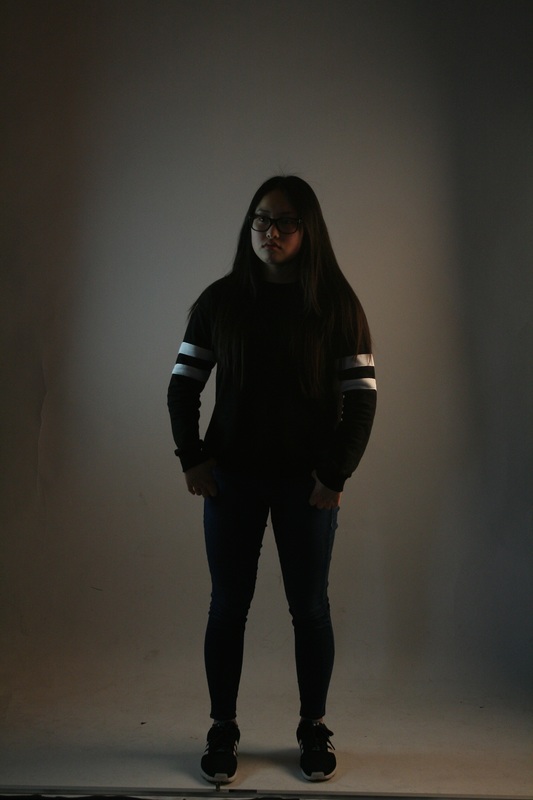
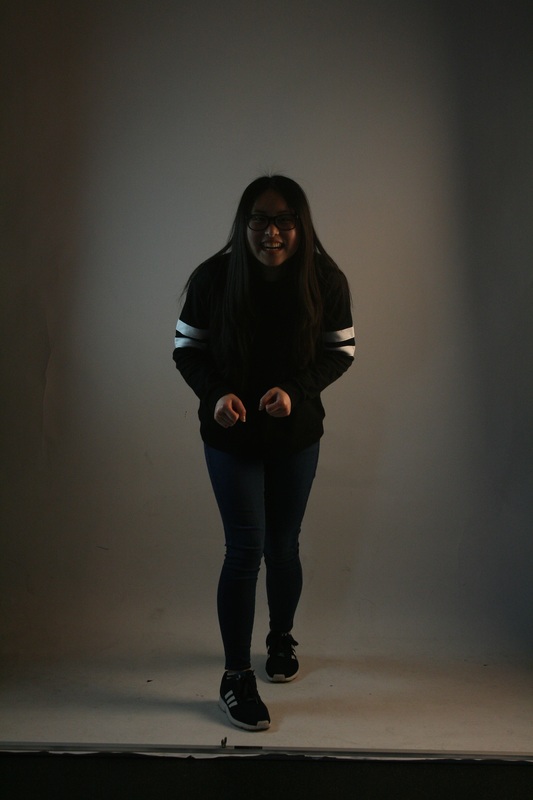

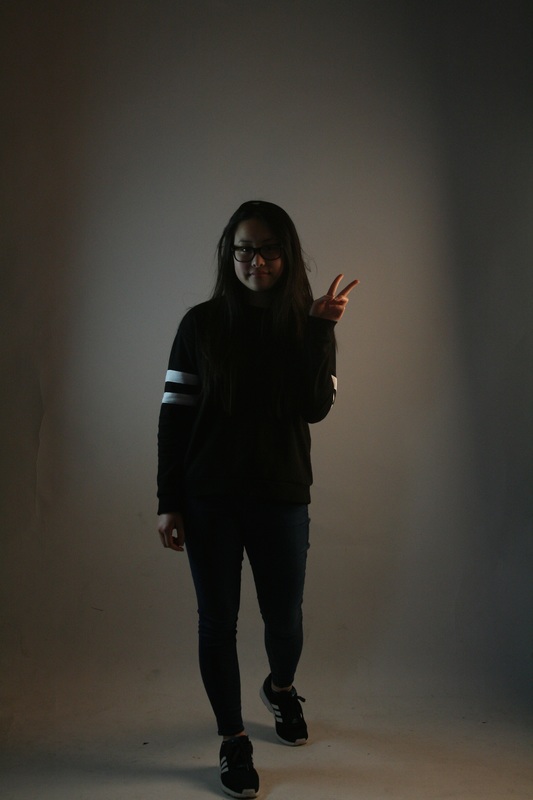
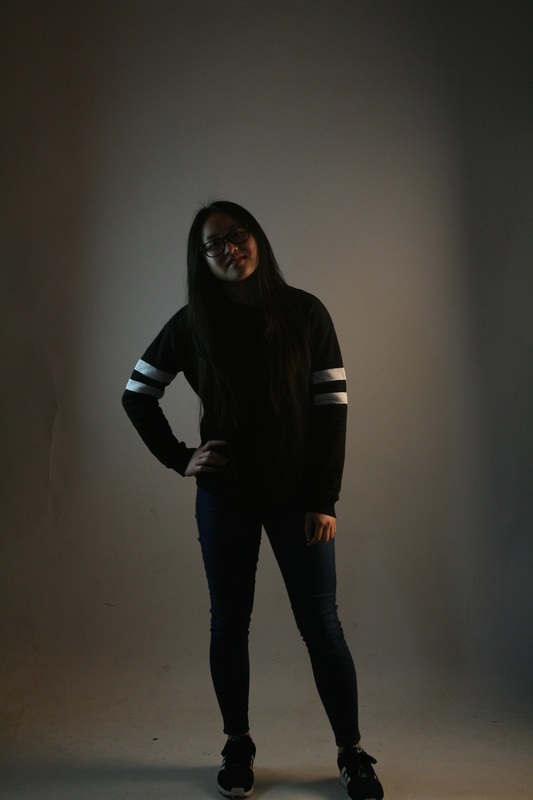
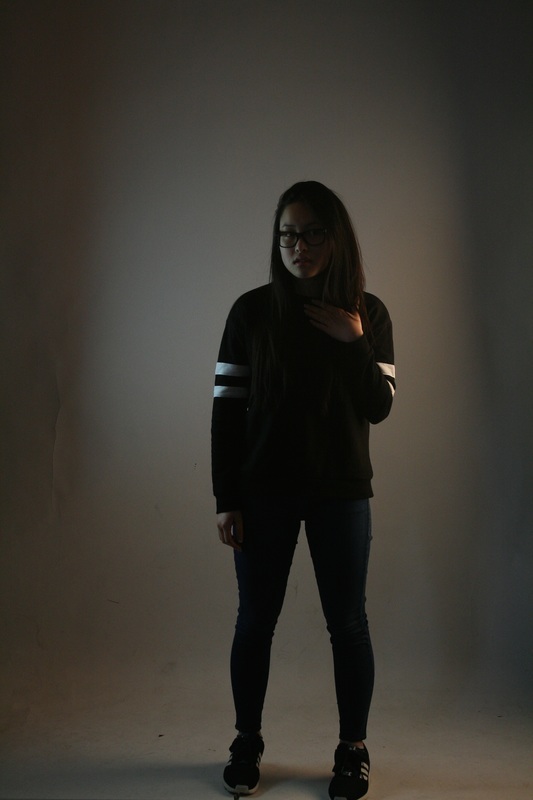

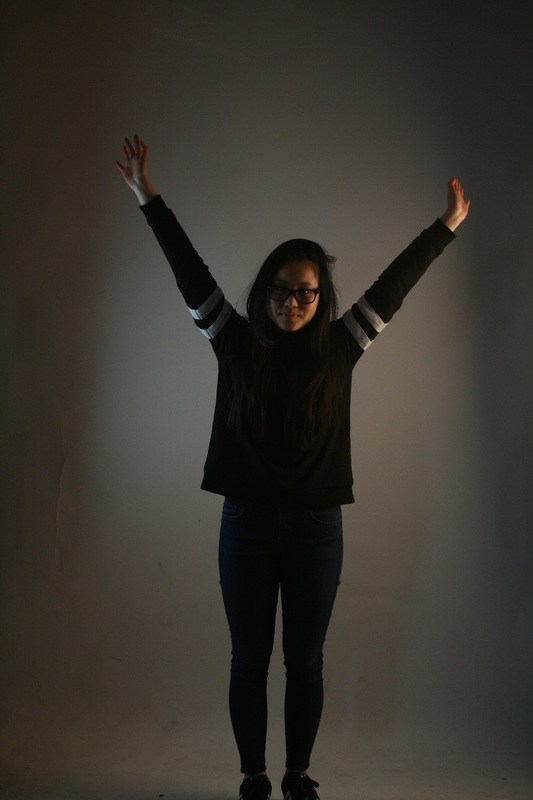
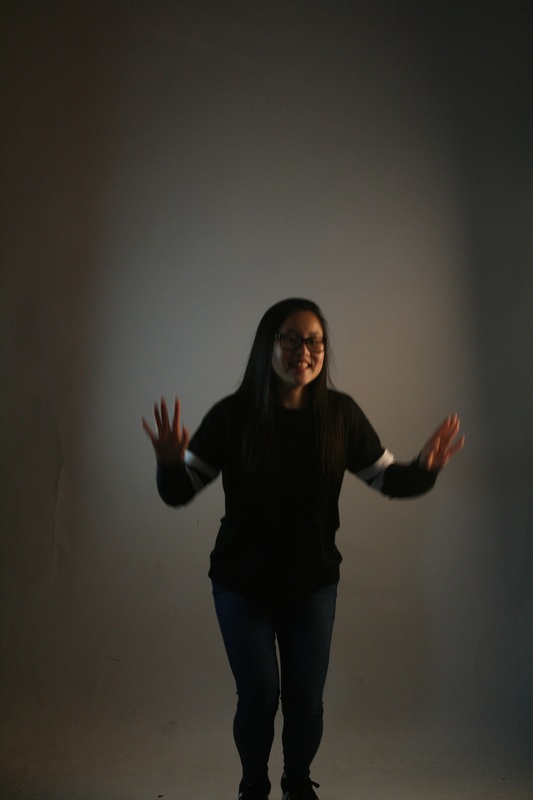
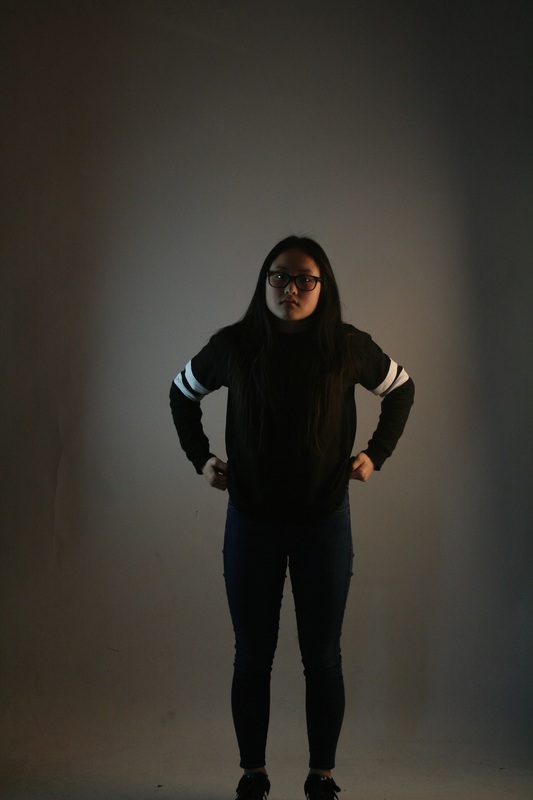
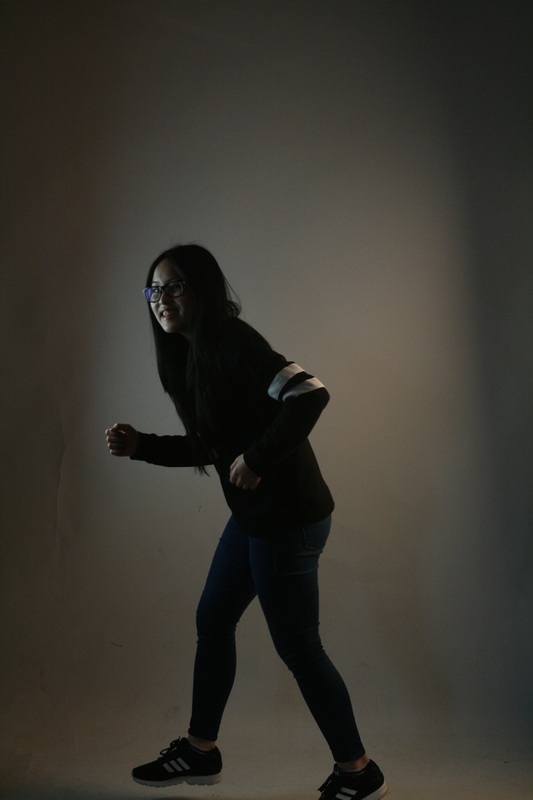
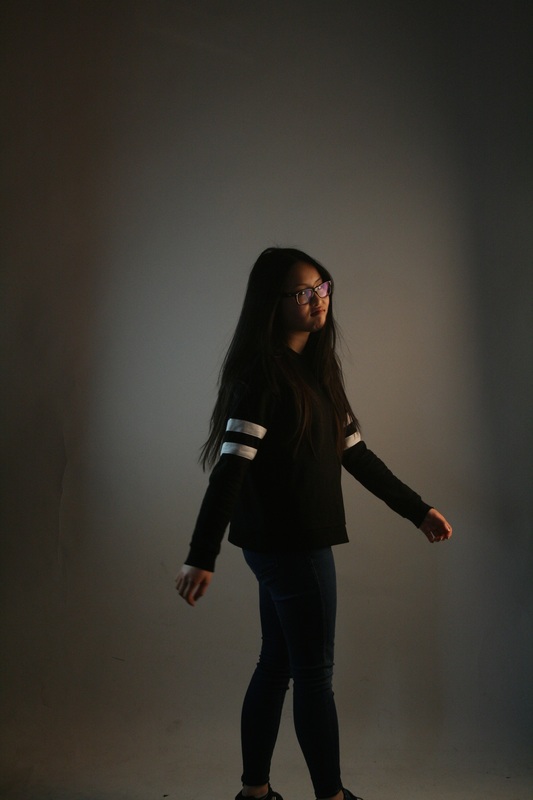

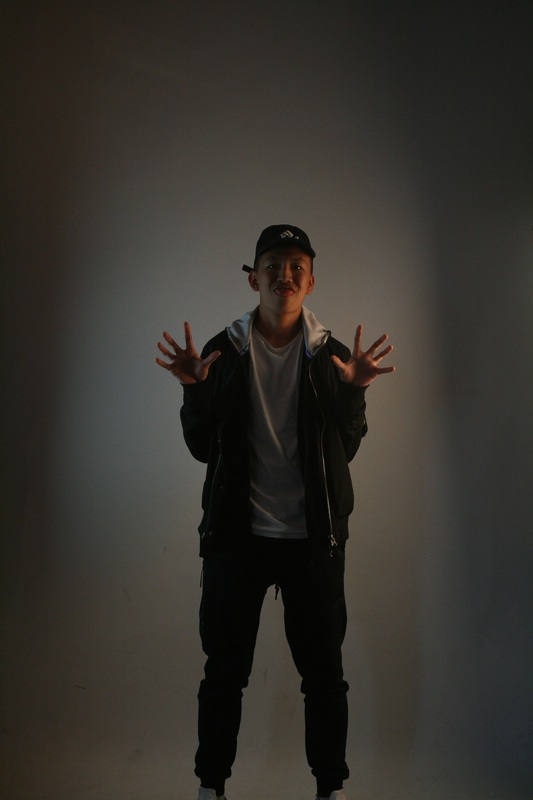
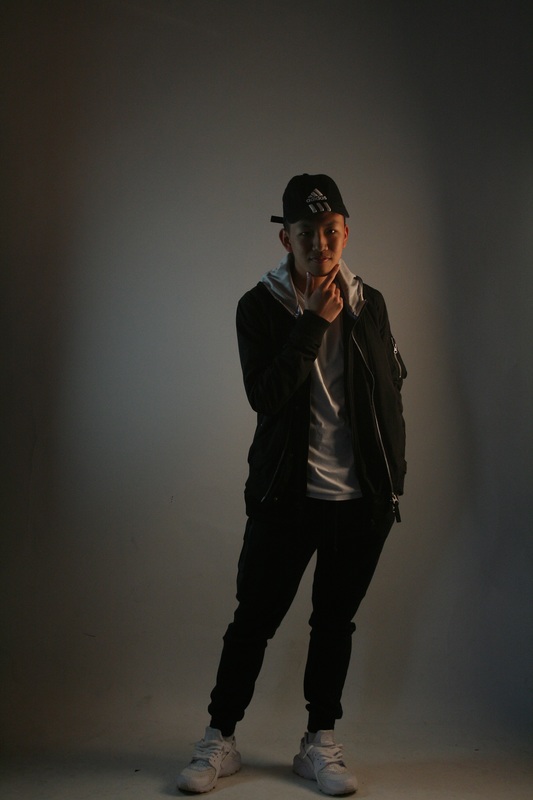

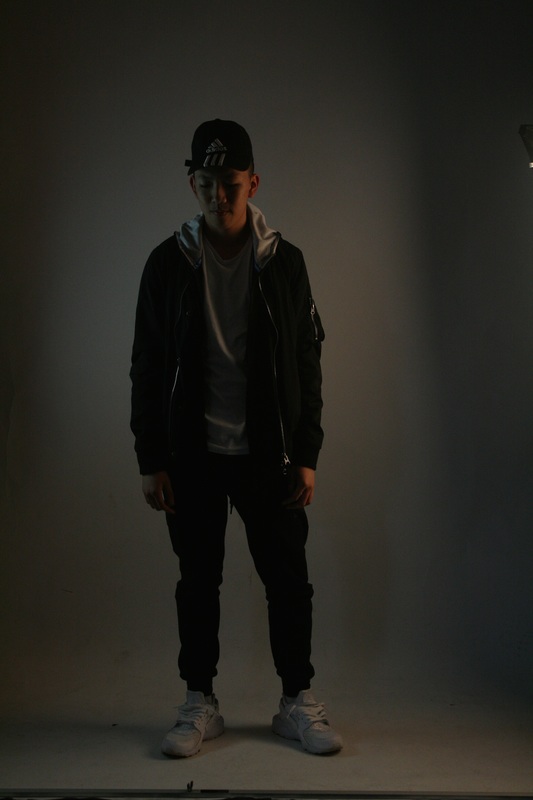
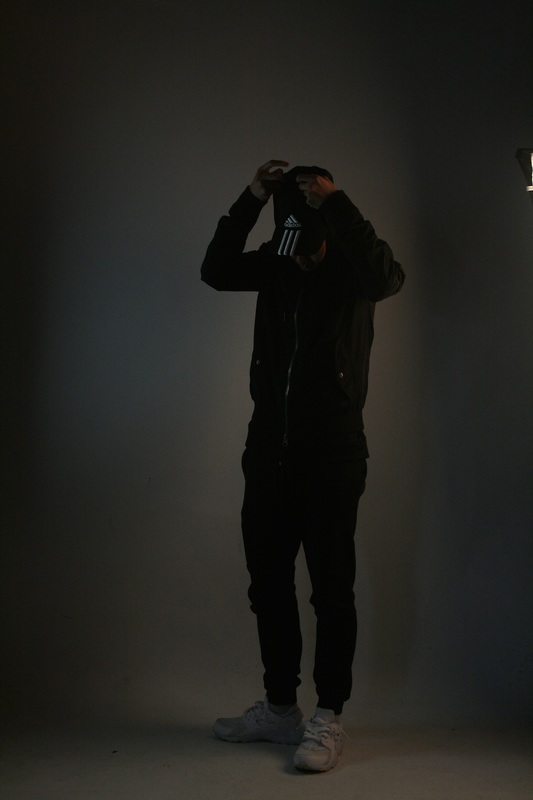
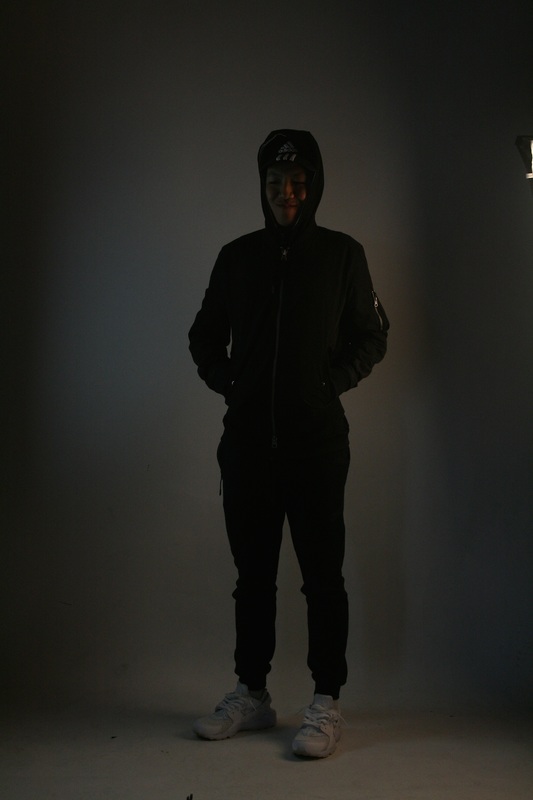

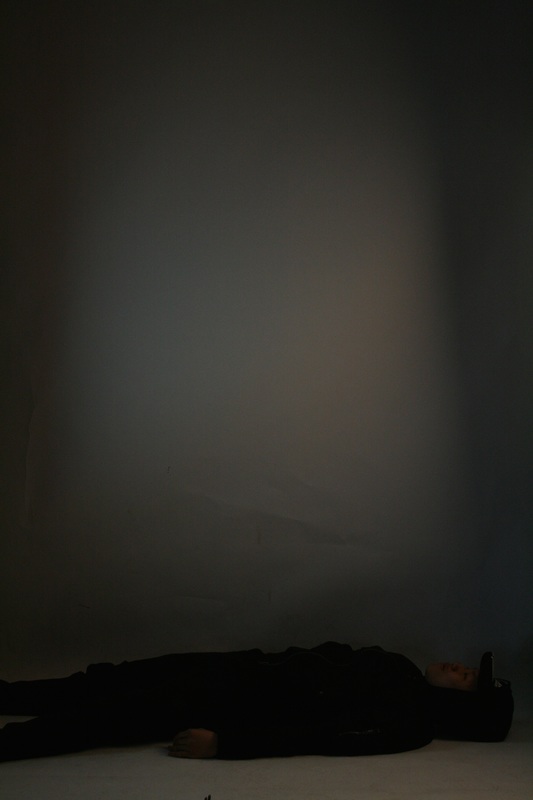
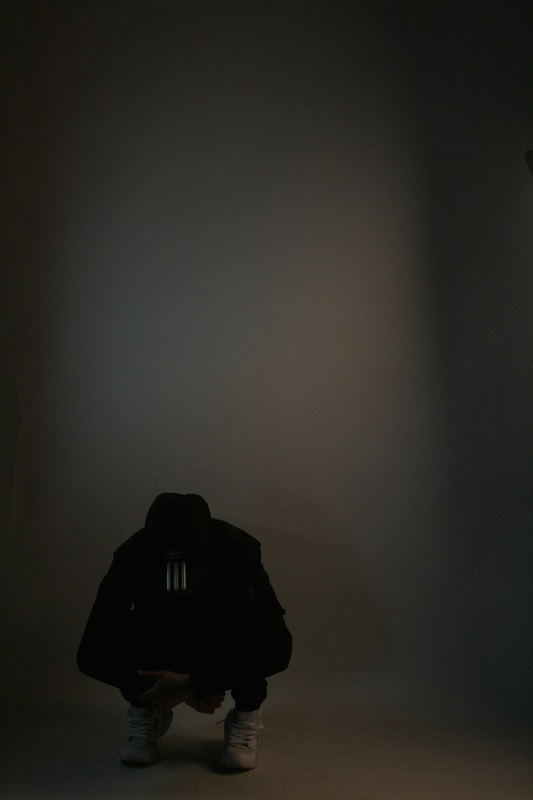
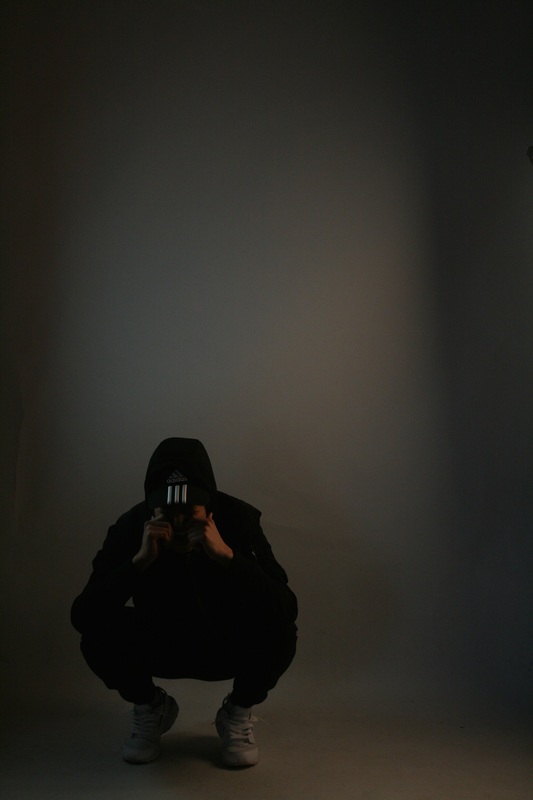
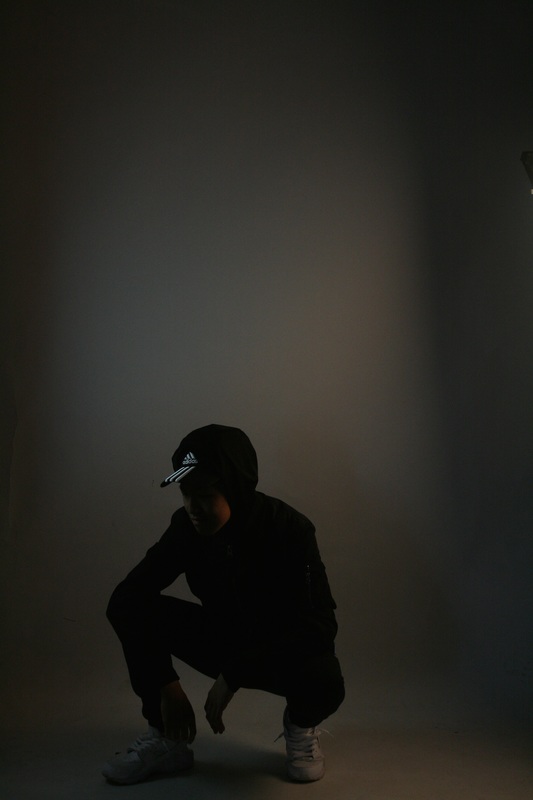
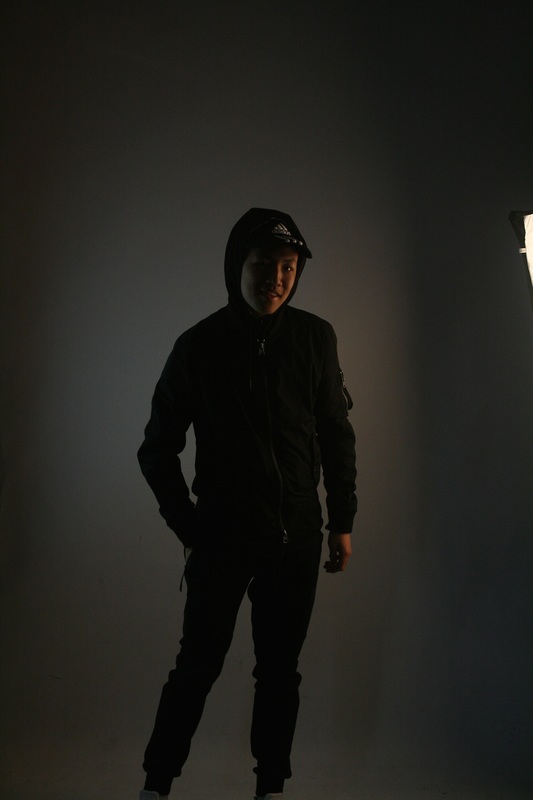
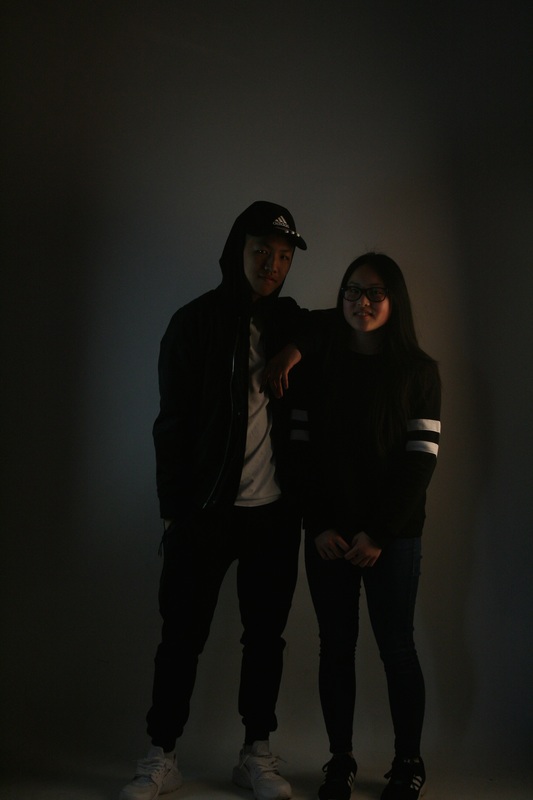
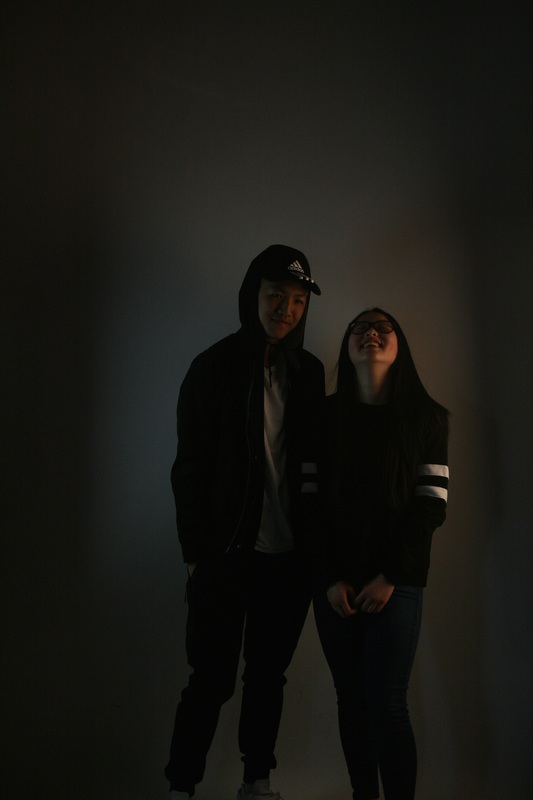

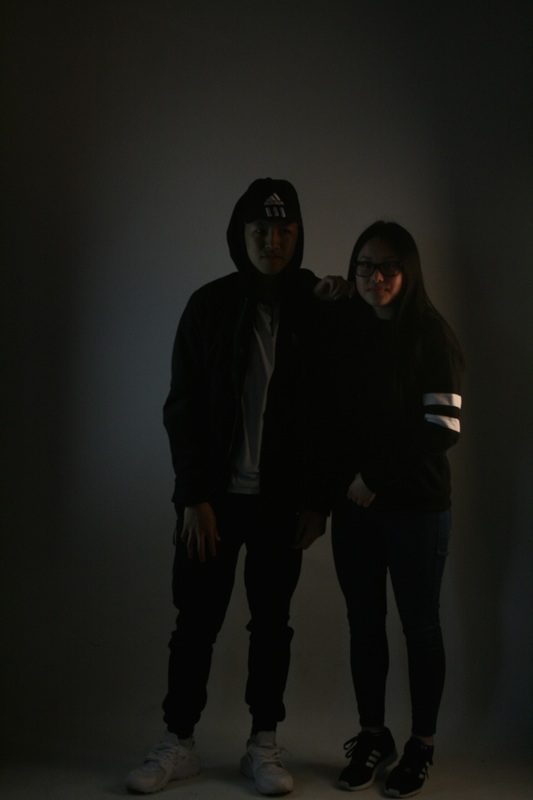
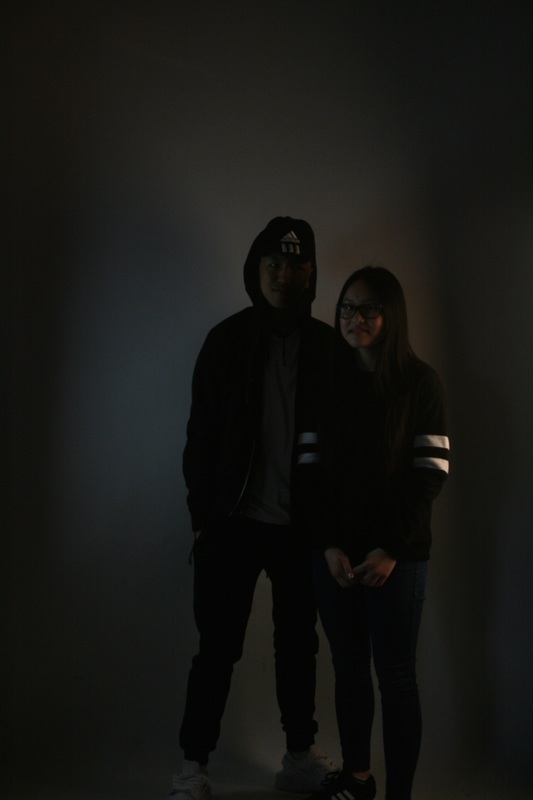
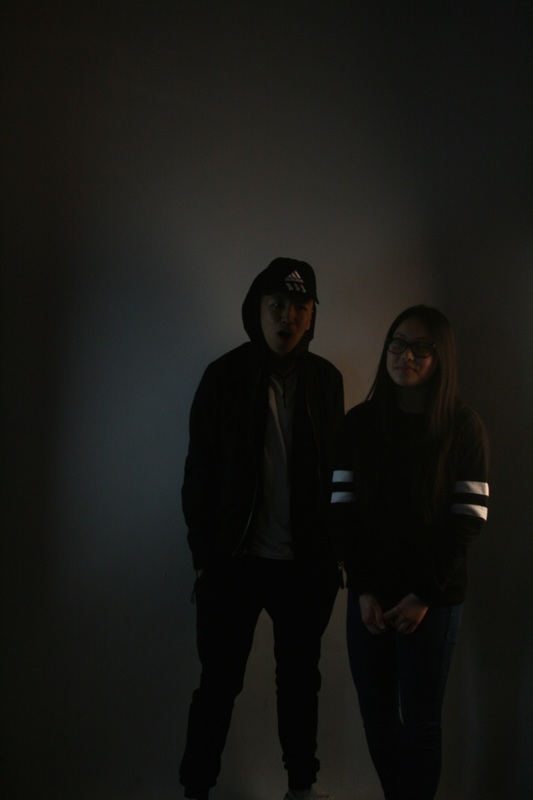
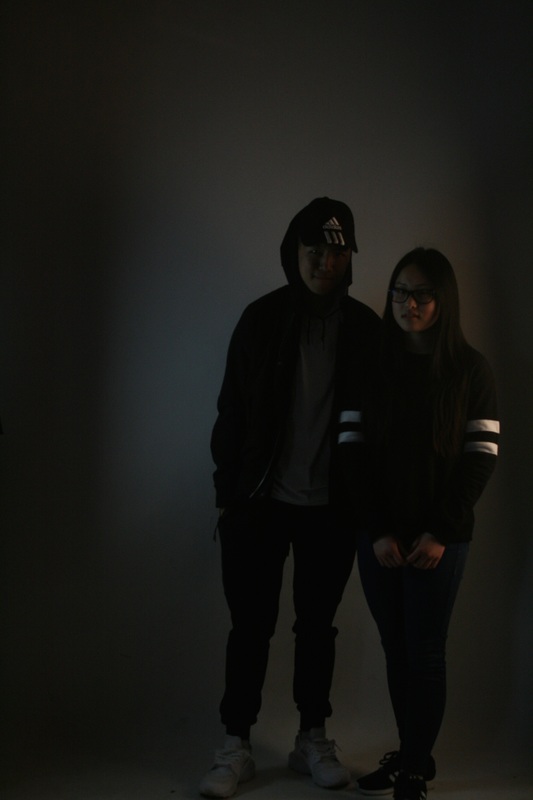
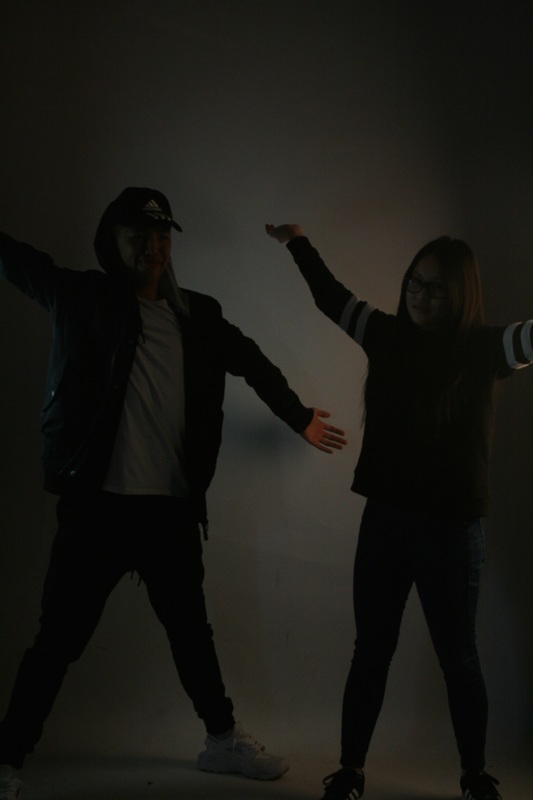
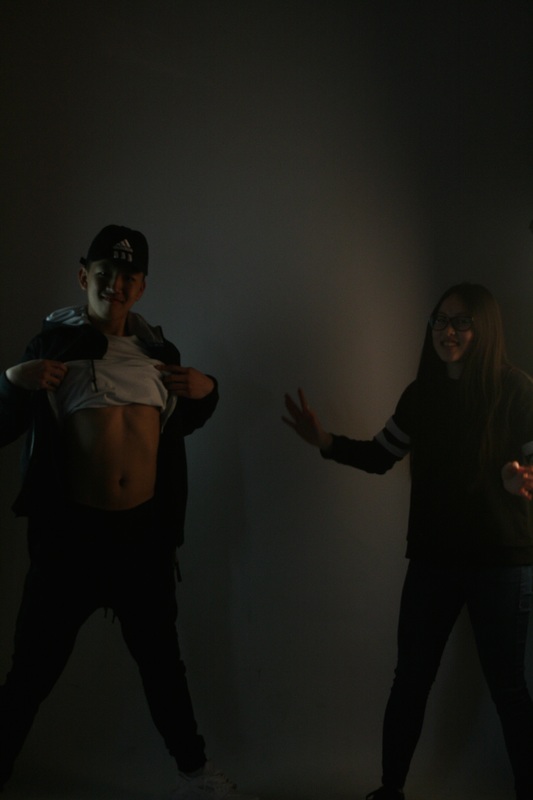
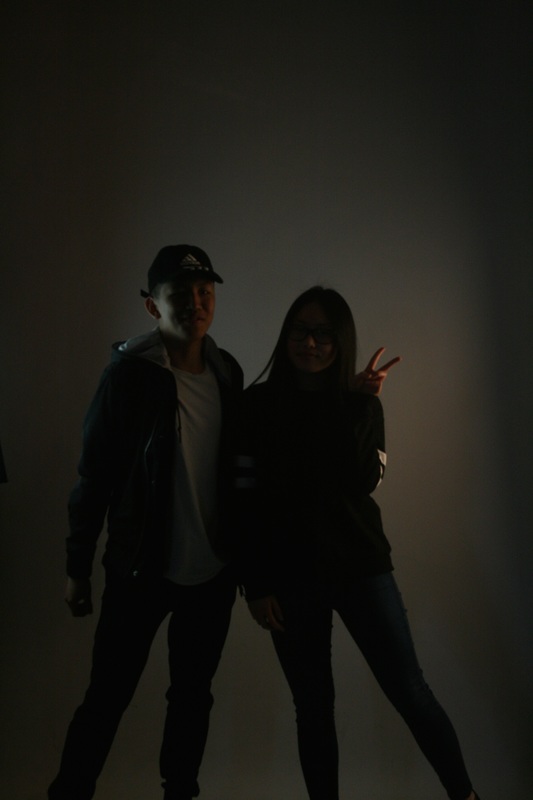
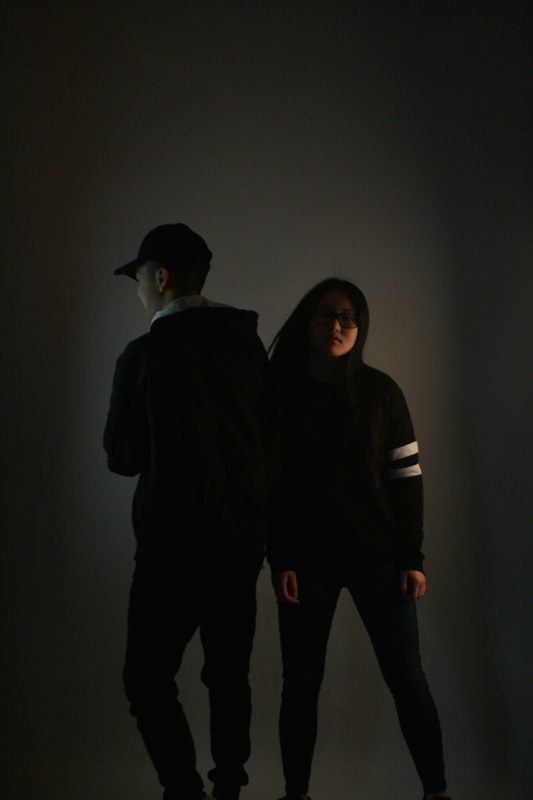
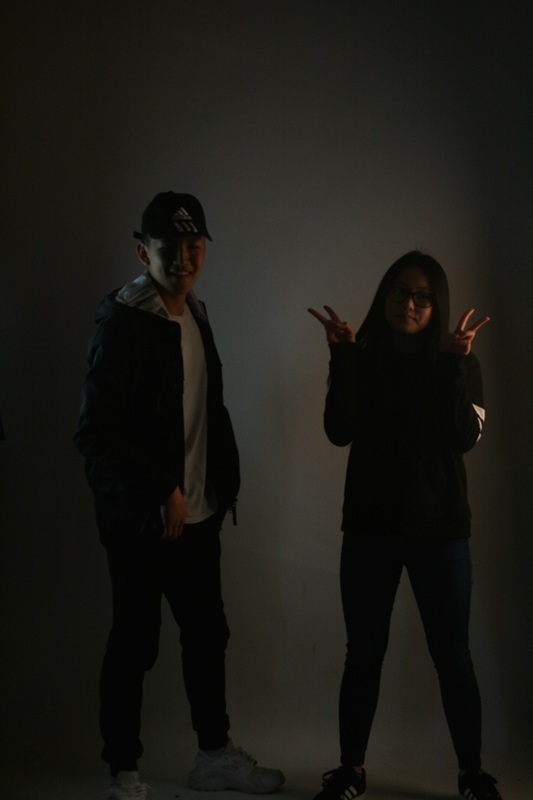
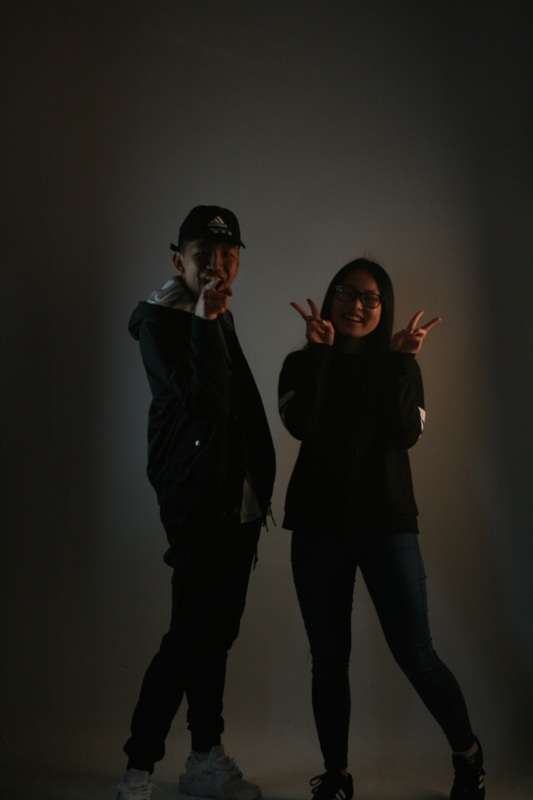
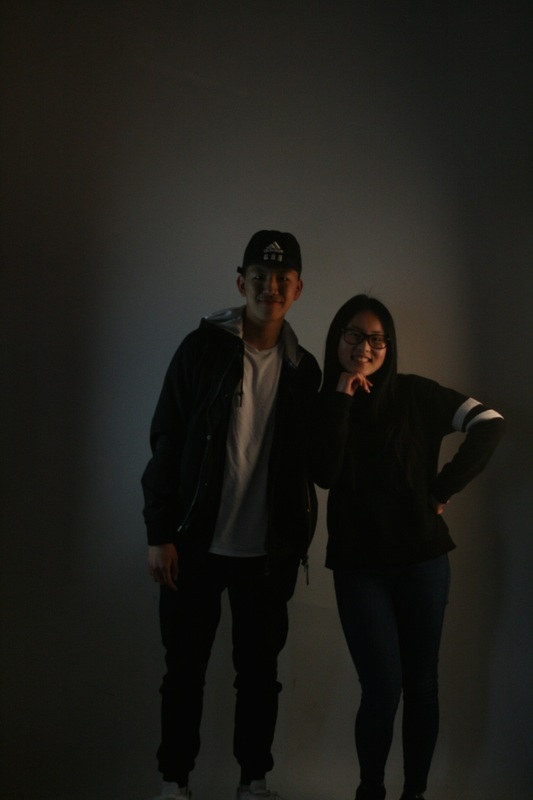
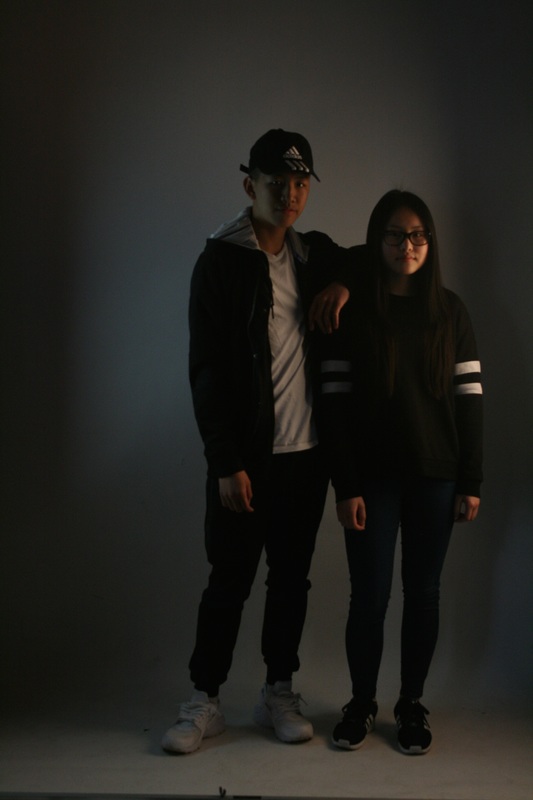
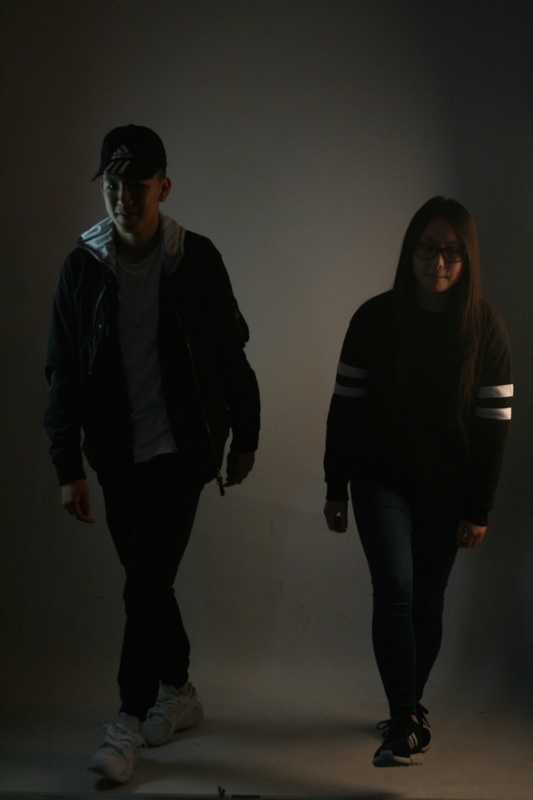
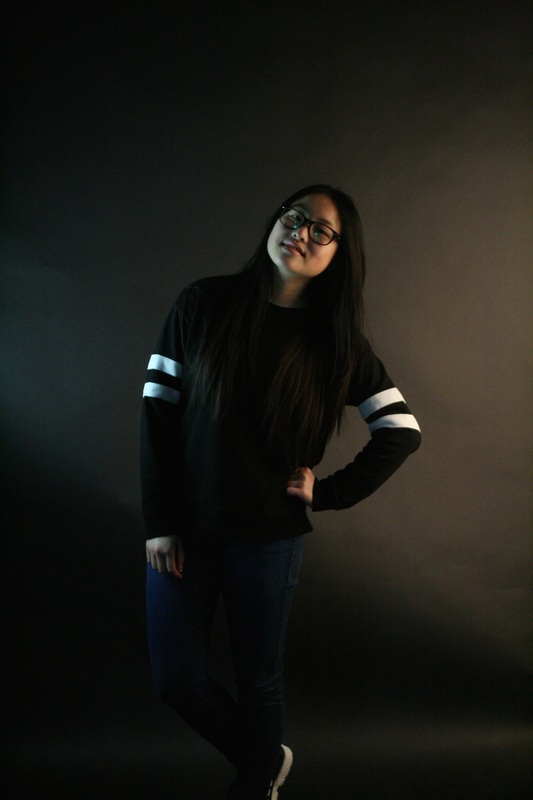
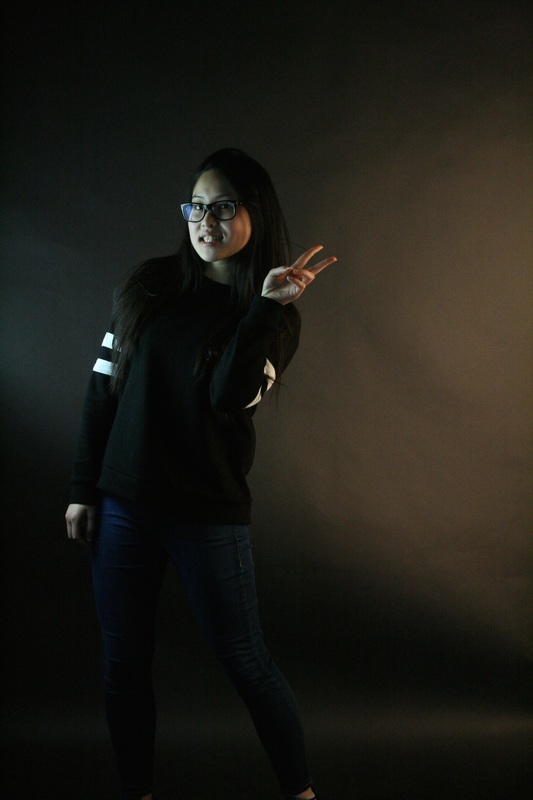
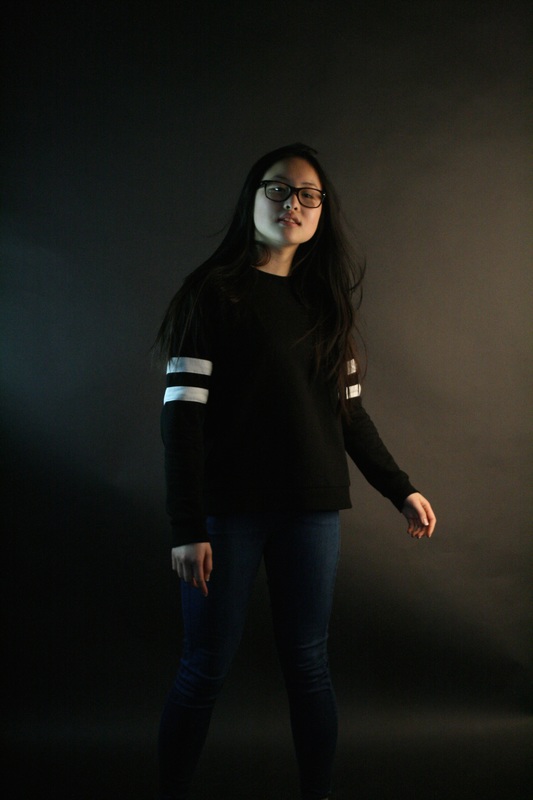
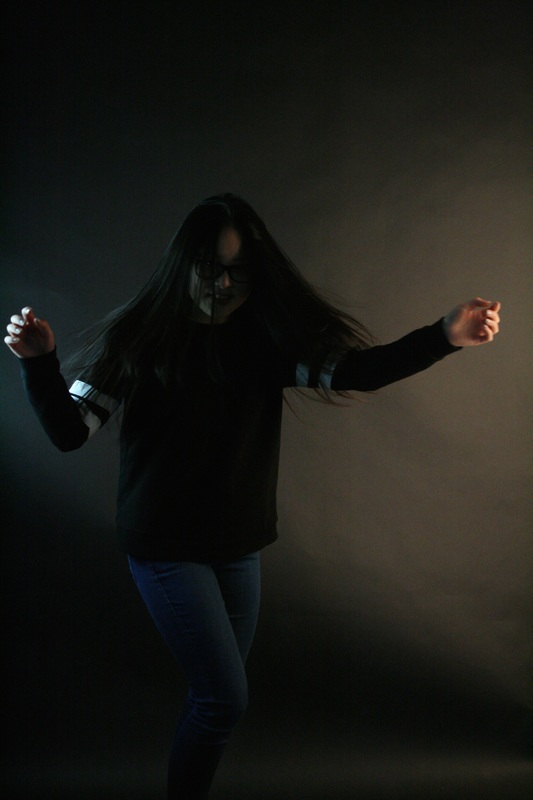
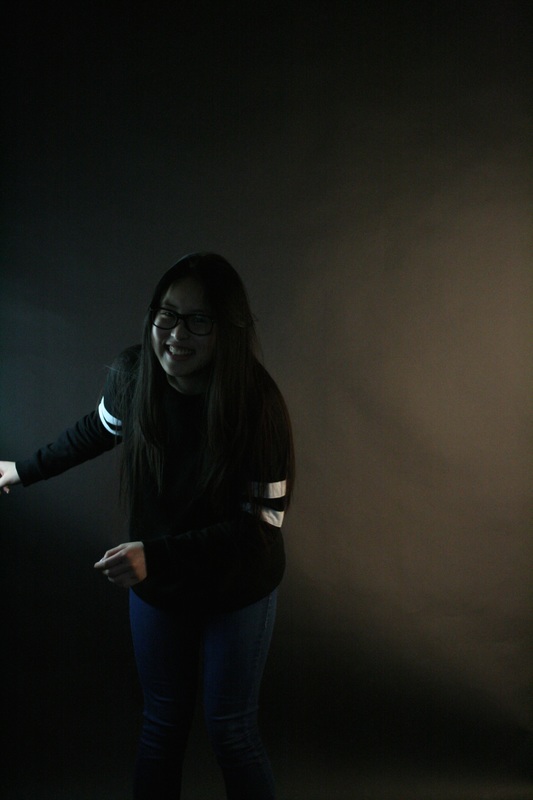
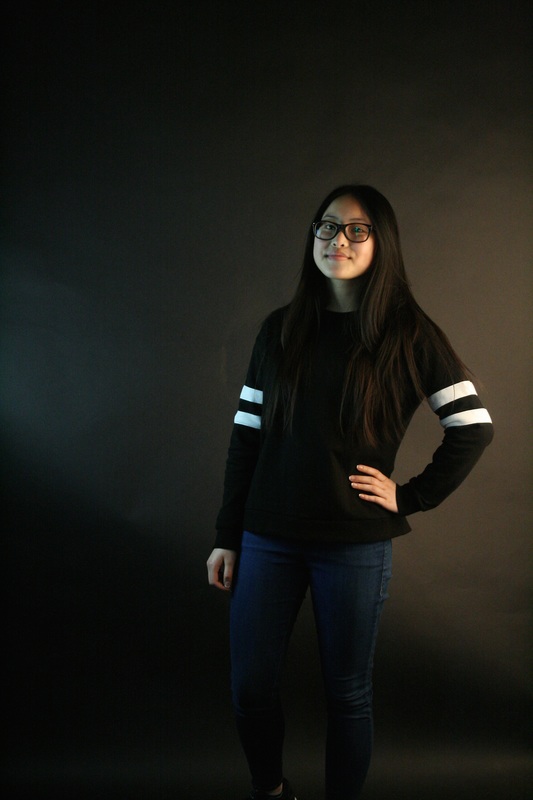
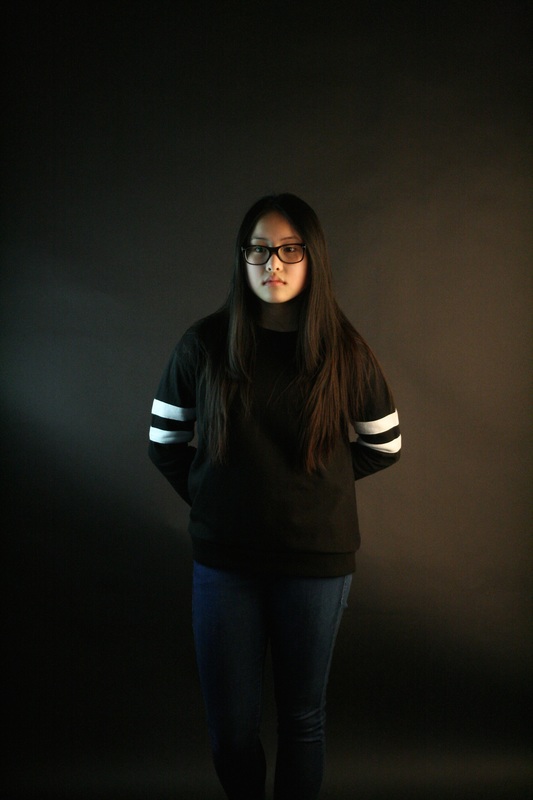
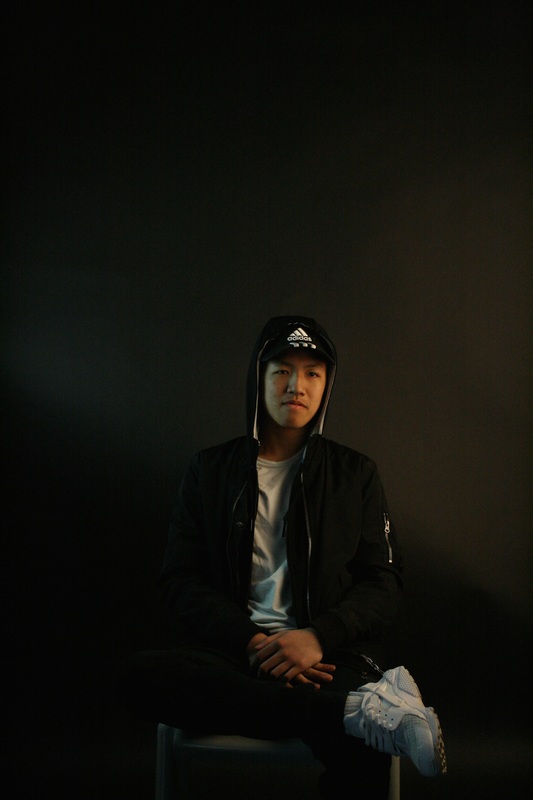

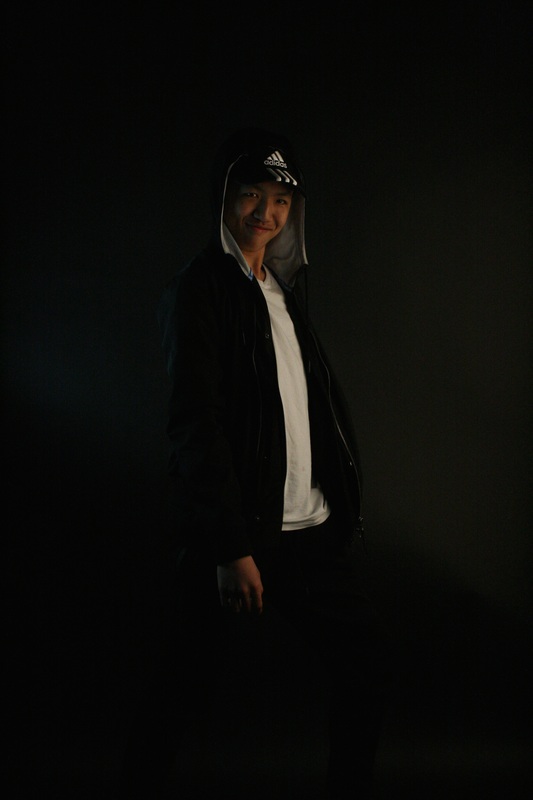
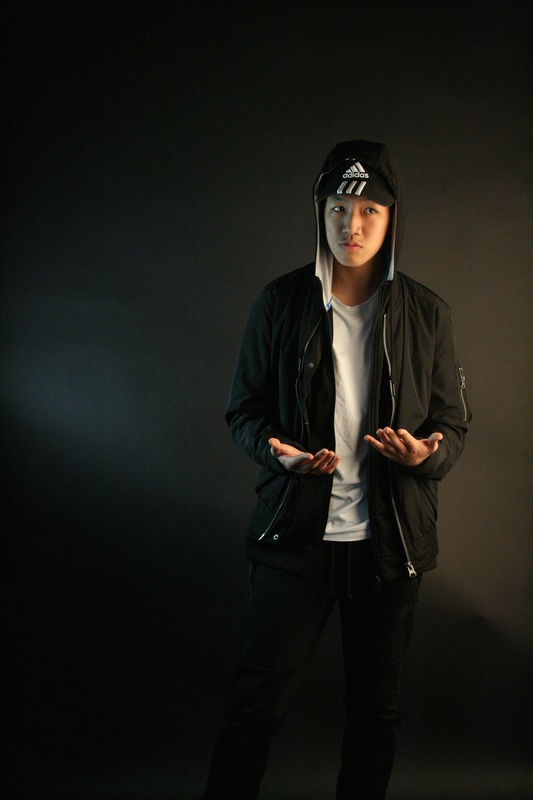
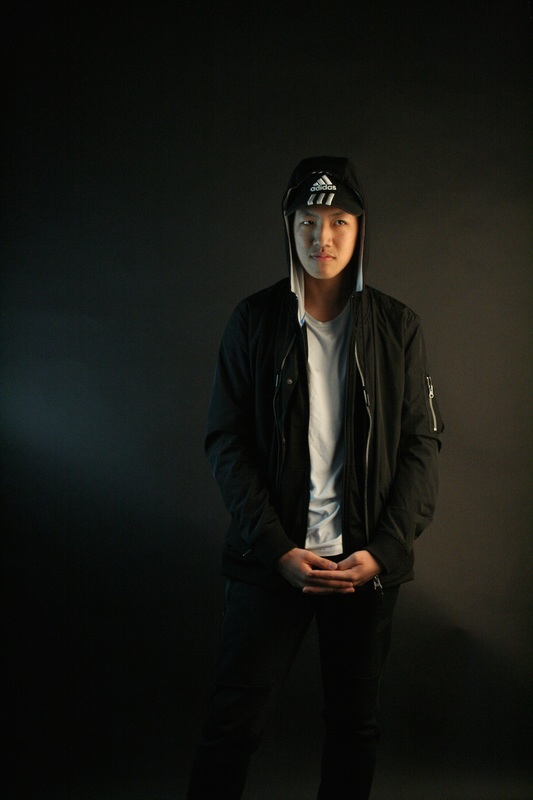
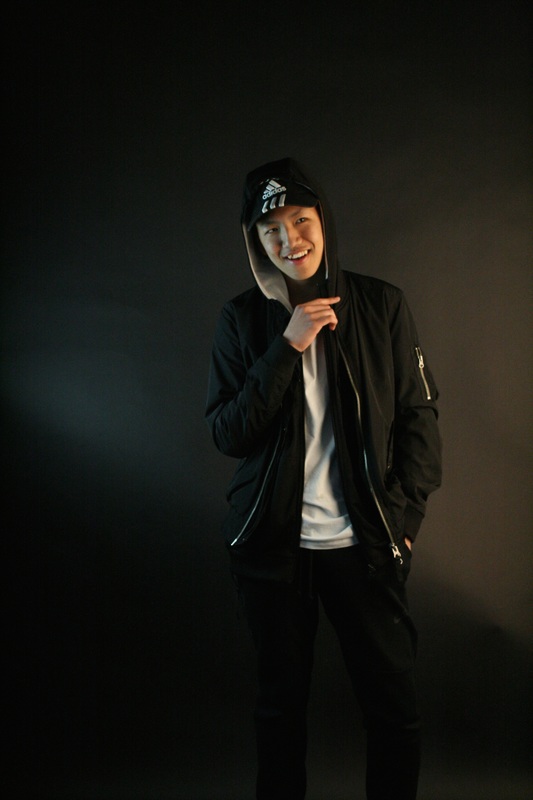
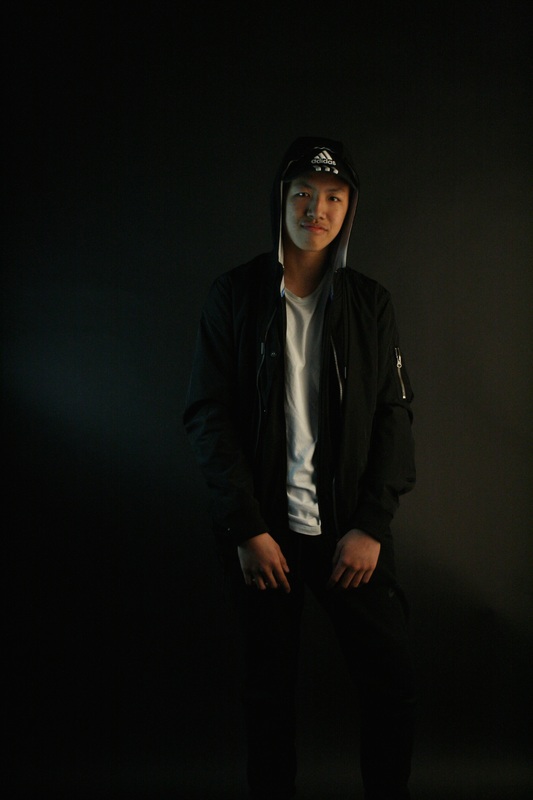
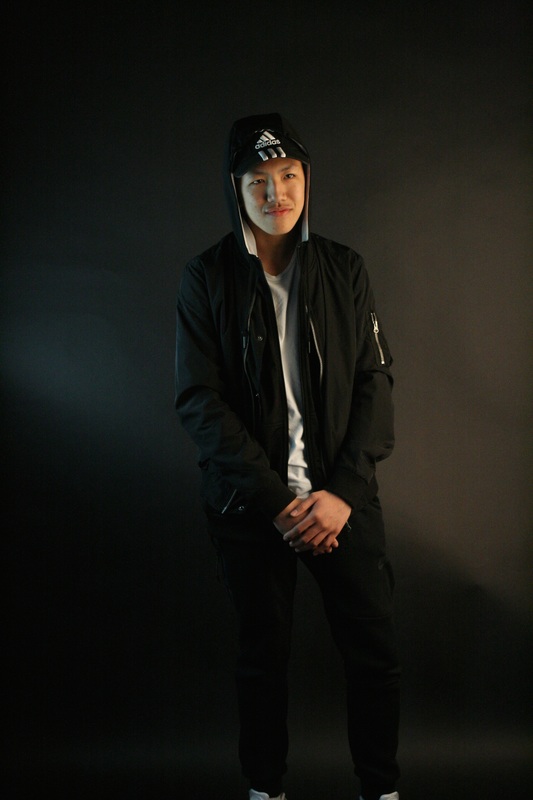

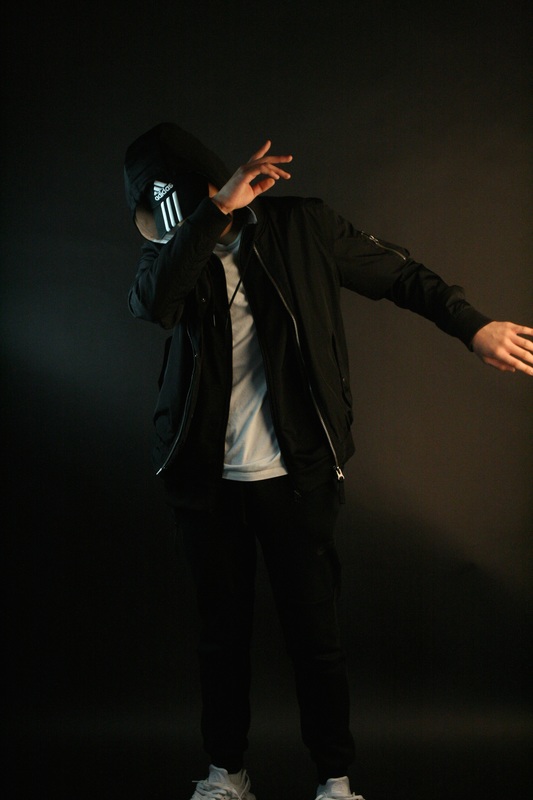
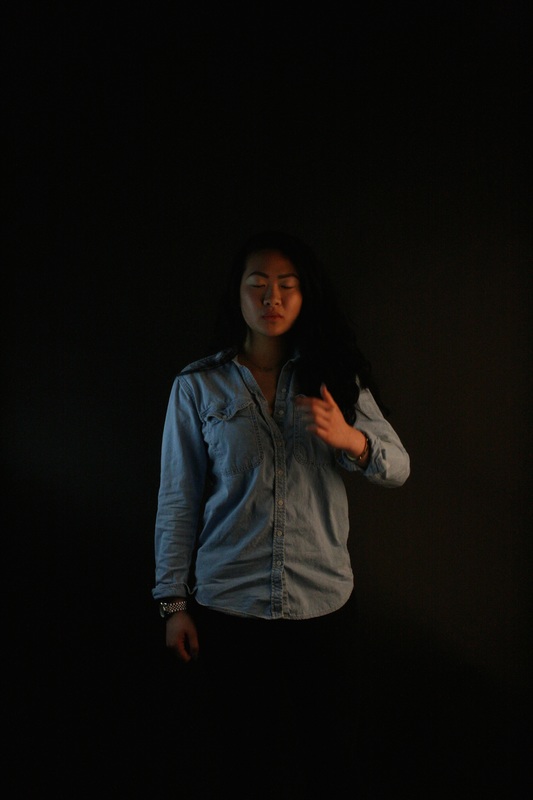

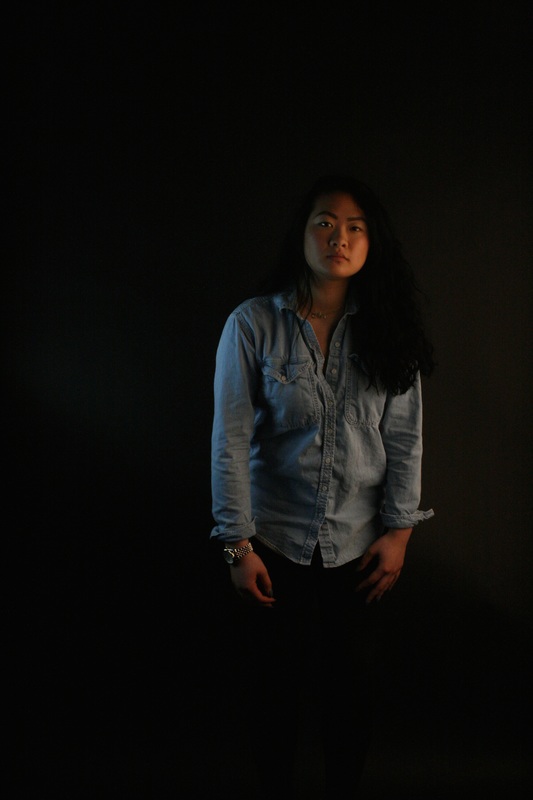
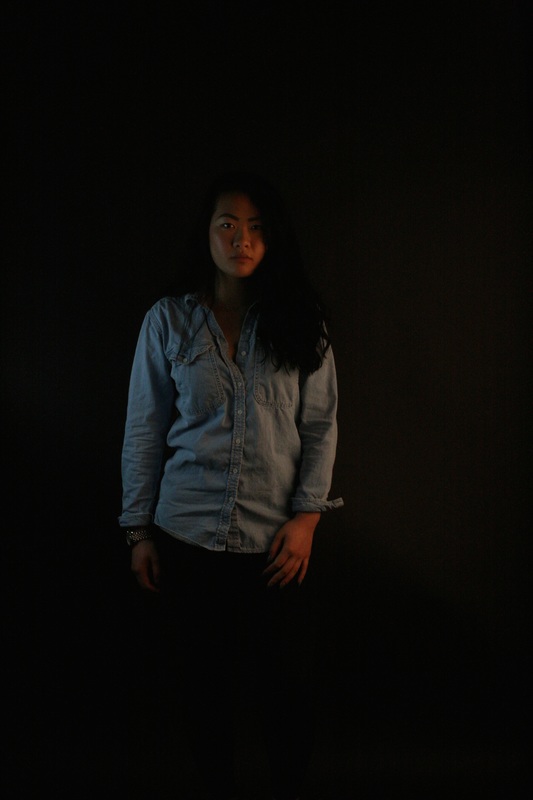
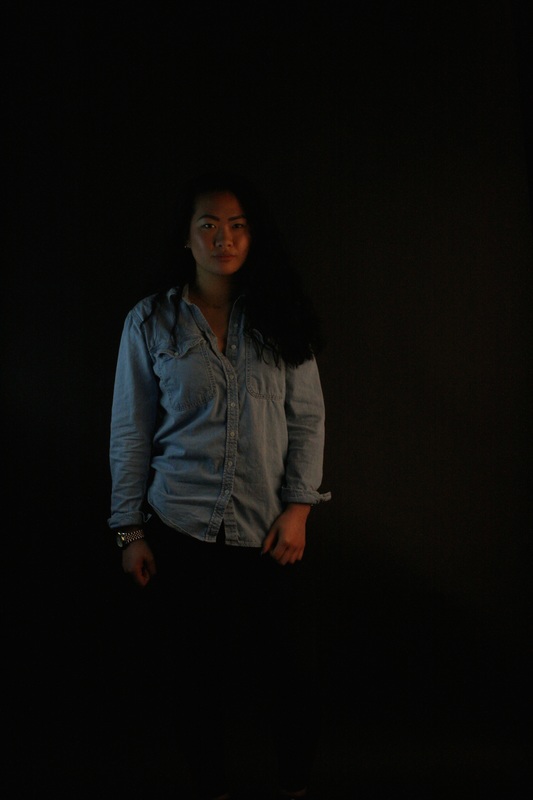
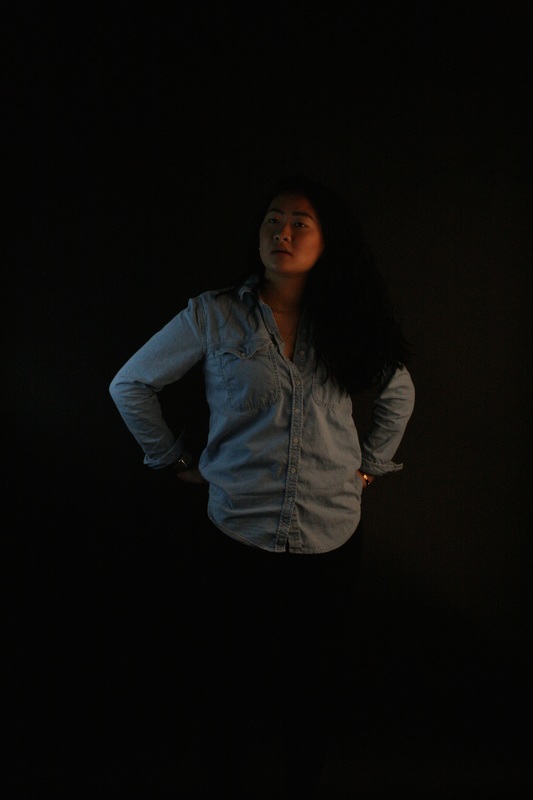
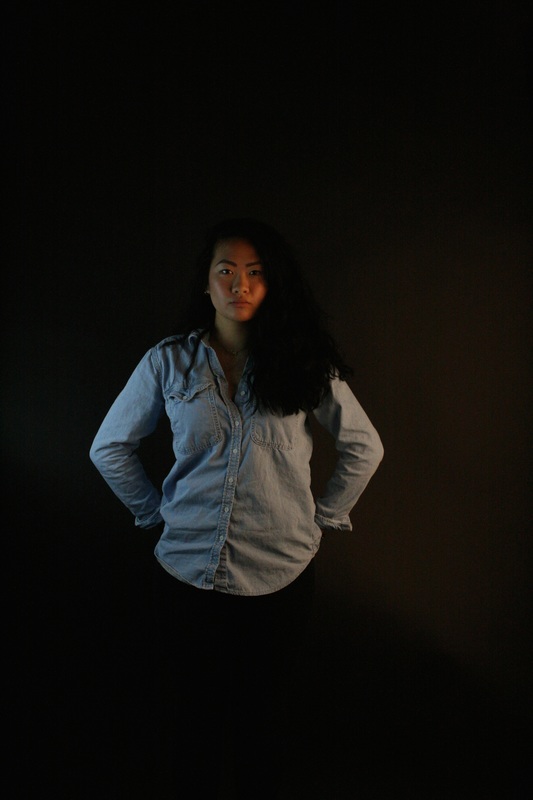
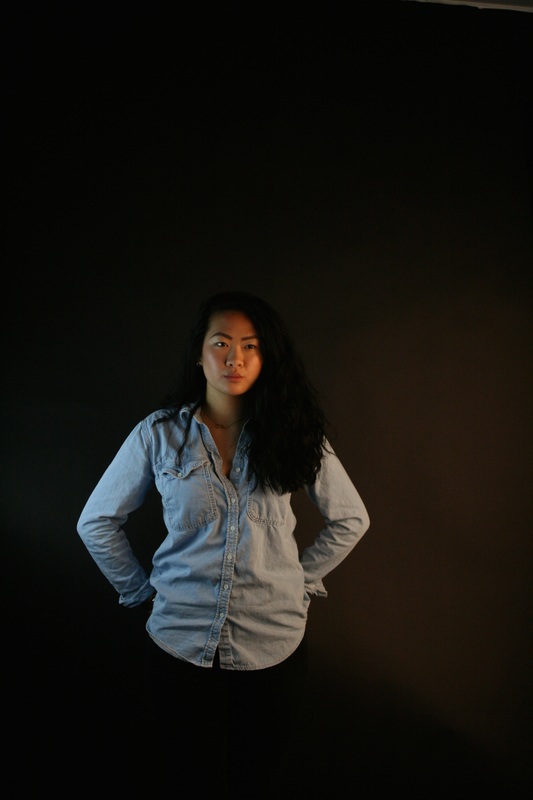
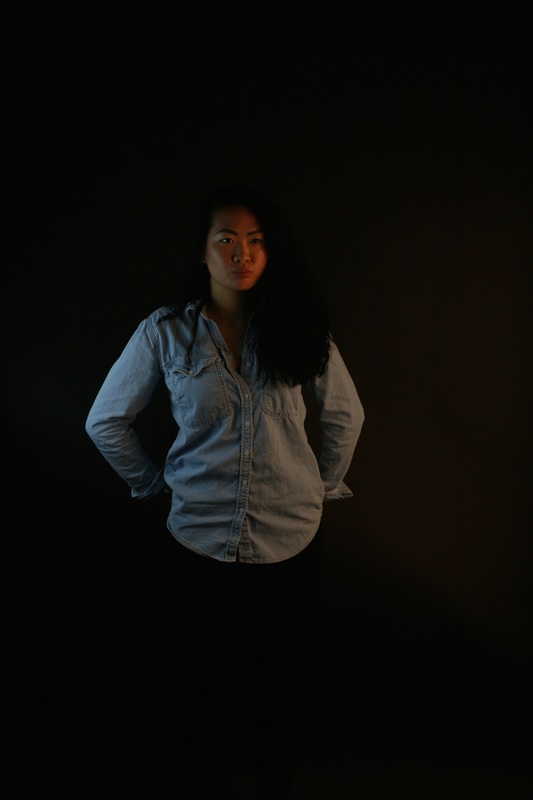
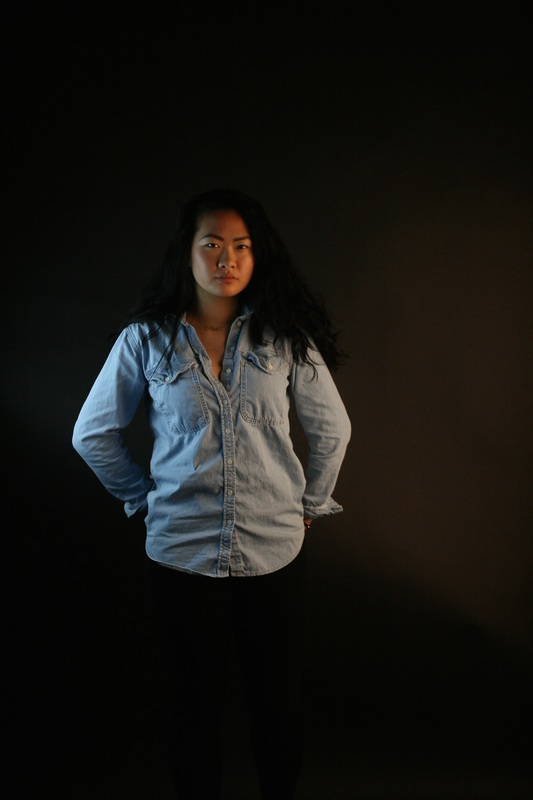
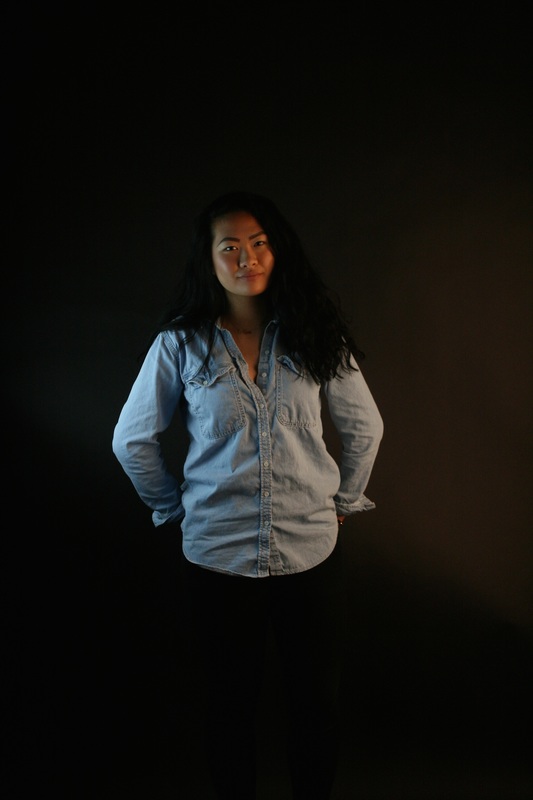
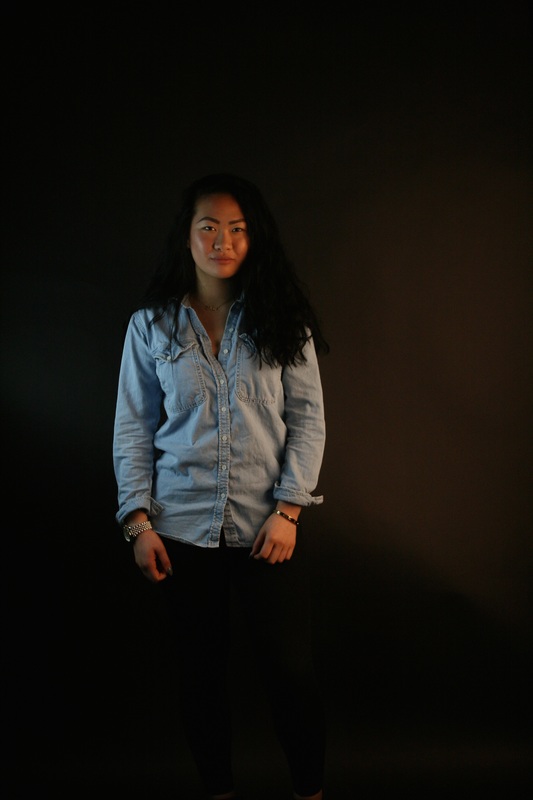
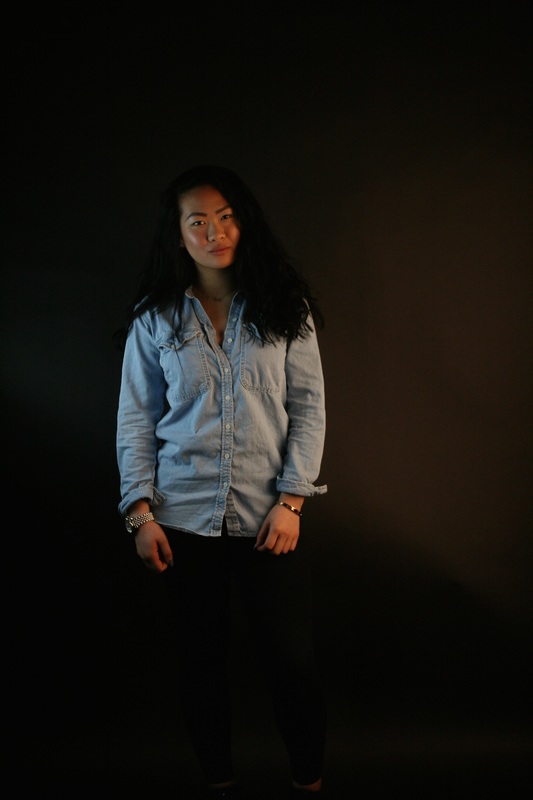
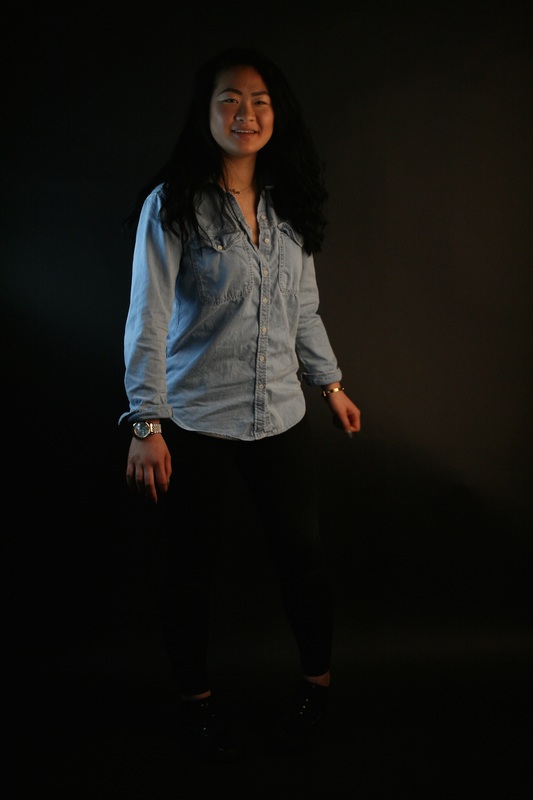
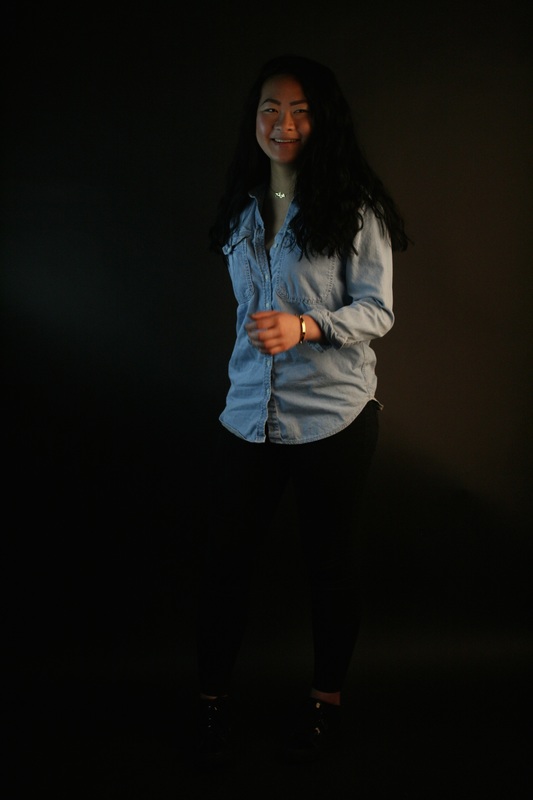
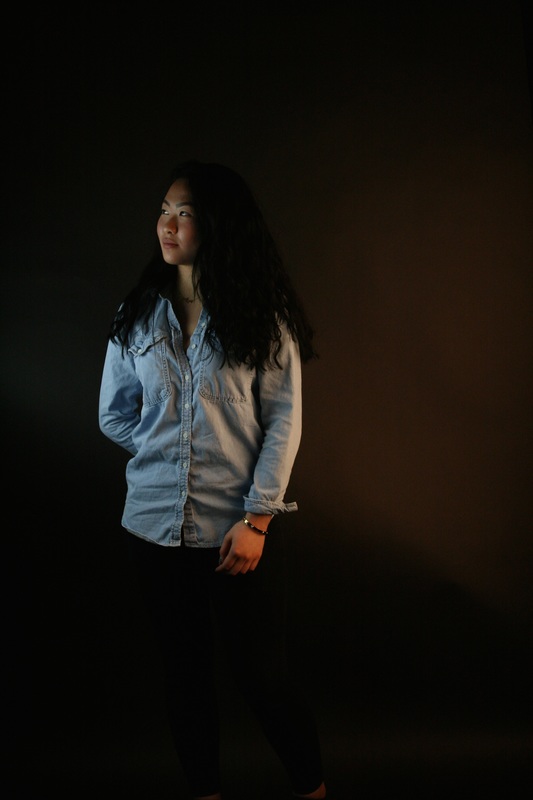
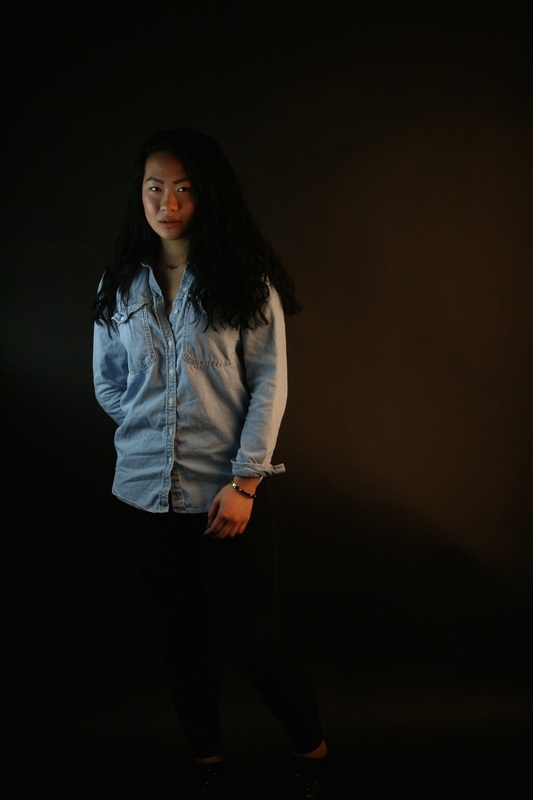
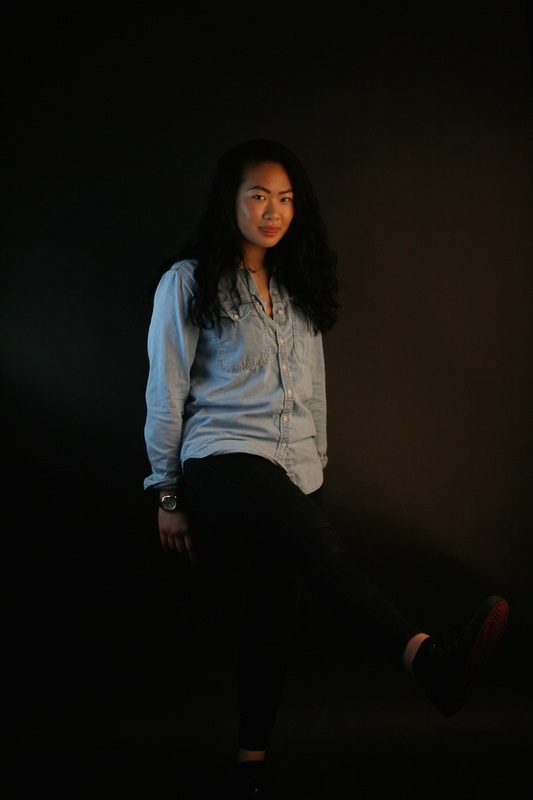
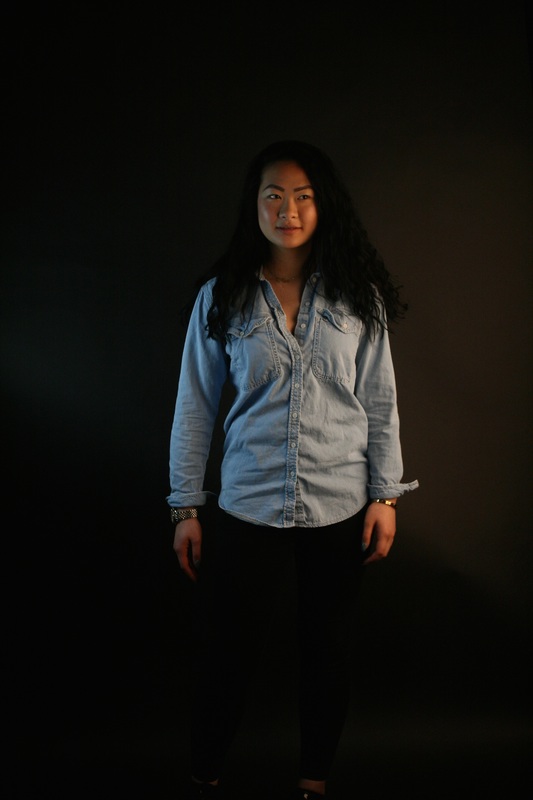
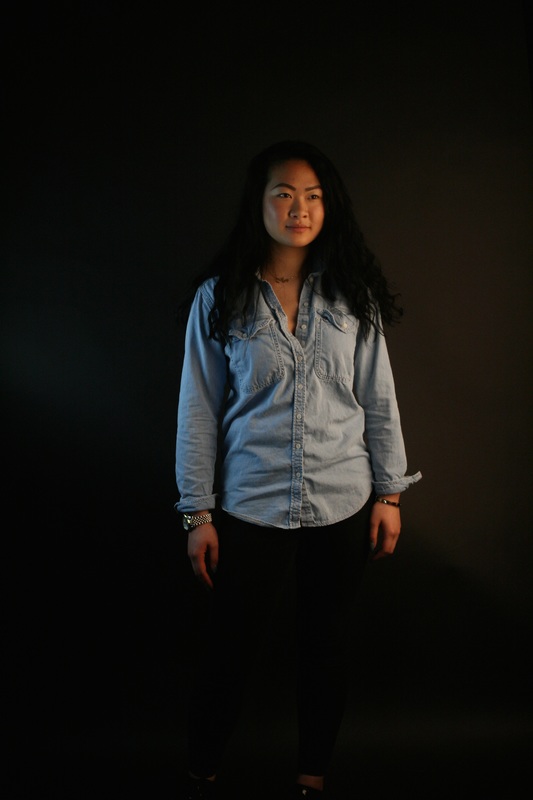
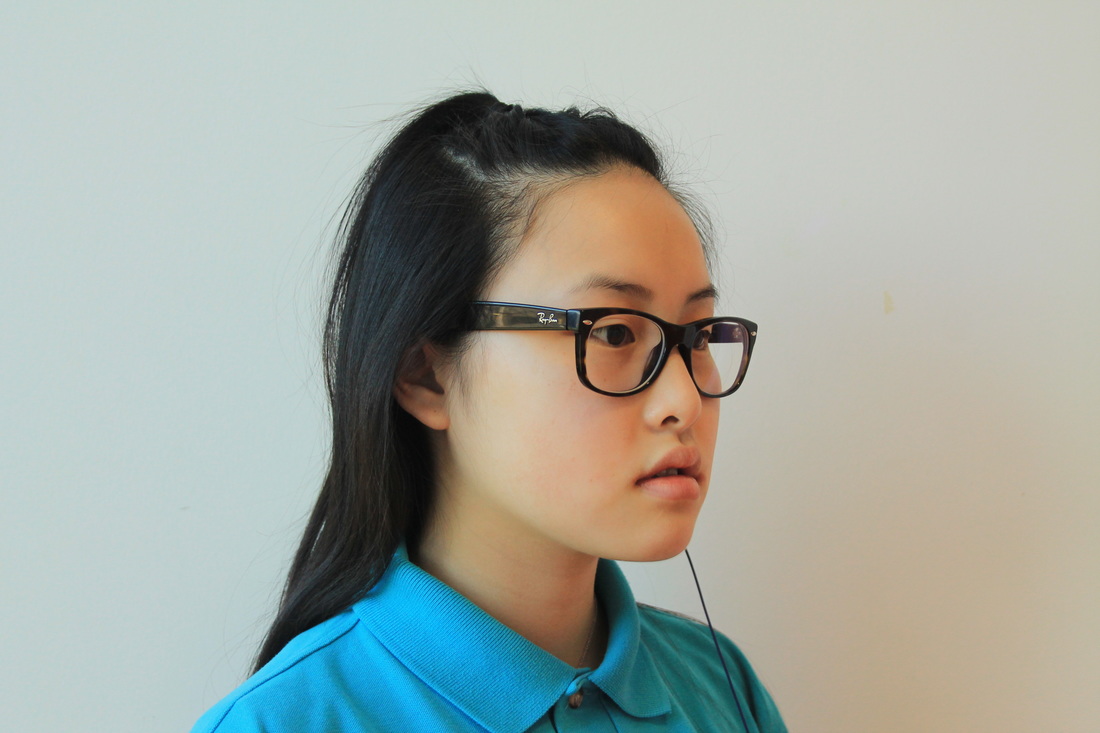
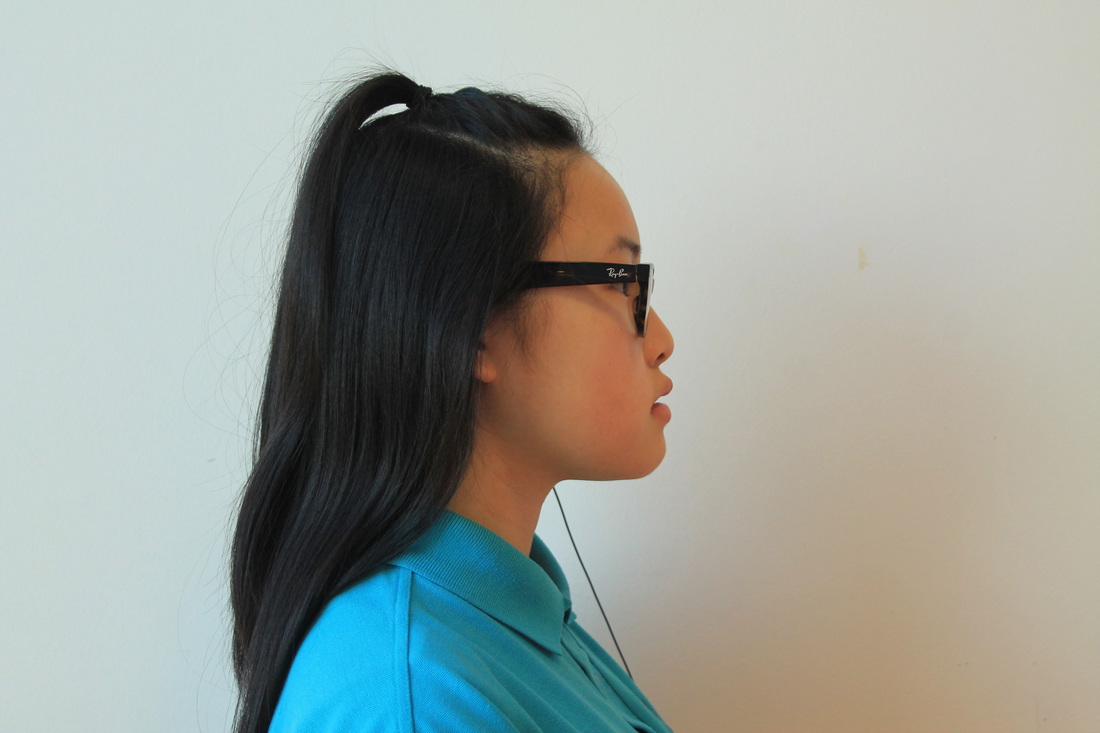
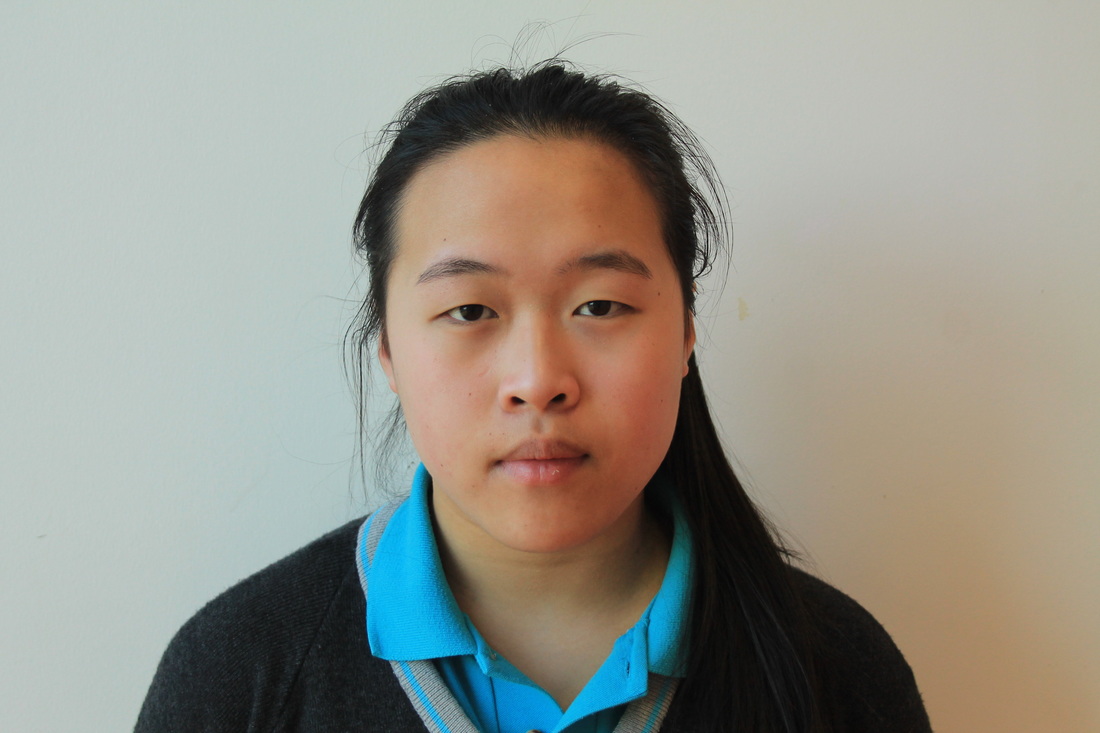
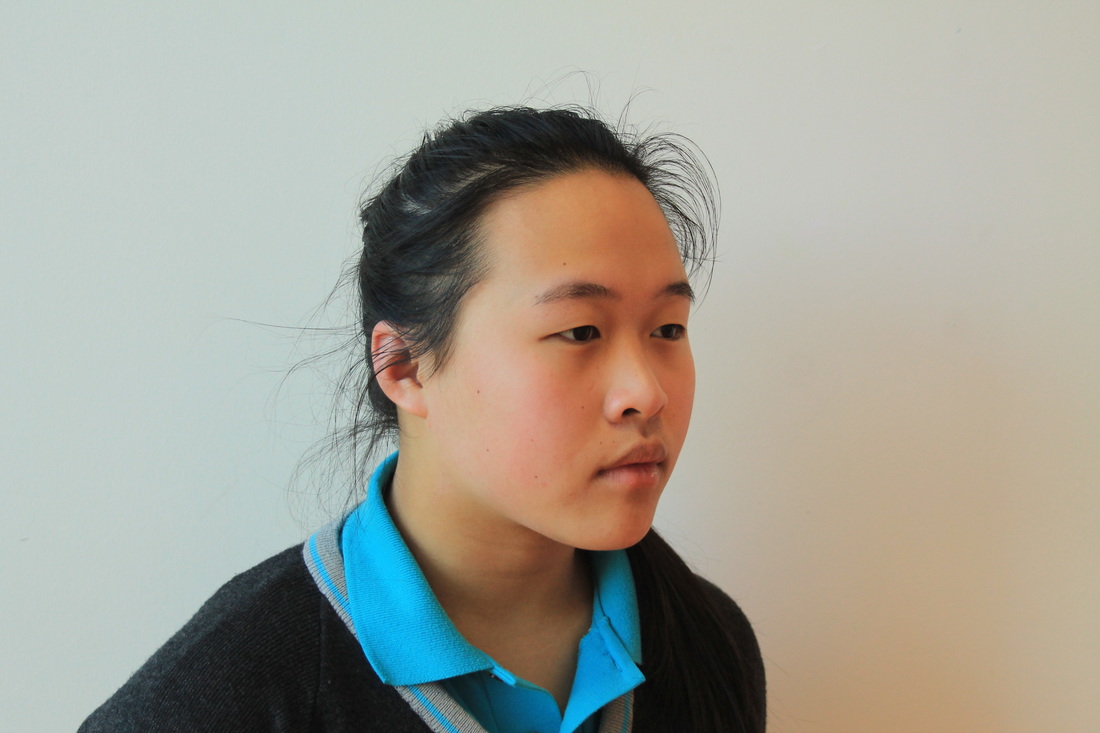
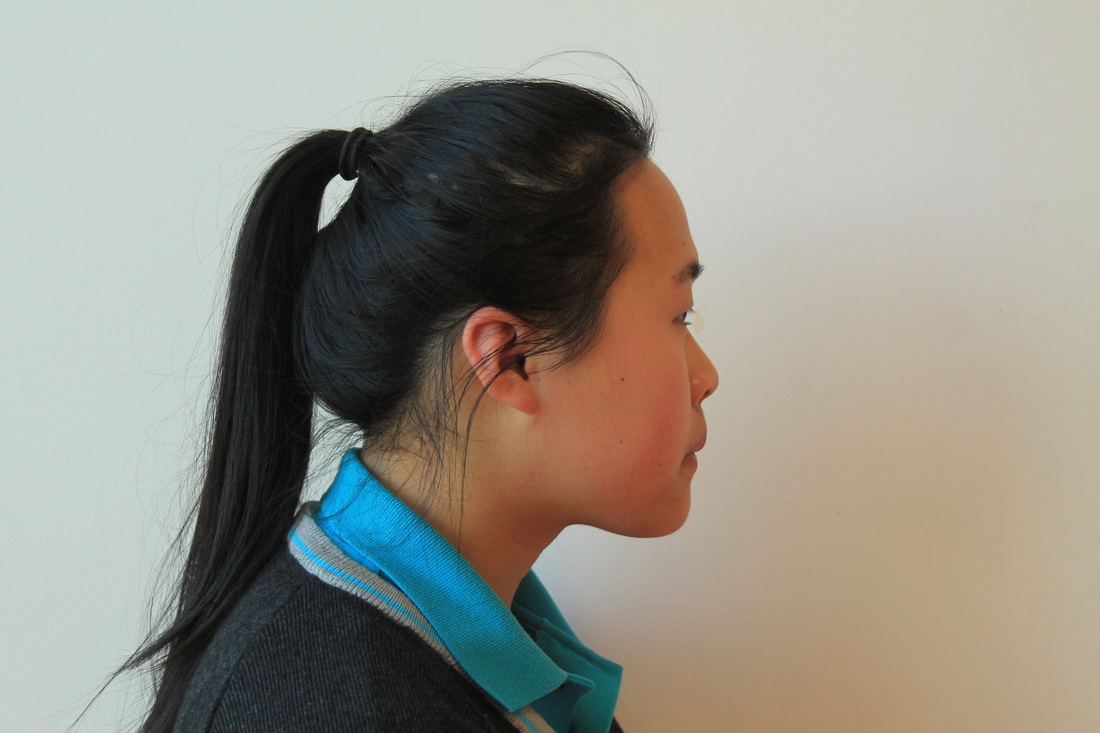
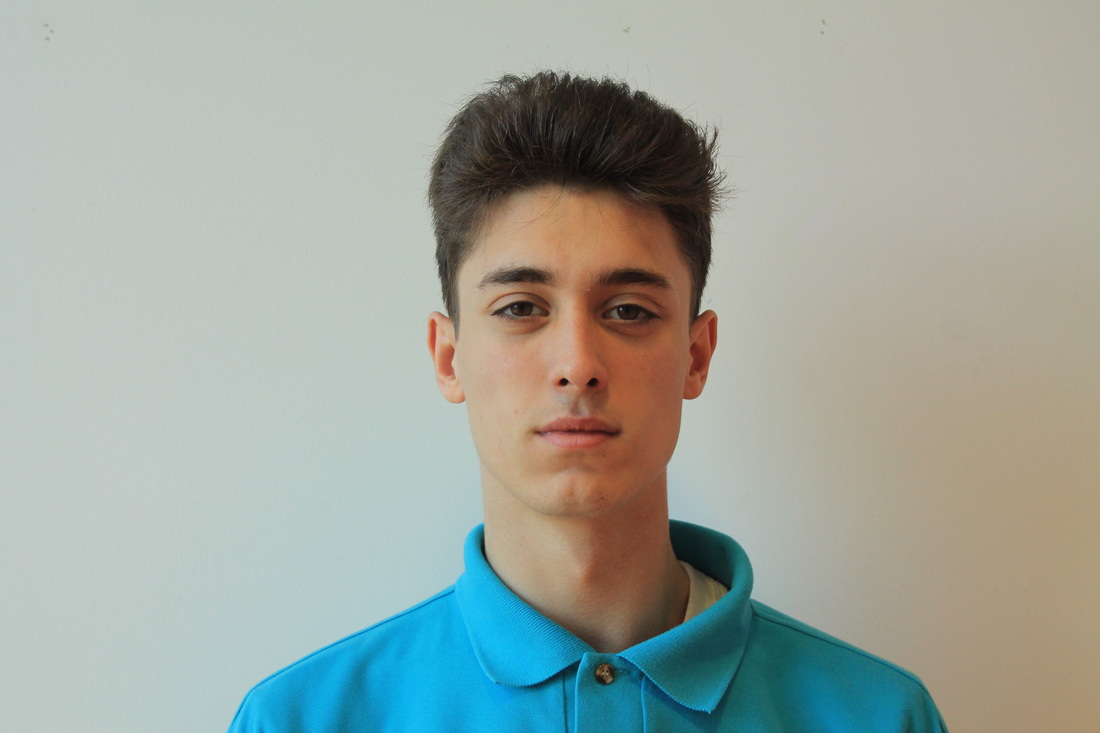
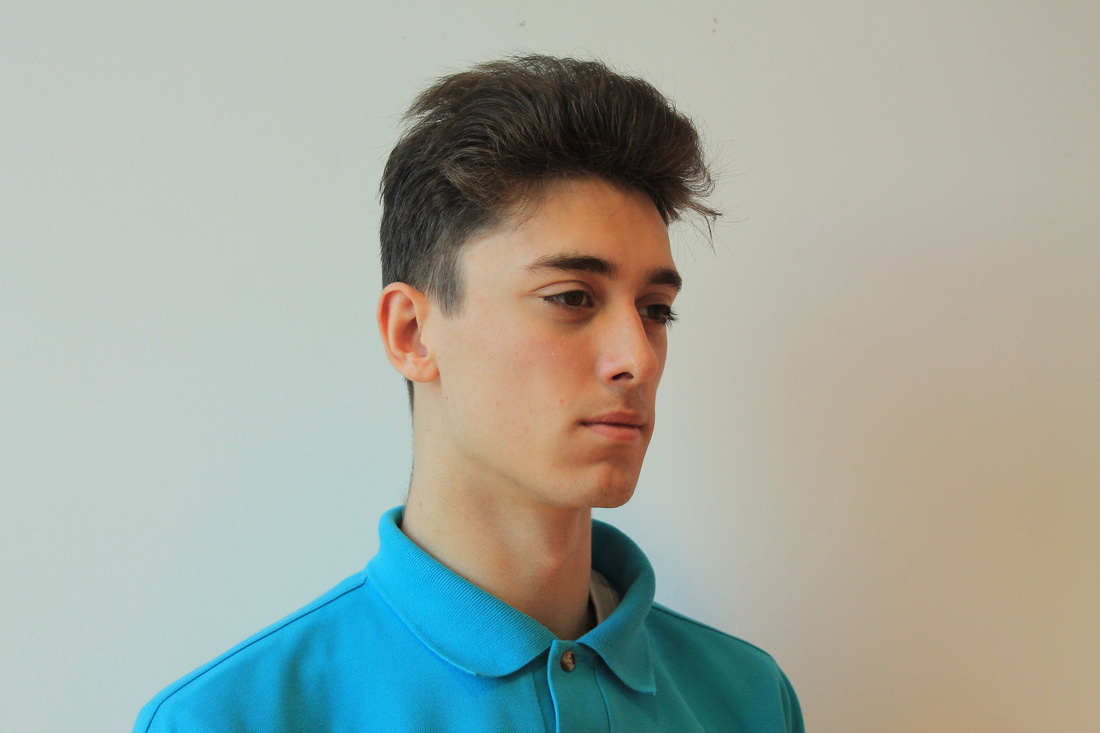
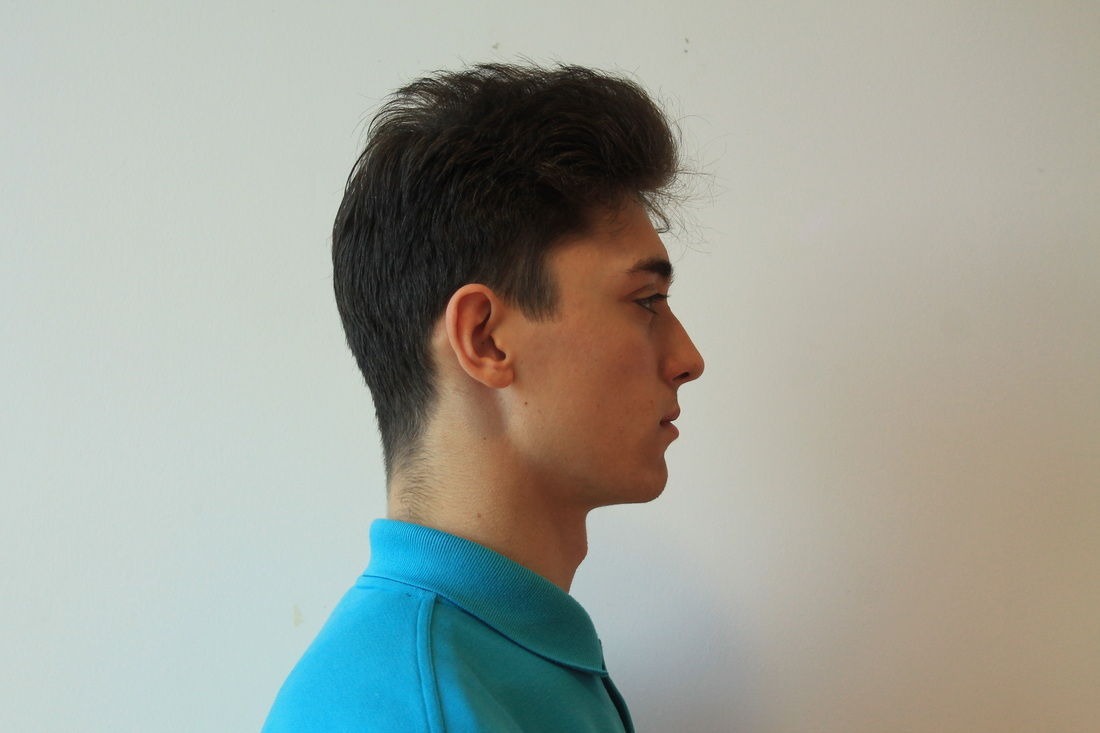
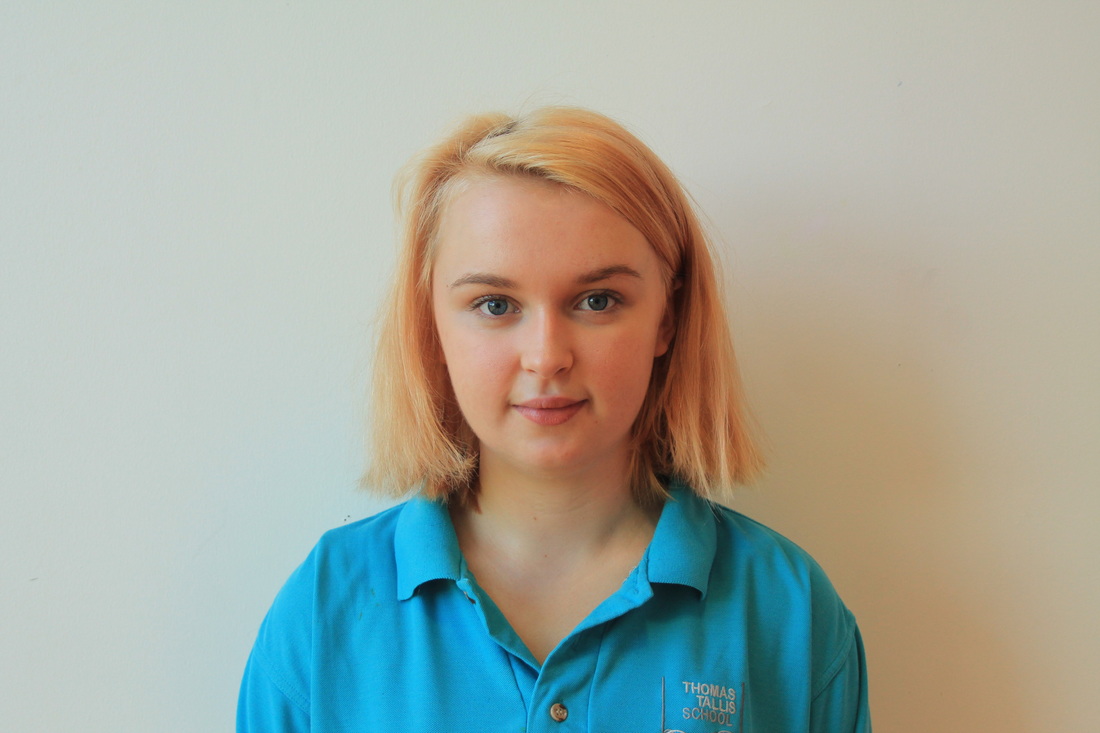
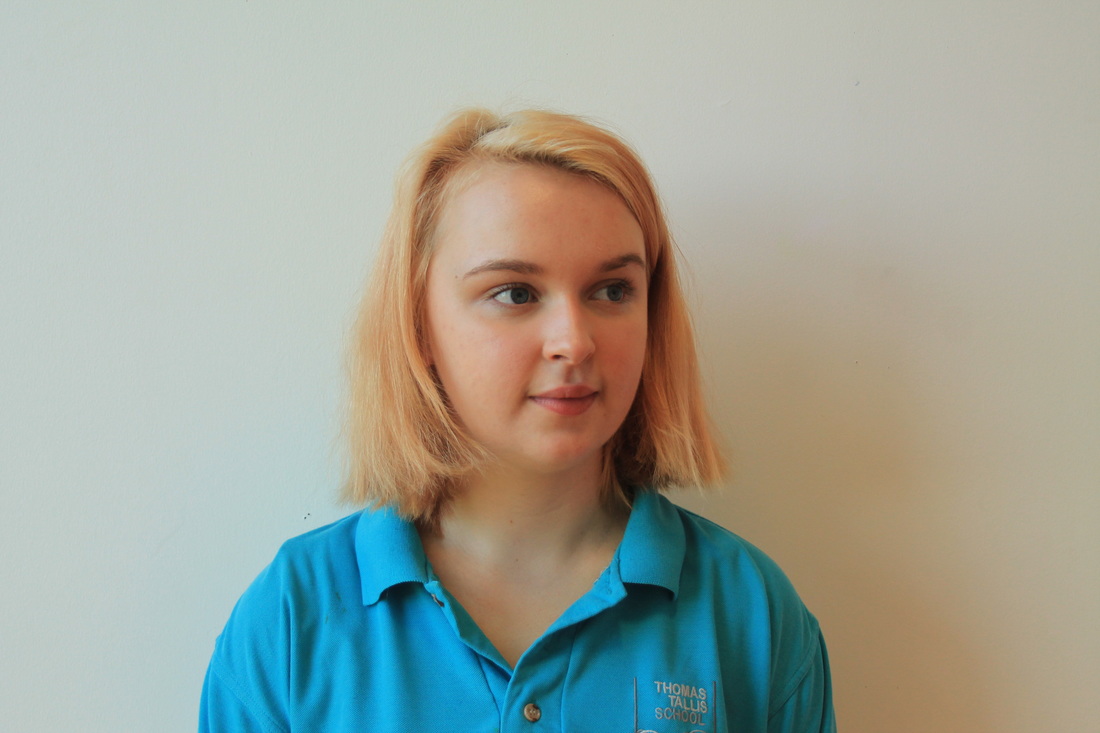
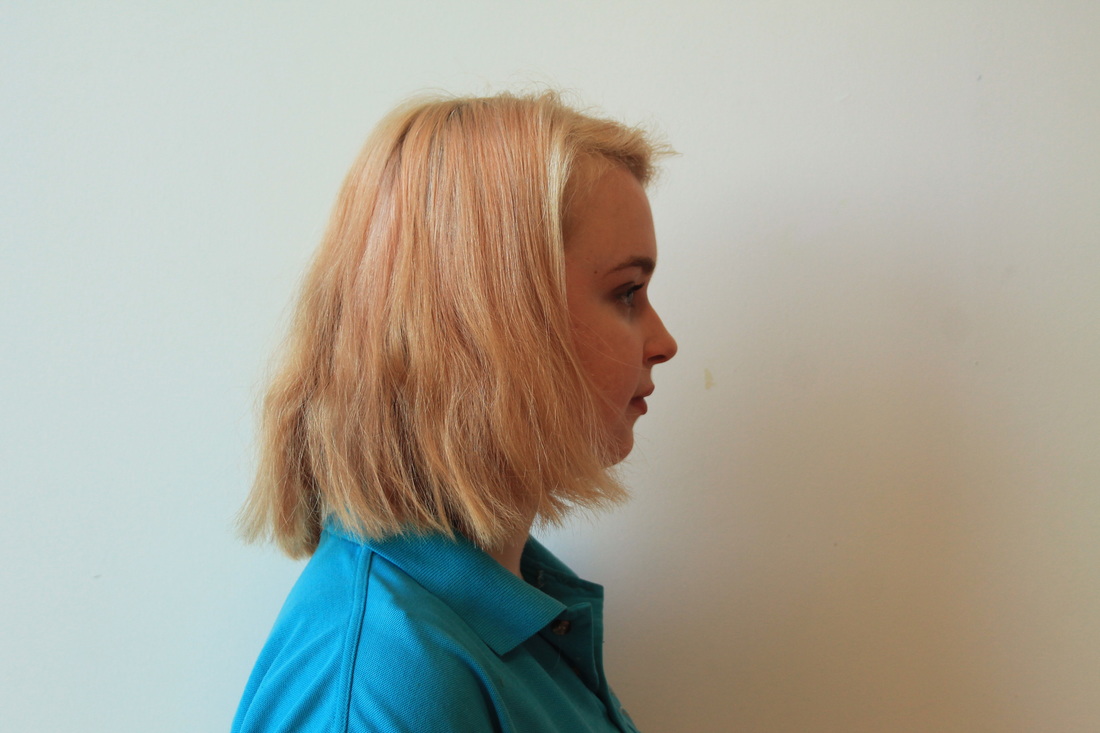
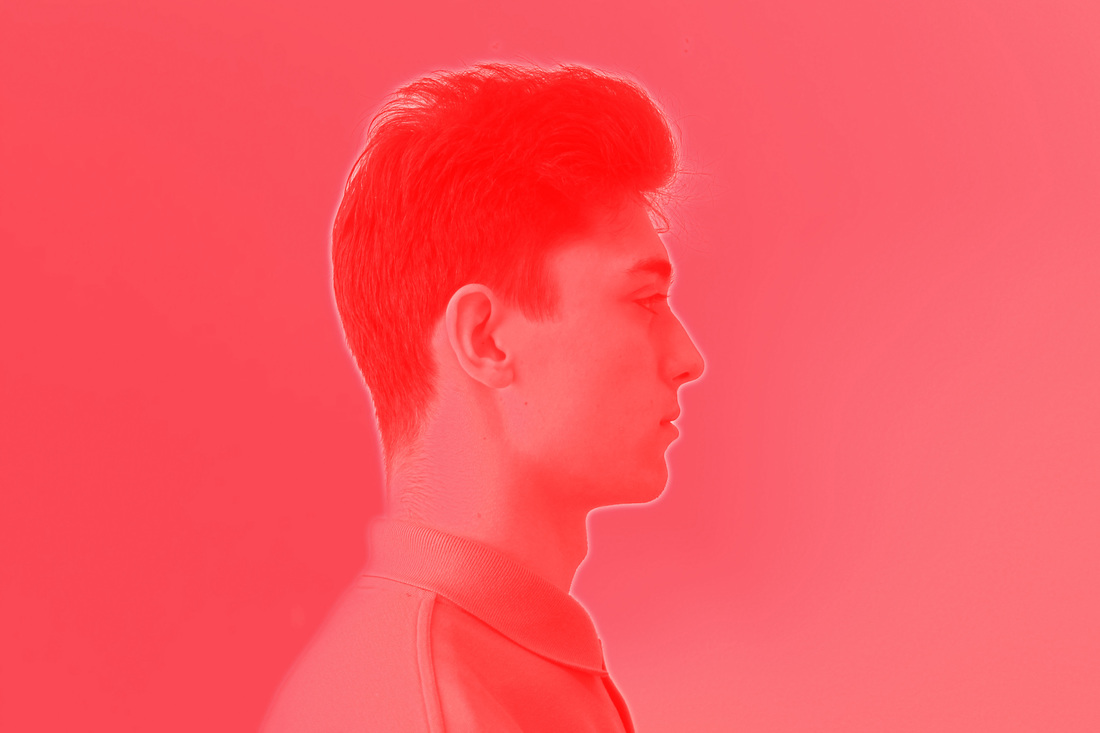
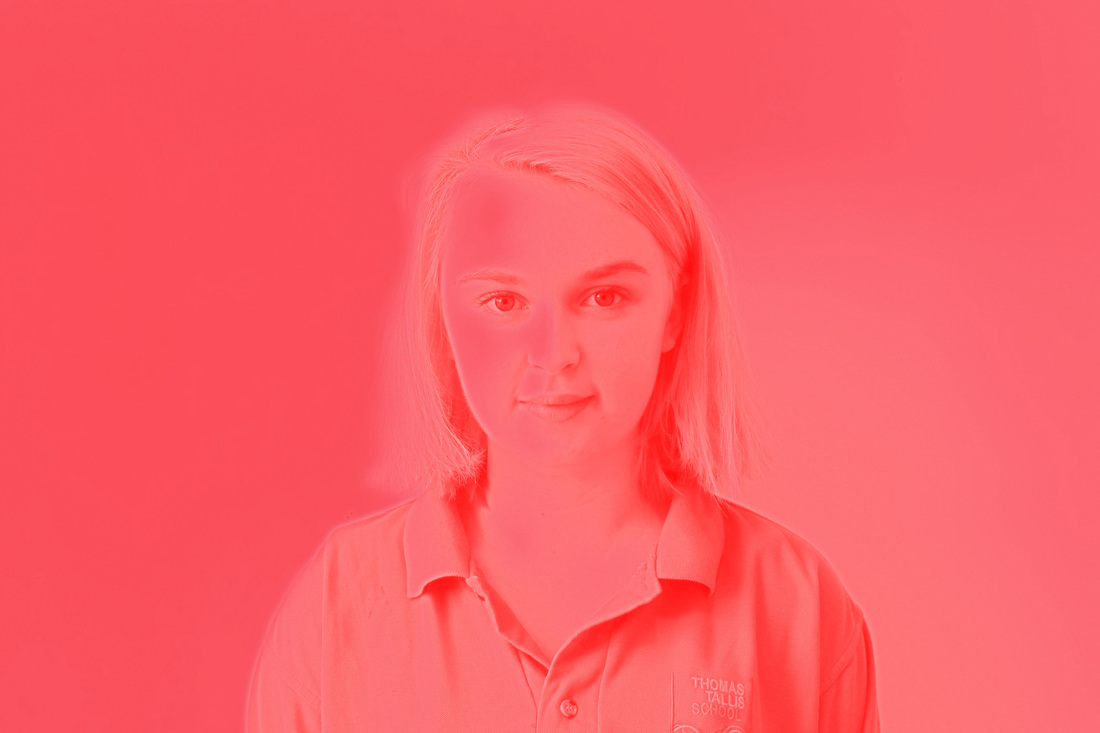
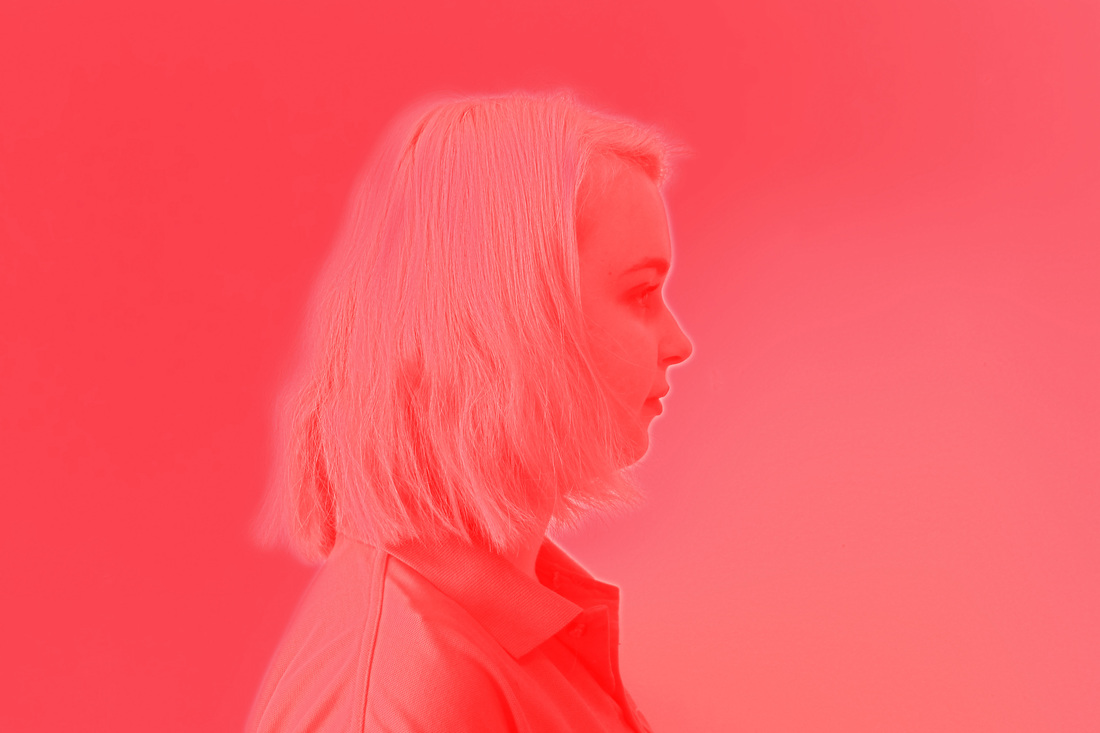
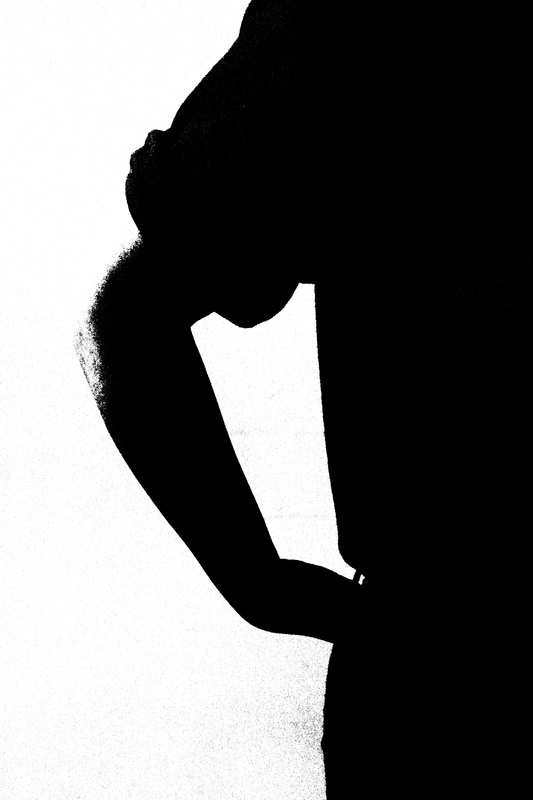
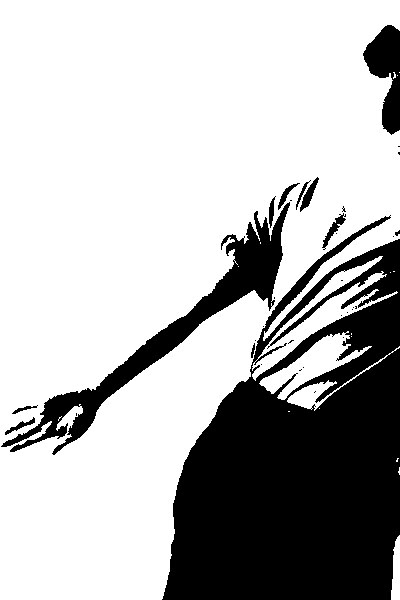
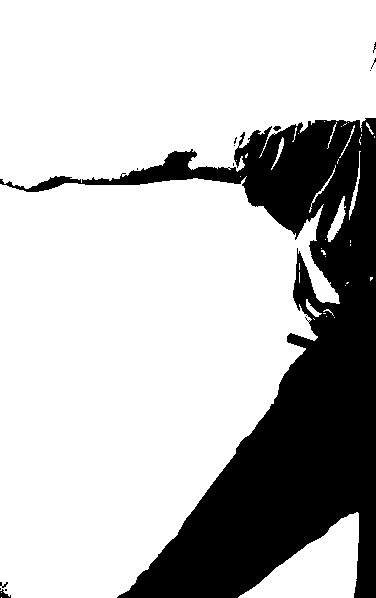
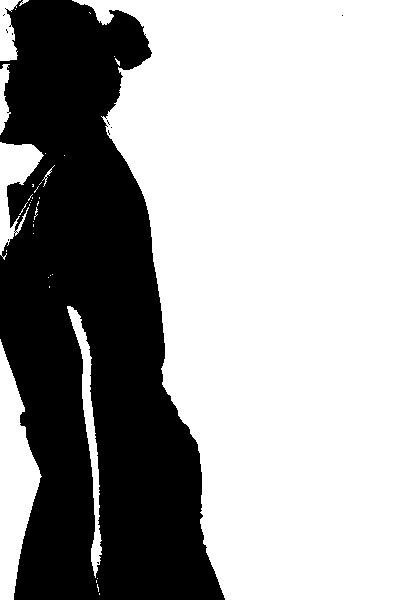
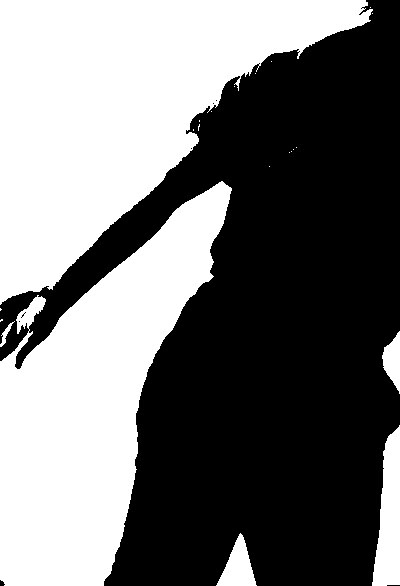
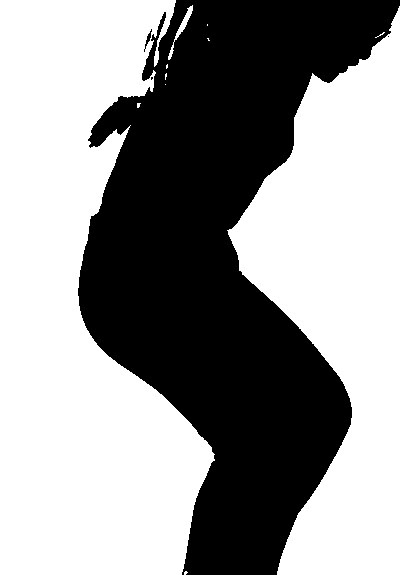
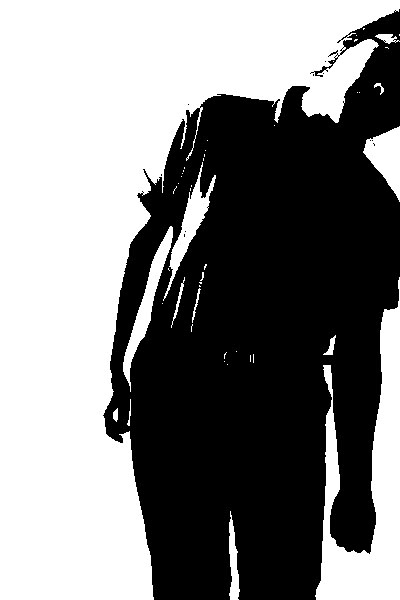
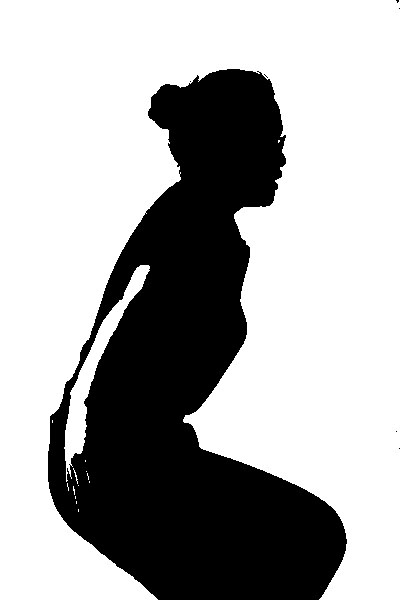
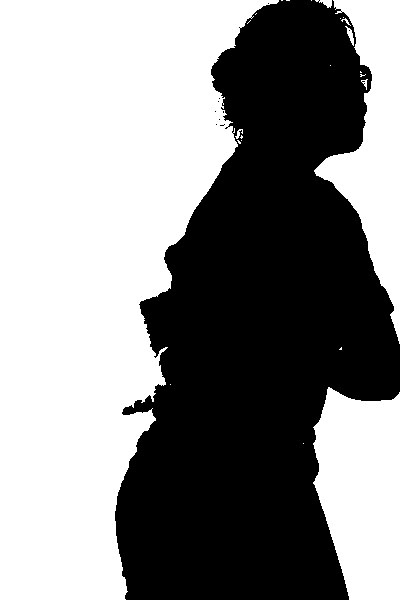
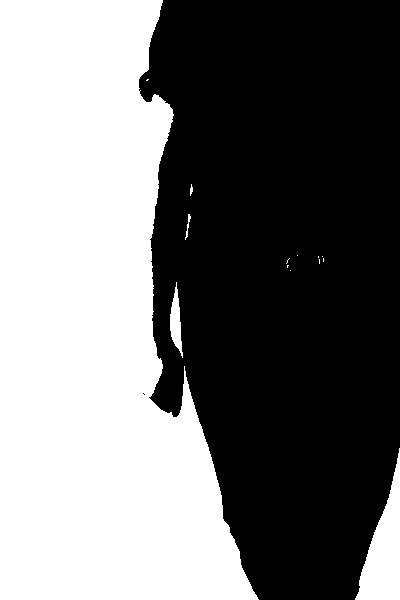
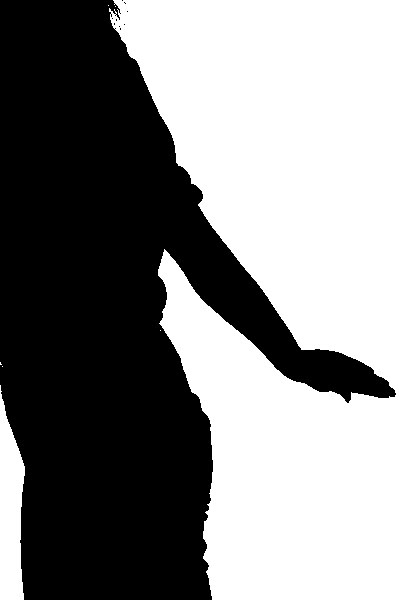
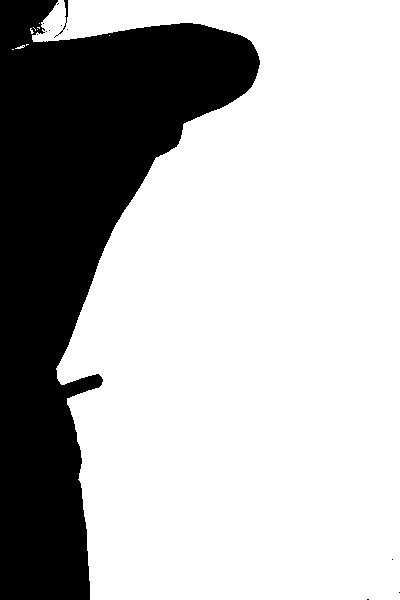
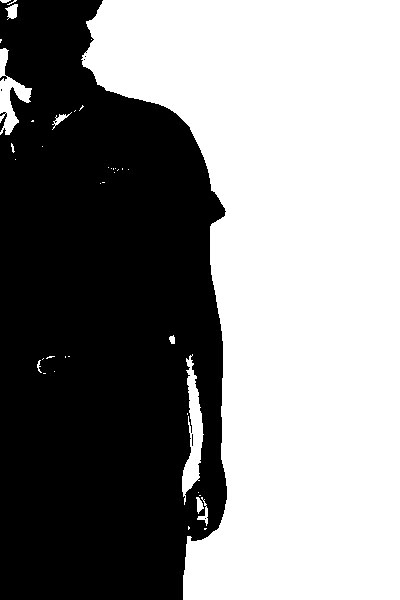
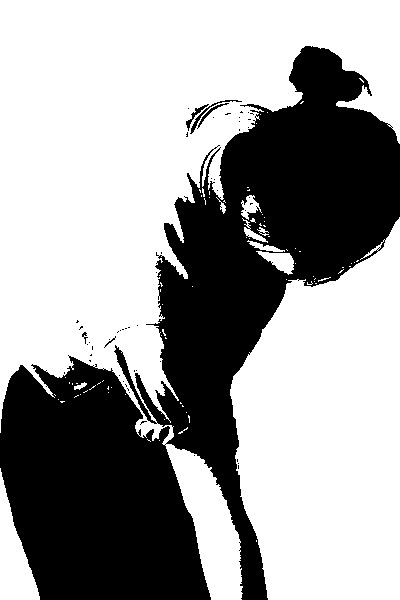
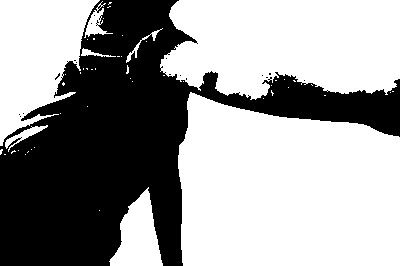
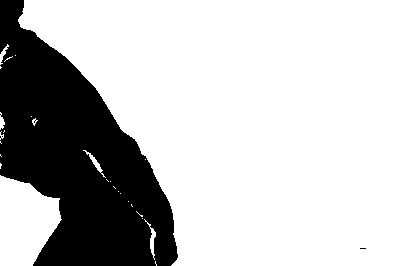
I really wanted to look at the range of different ways in which to show the different outlines of a human. I wanted to show the vast variations. With these image i would like to try and remove the basic outline of the models and for each change of pose or model show how the natural shapes have the ability to change. This particular experiment has been inspired by the research I have done previously within the Outline topic, on Greg Sand. Within the series of images i have experimented with different backgrounds, of which would give the ideal appeal. After removing the model from the image, I may add a coloured filling layer in order to give the image some absurdity, as well as adding a bold colour in order to draw the eye of the viewer towards the main point of the image. I feel that the simple change of these images would be highly effective, the absence of the outline would create a sharp contrast within the image, the missing outline would also create a line. Once seeing the simple outline i would like to try to replicate the outline however on a more exciting background, in order to give new and more exciting qualities to the image. I may also try to replicate these images however using different objects, for example a flower. Something that holds a very recognisable shape, in which the viewer would be able to work out what the missing silhouette is. I took into account the previous research i had done on how to manipulate light to create different effects in order to form the desired outcome. For example I moved the studio lights to face in a more central direction on to the lens of the camera in order to try to make a shadowed subject or silhouette. To take these images i used a digital camera, I adjusted the aperture in order to create a darker image in a well lit room.
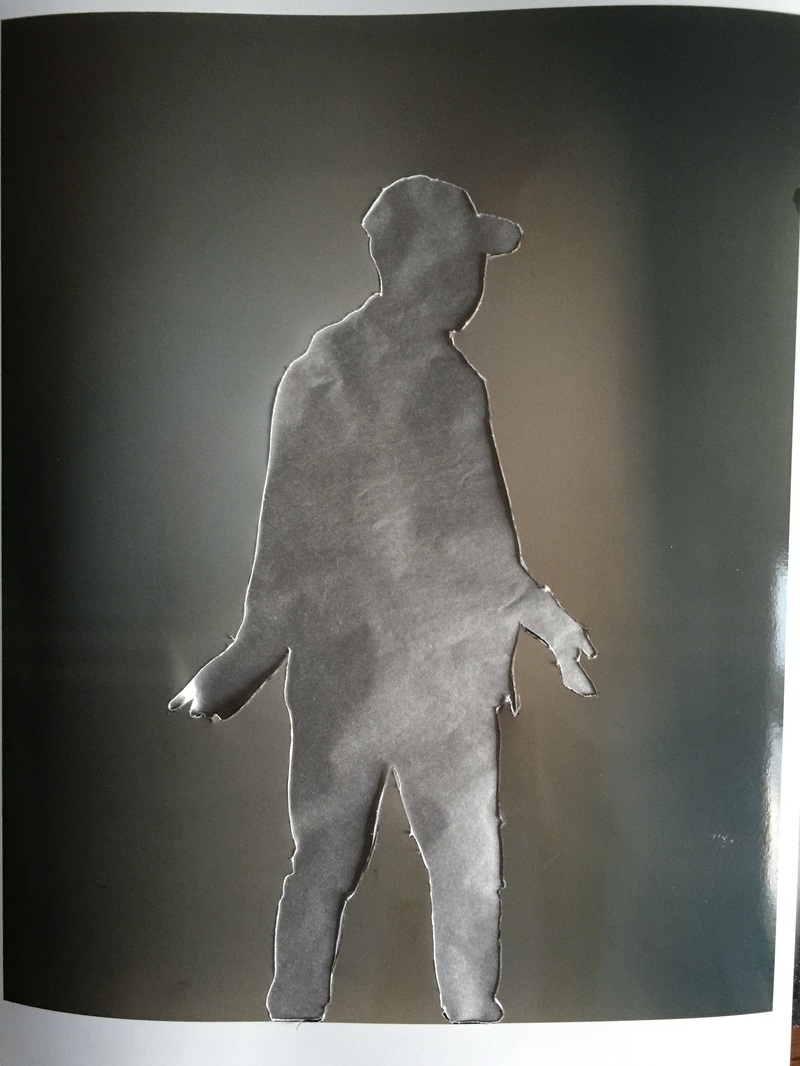
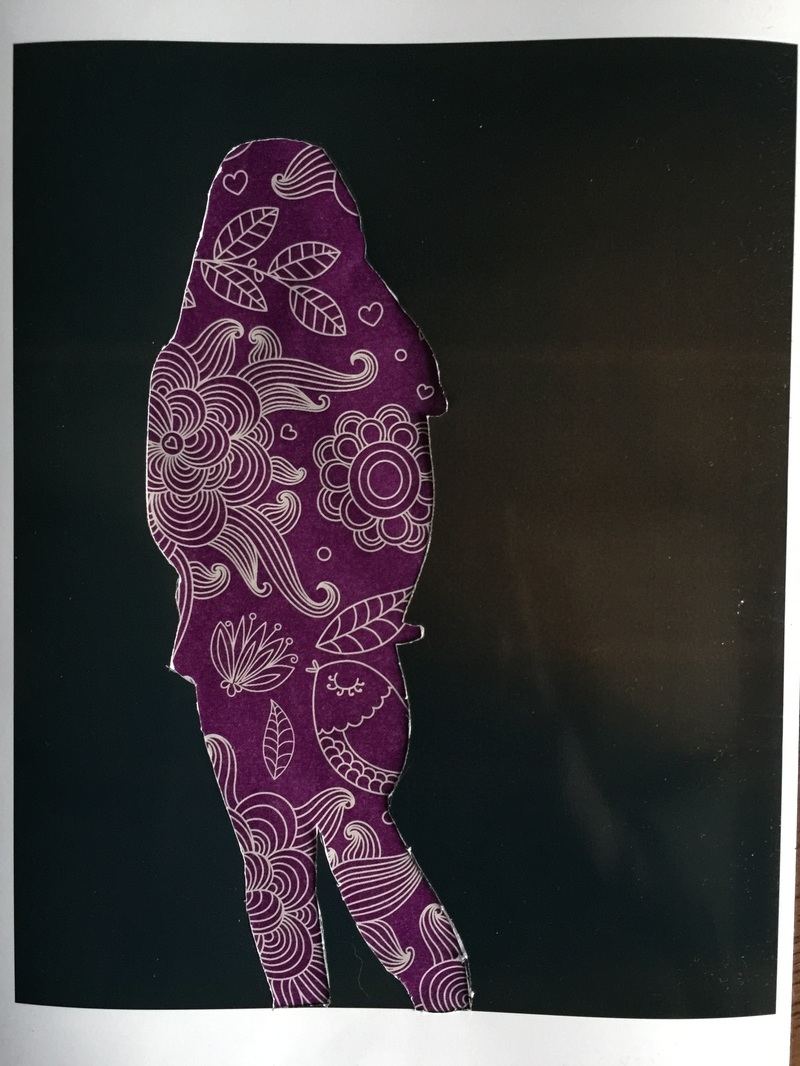
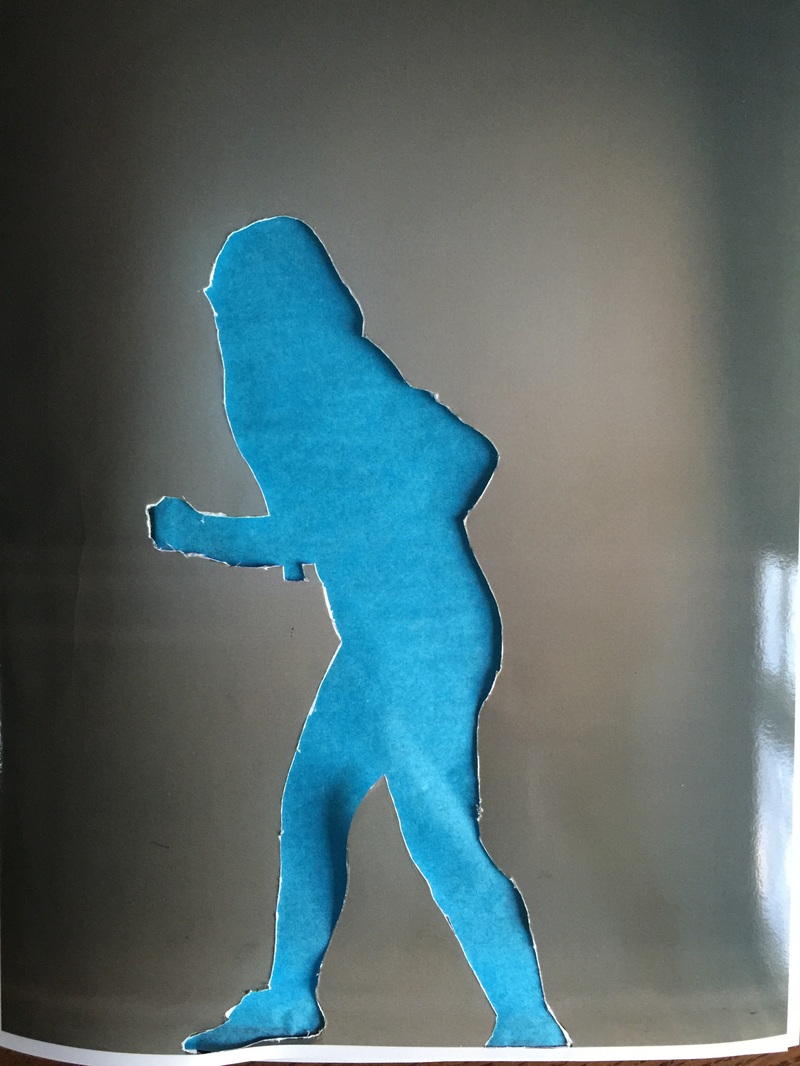
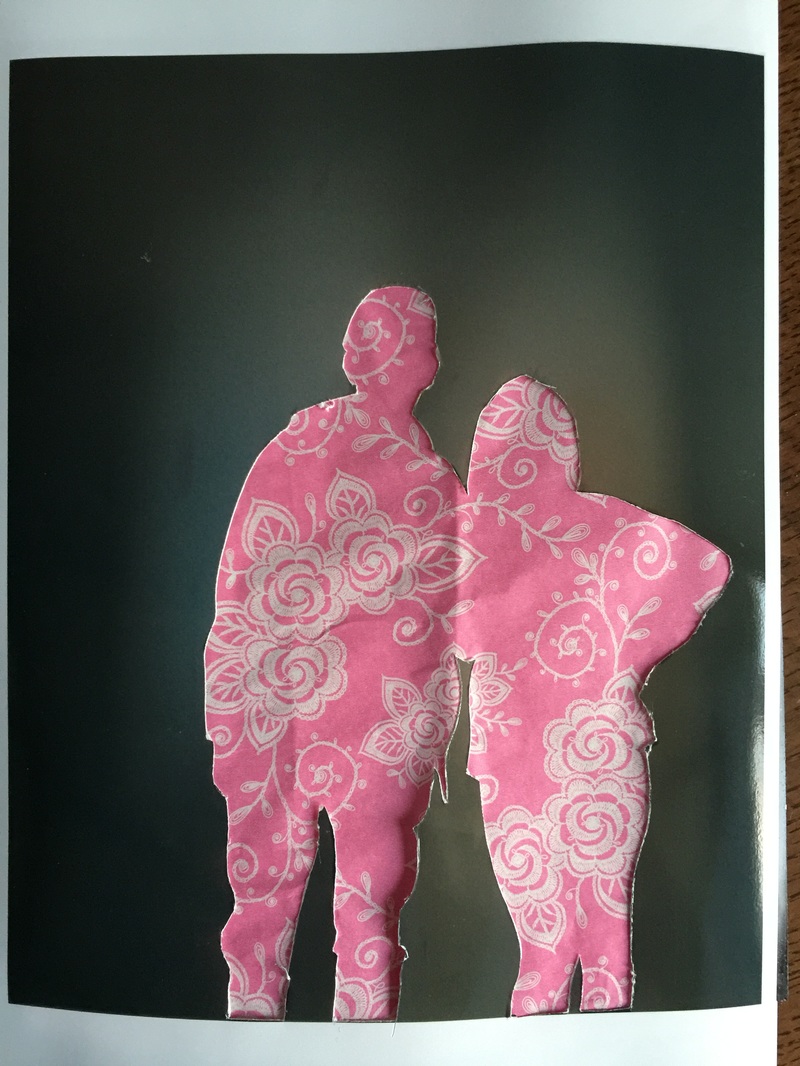
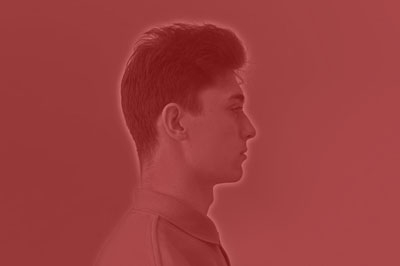
After completing the experiment i am really happy with the outcome, it was exactly what i wanted to be produced. I feel that each image has the desired effect, of capturing the eye and drawing it to a specific point on the page, as well as the fact that the removed portrait make the image have a more distinguished and emphasised outline, as well as a varied level of contrast in each piece. The silhouettes that have been filled by the patterned paper have a large amount of line which wouldn't have been there with the original image. Each image has a different type of fill, which gives each image a varied texture within the frame, as well as a range of brightness. I feel the overall outcome of this experiment has been a success as i was able to create a successful set of image that could be used as final piece. To develop these images i could experiment using a range of different objects, in the place of the people in order to make the images more mysterious as the main subject of the image would be unknown.
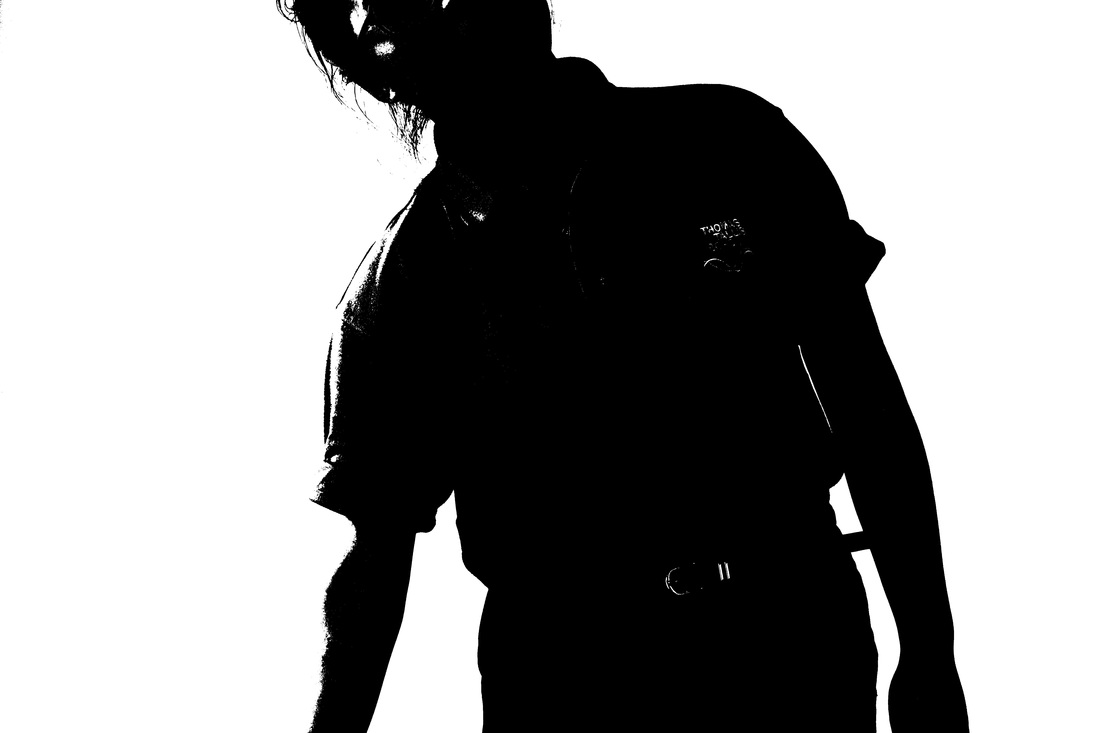
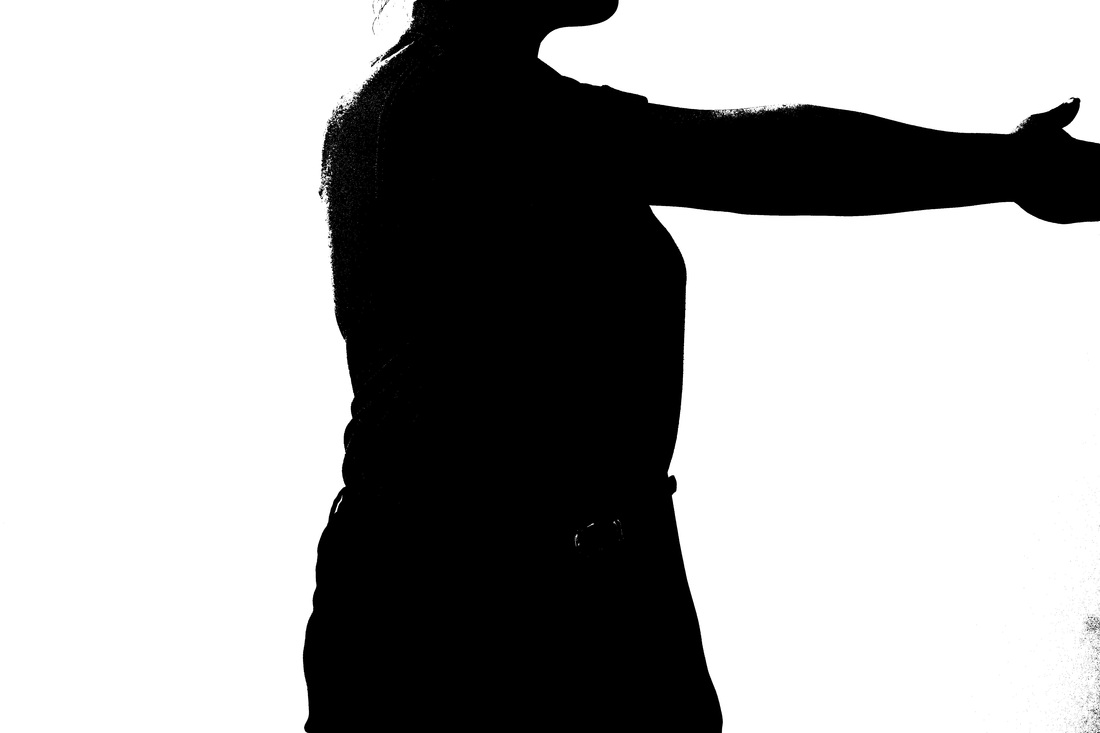
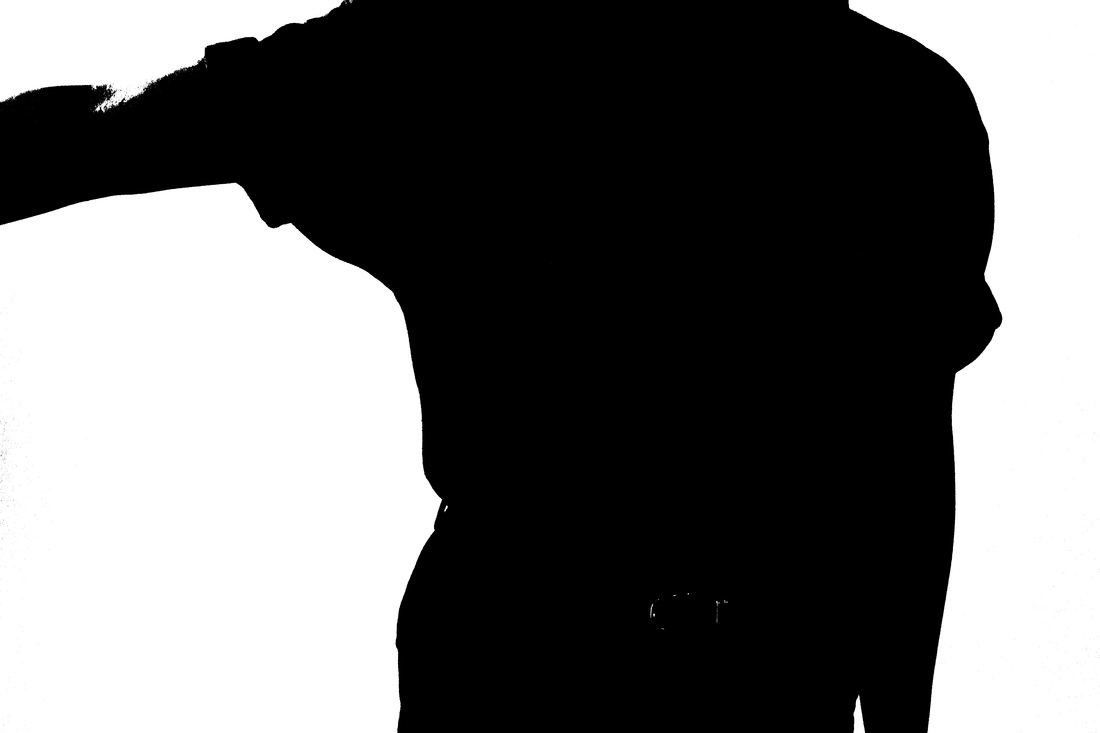
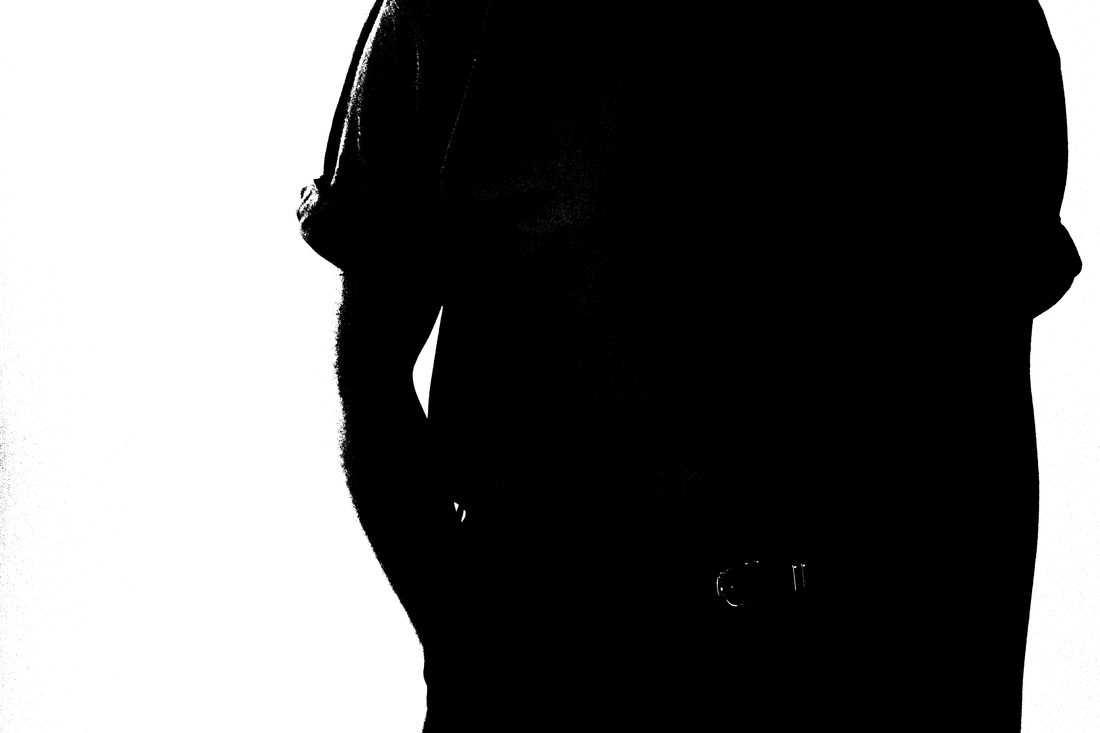
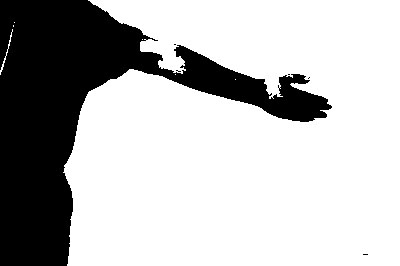
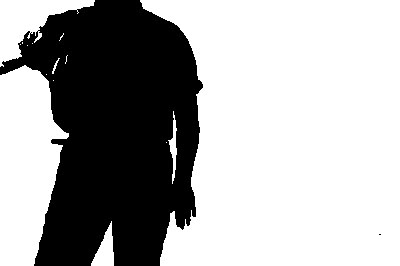
Raw images, on a white background.
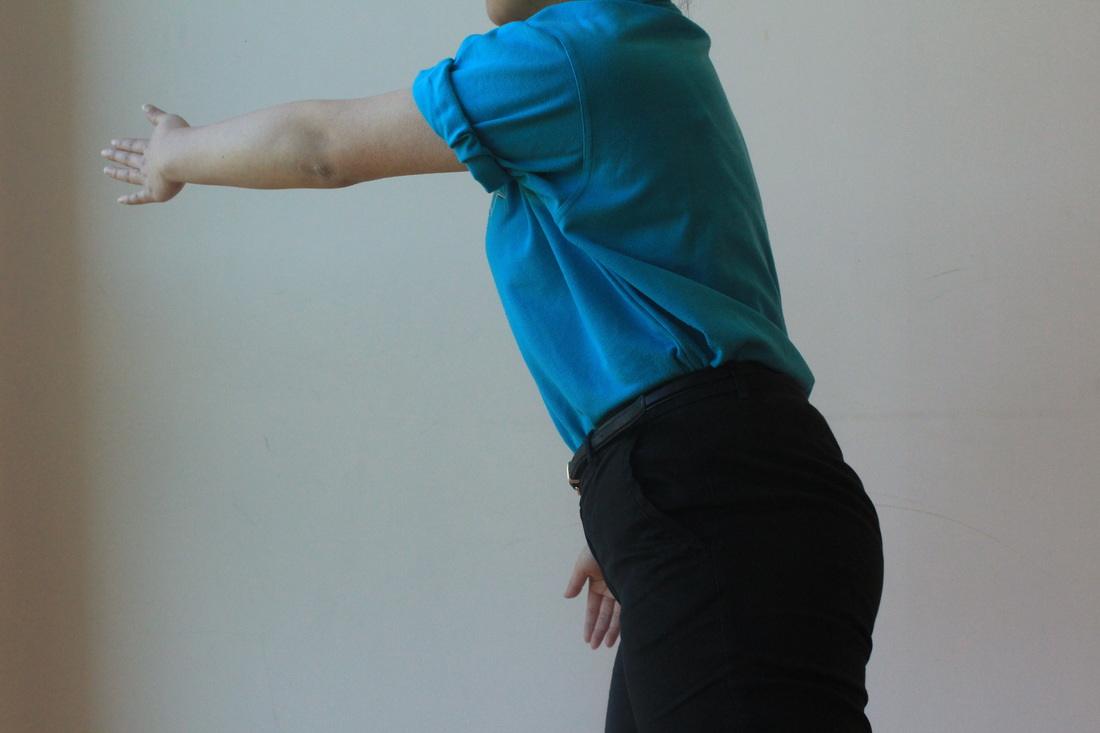
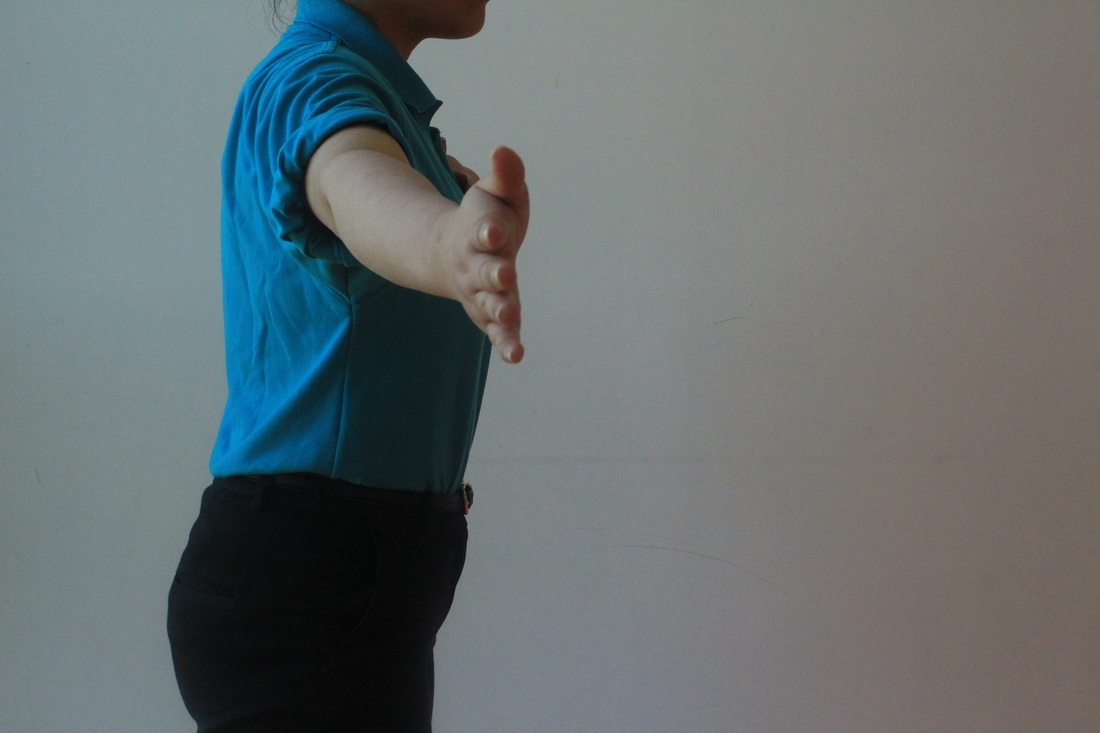
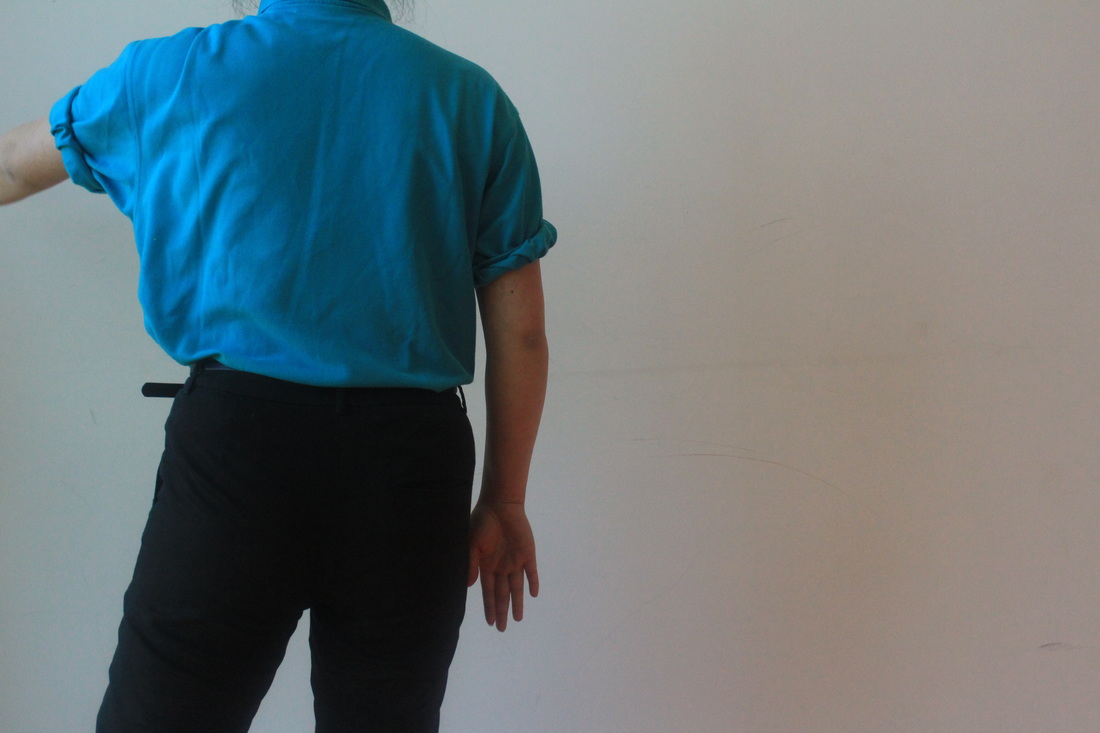

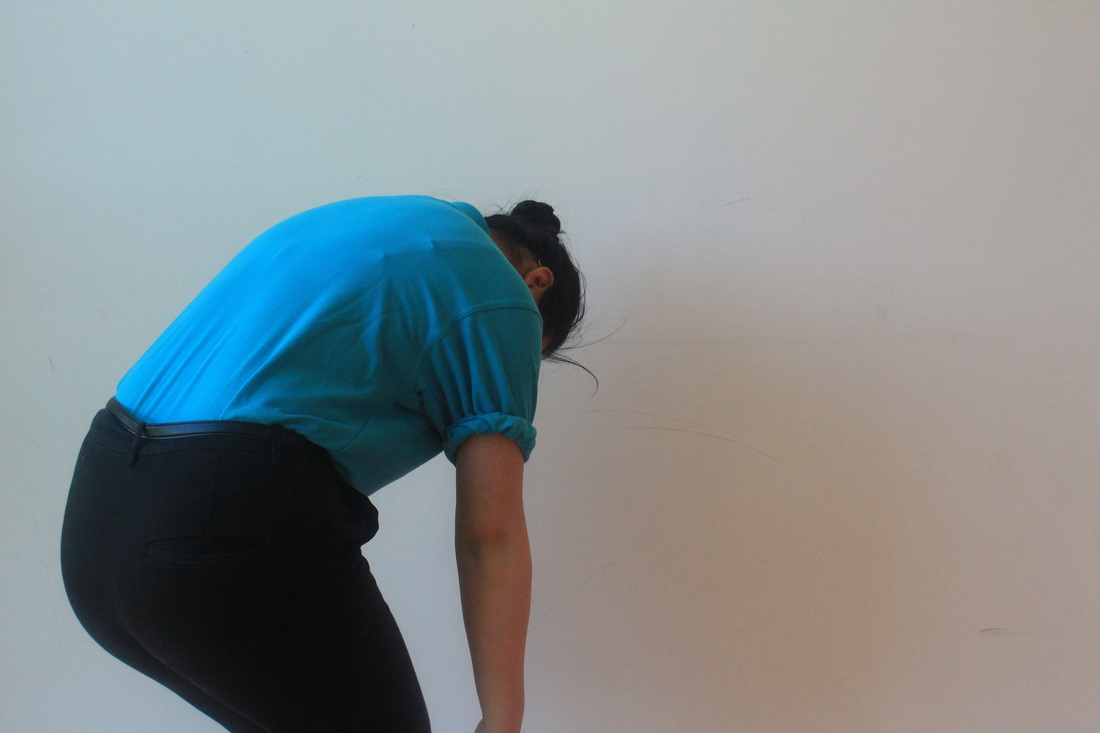
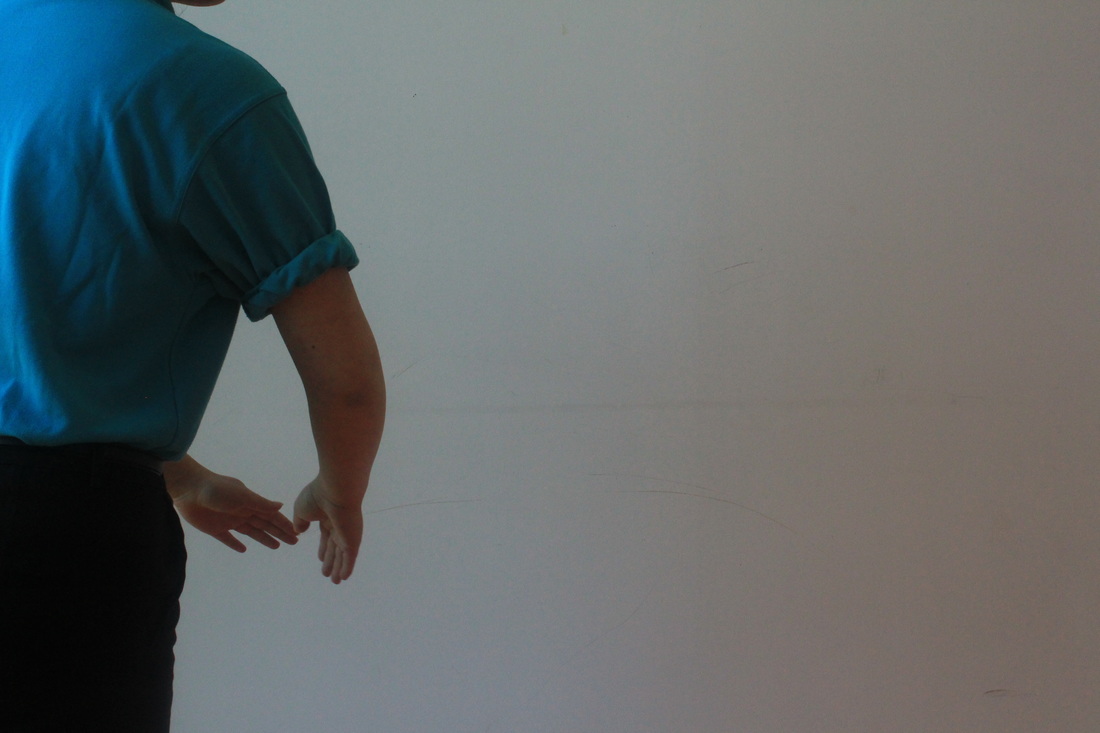
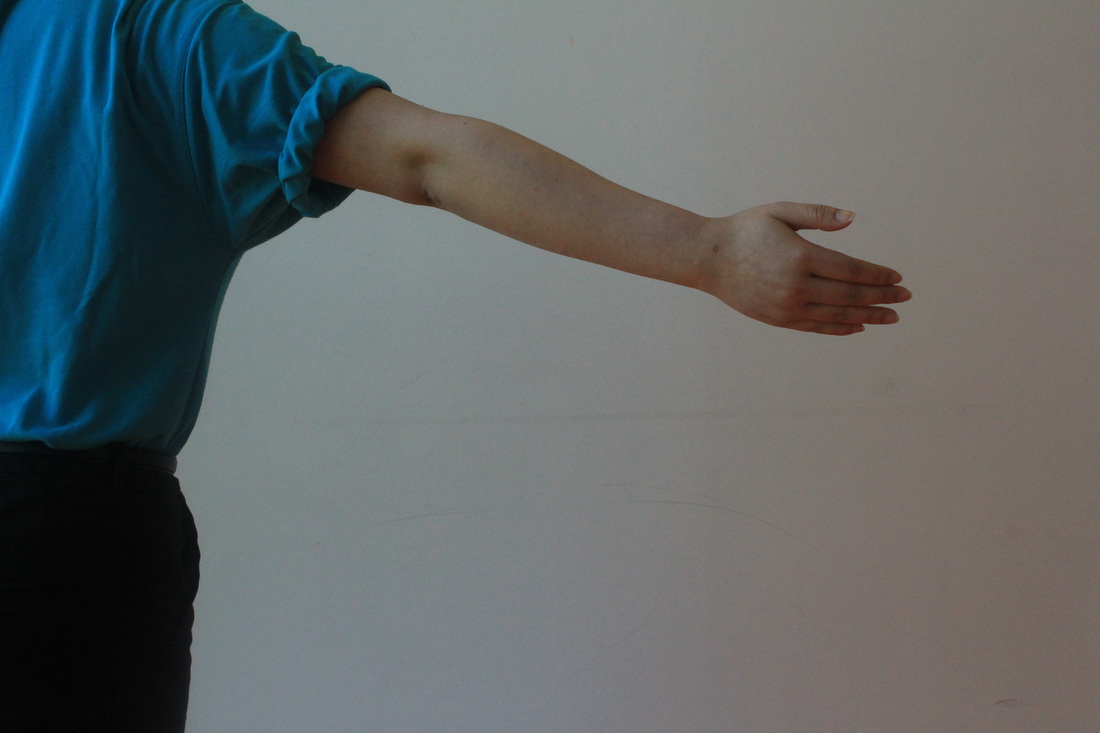
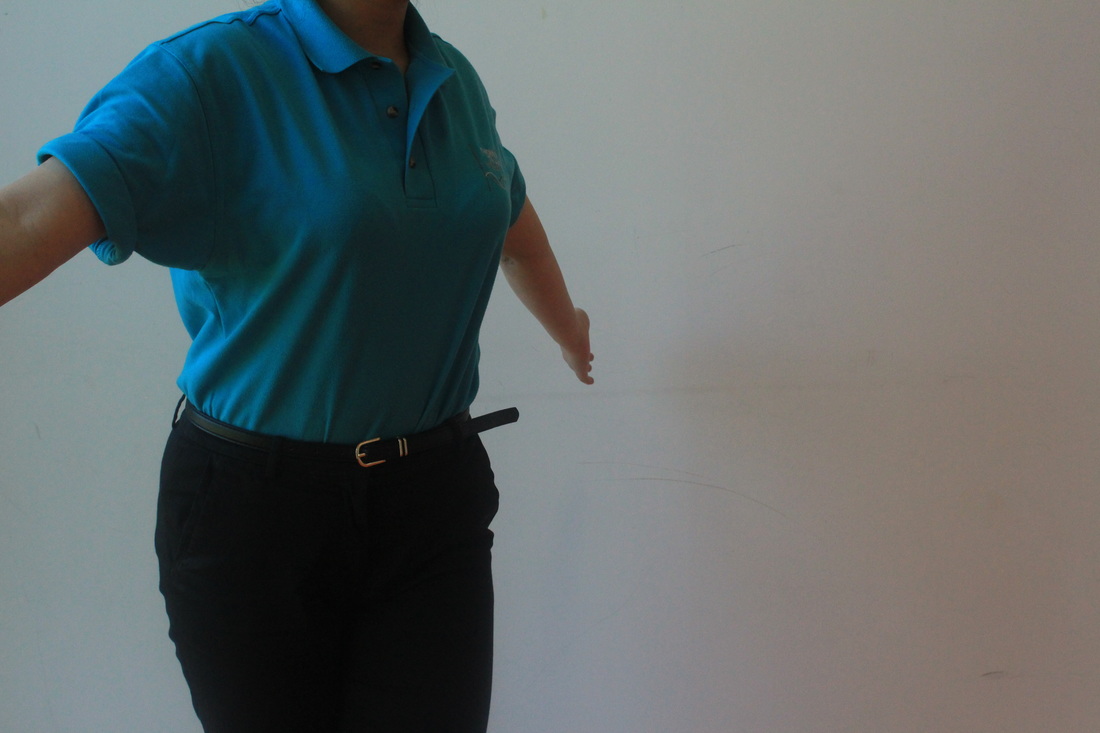
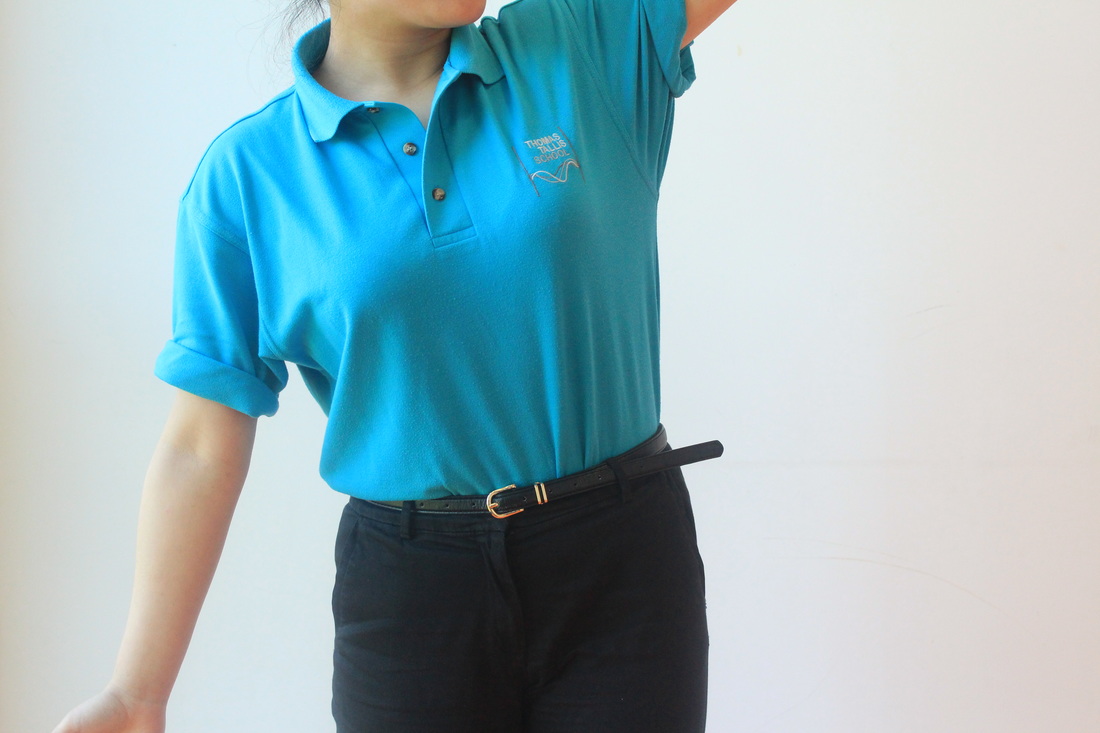
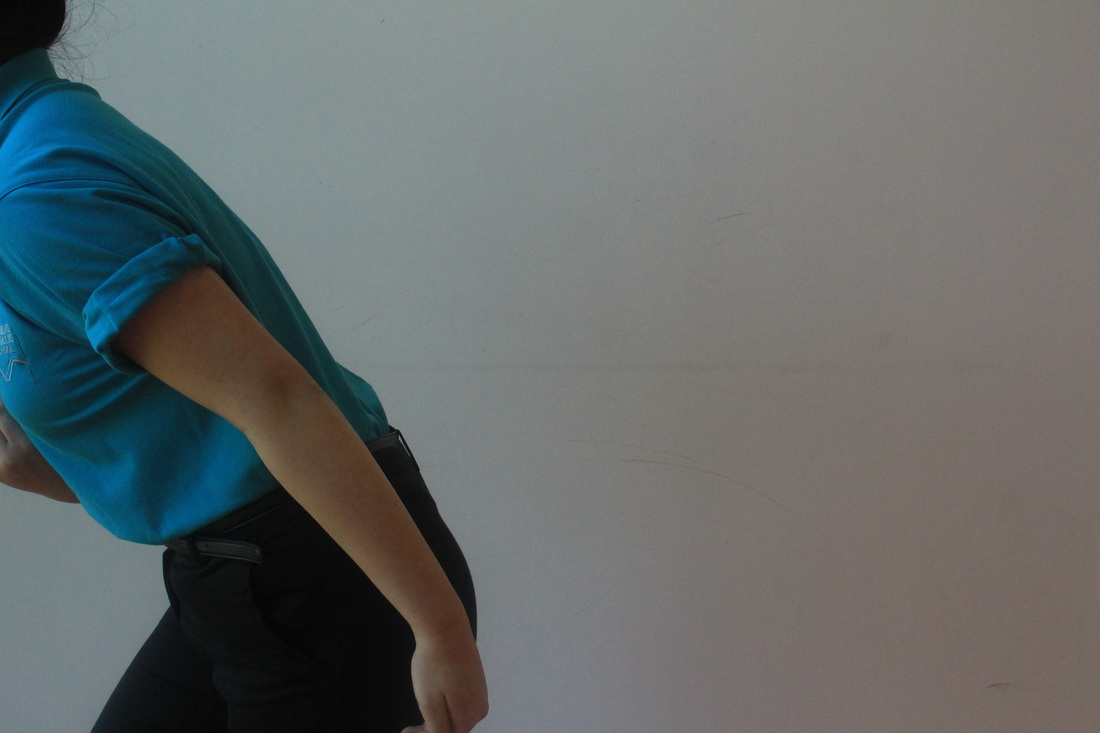
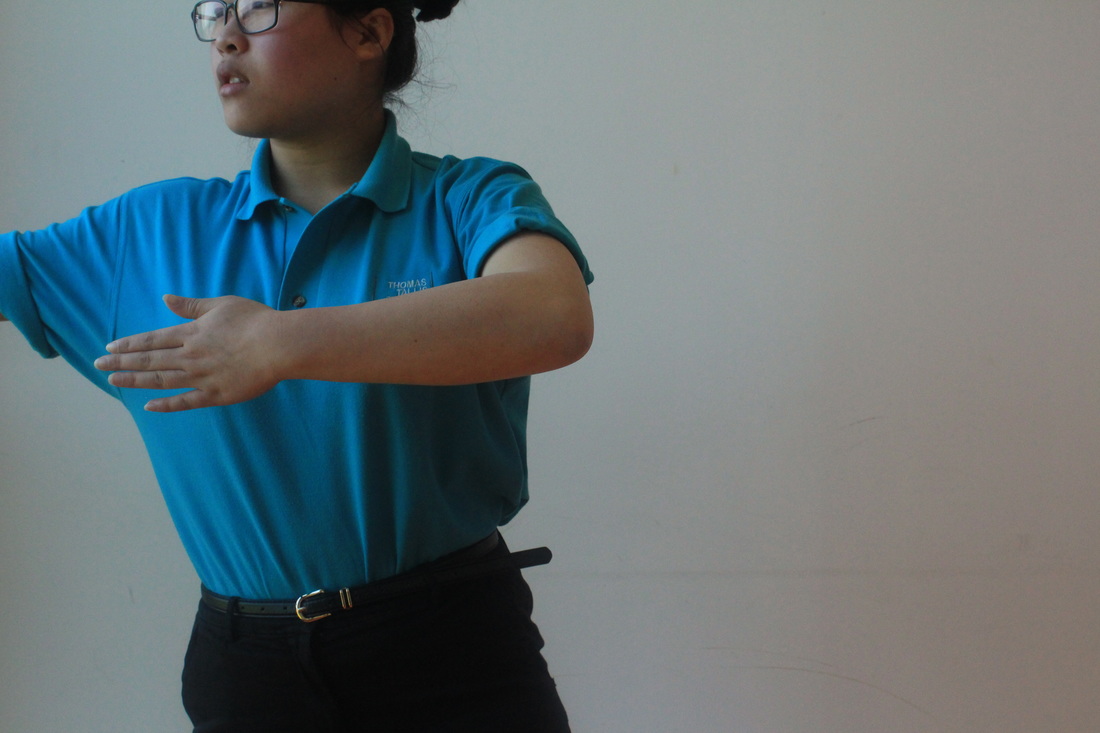
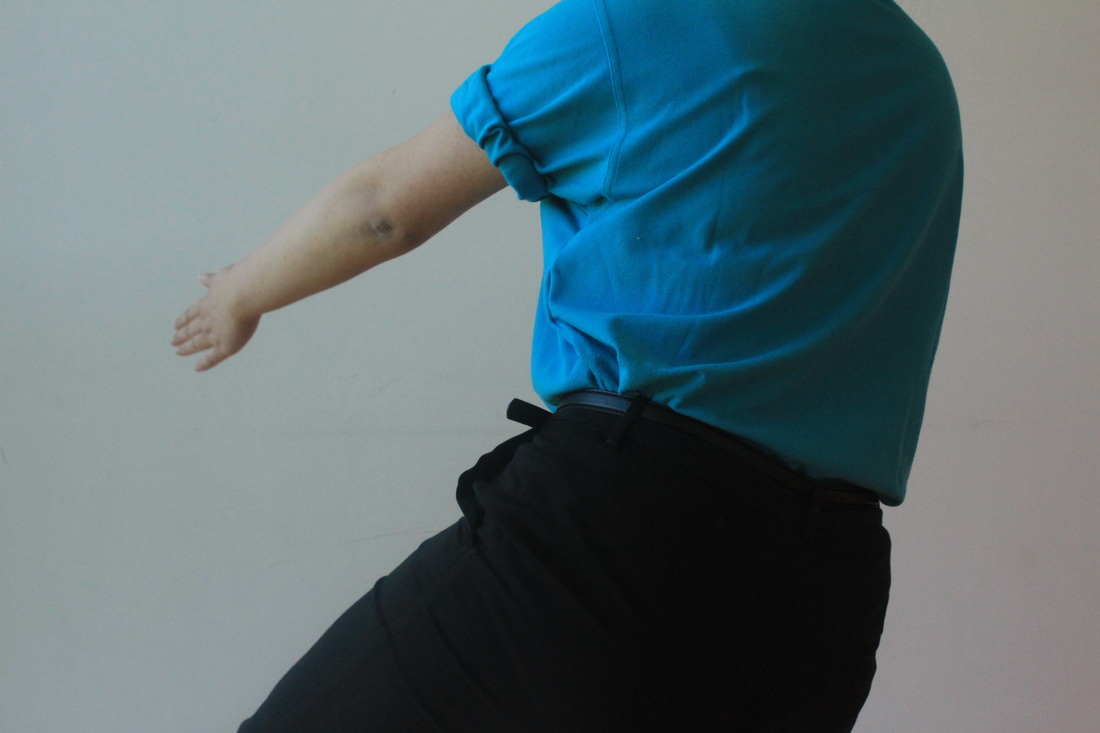
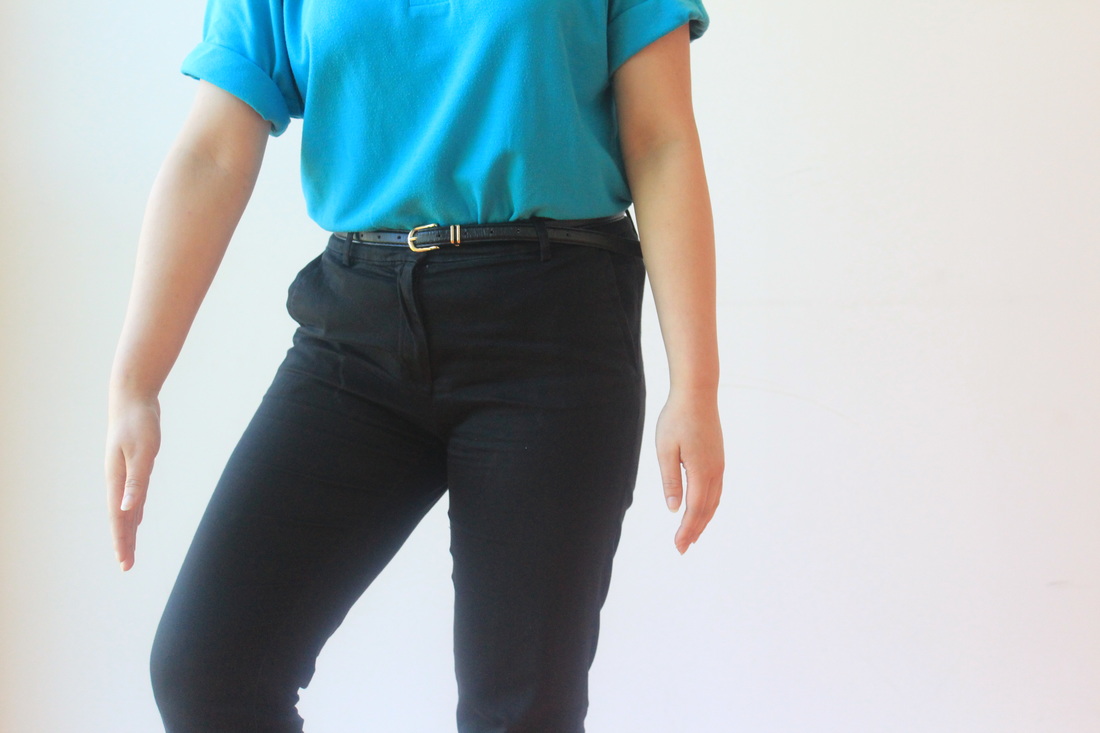
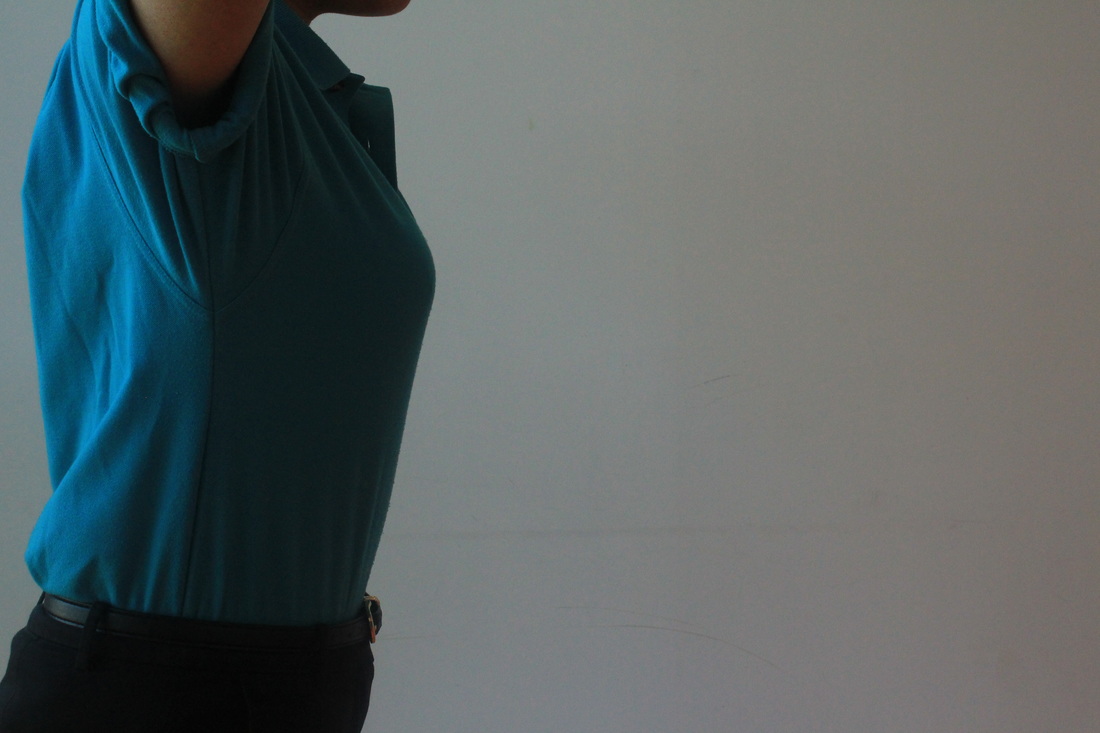
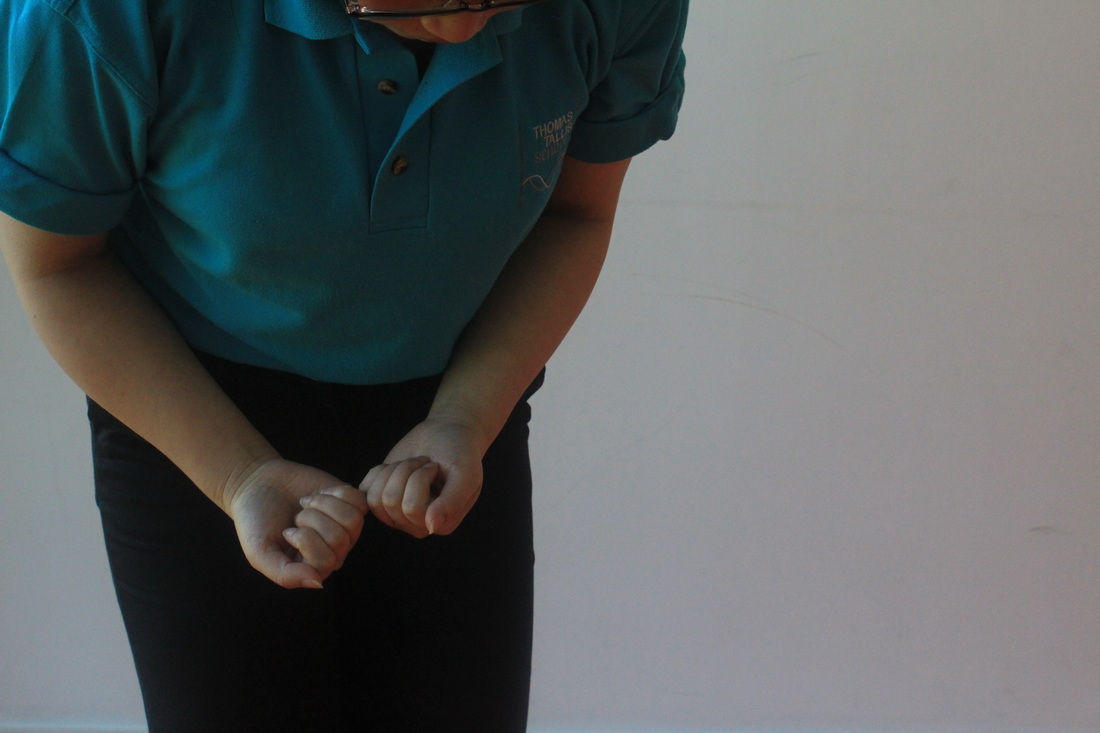
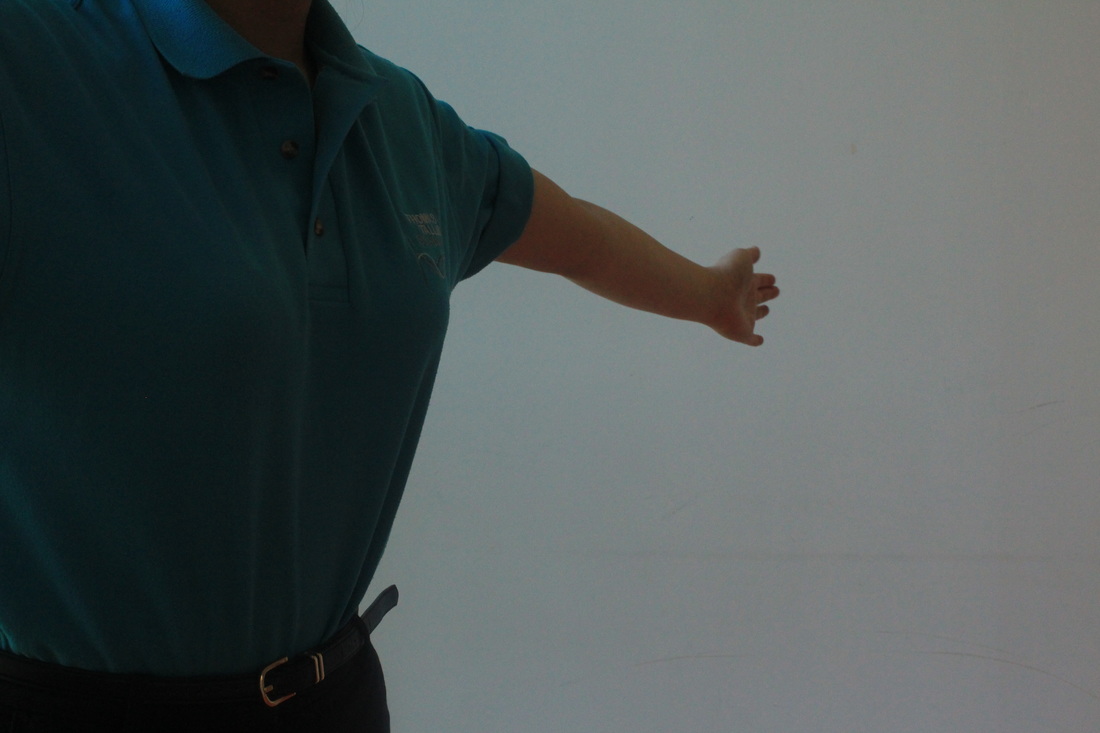
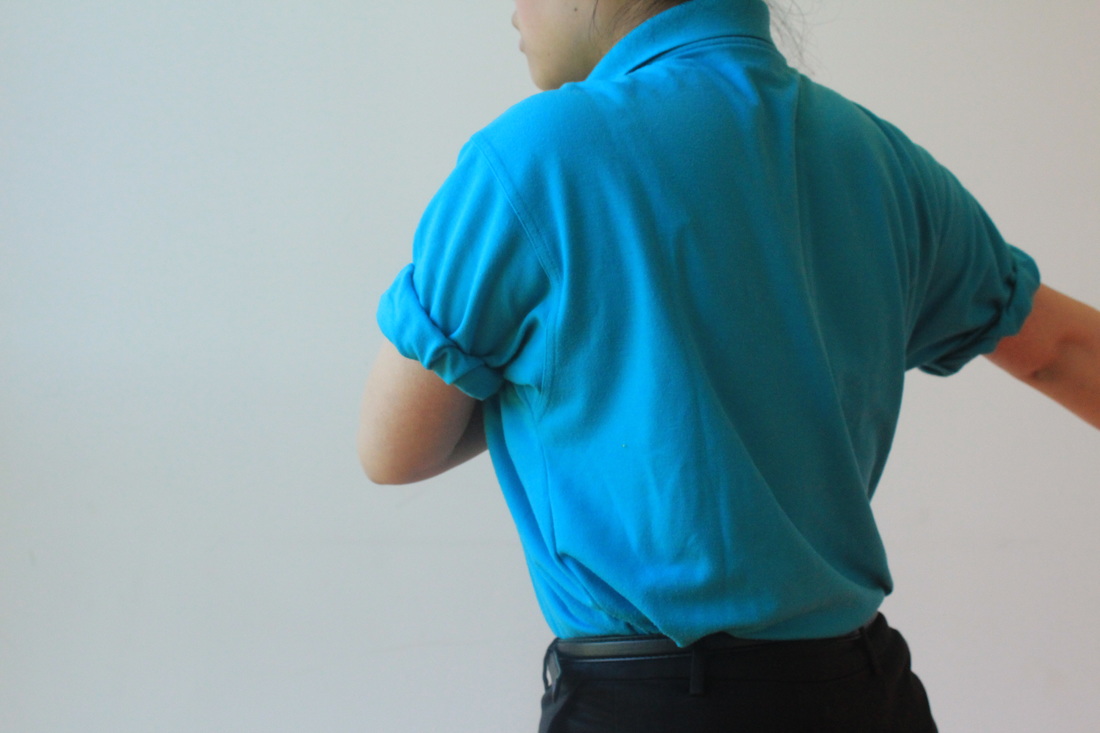

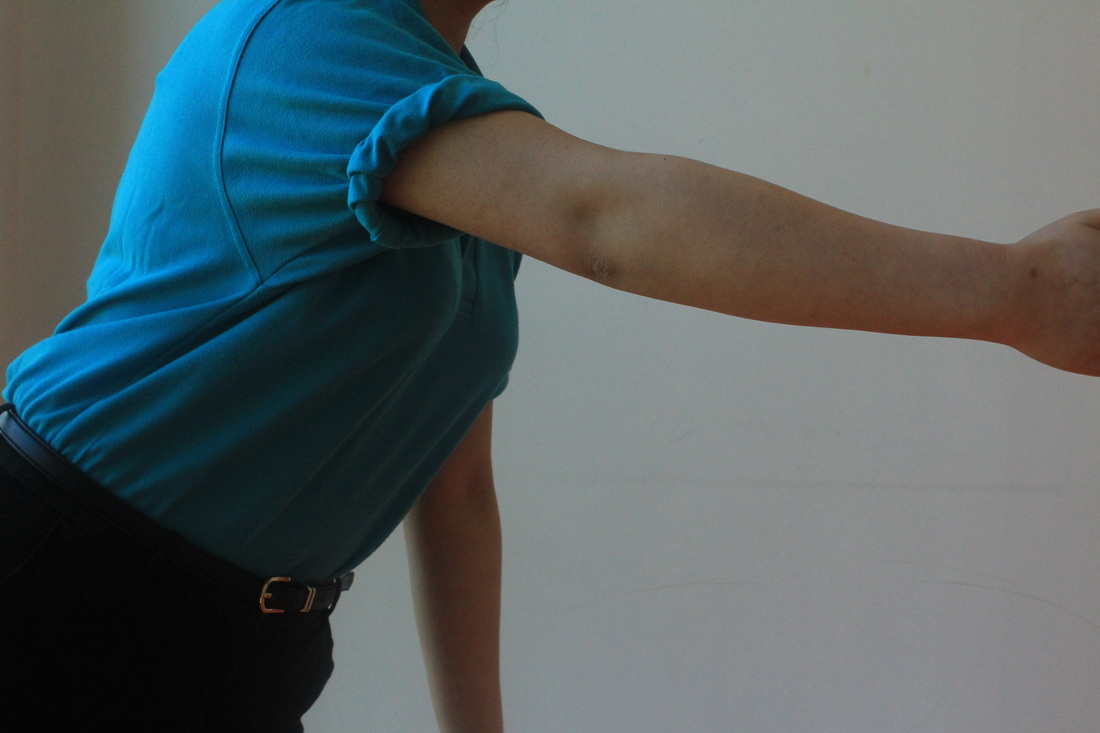
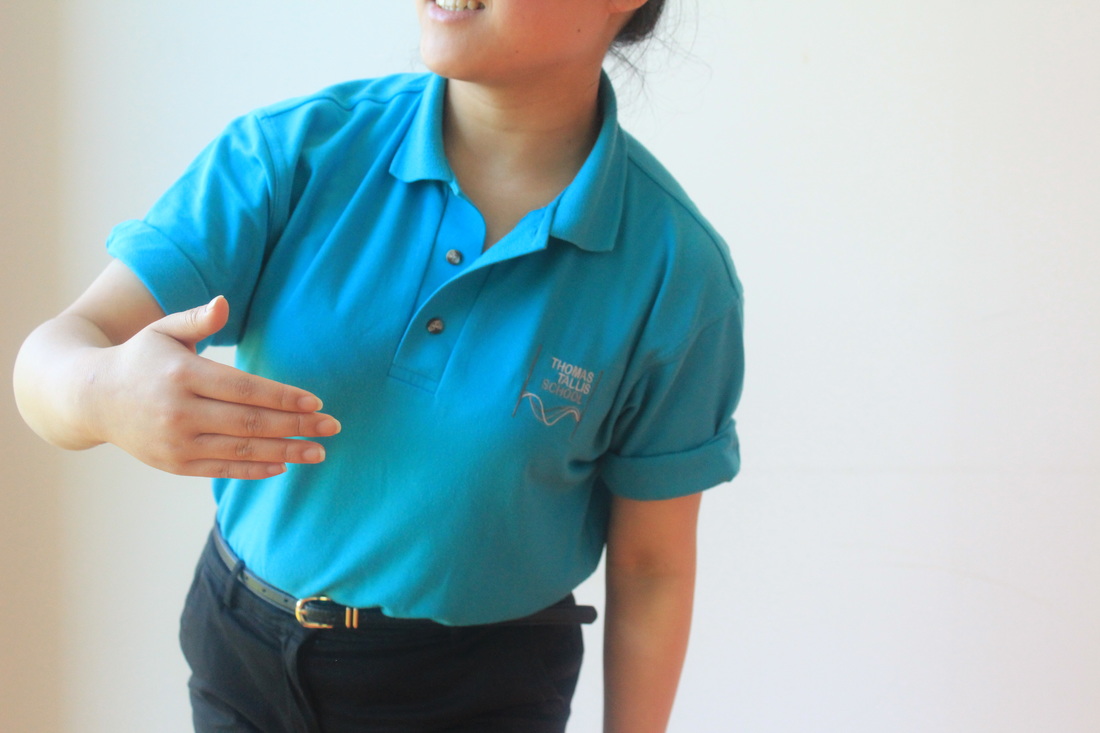
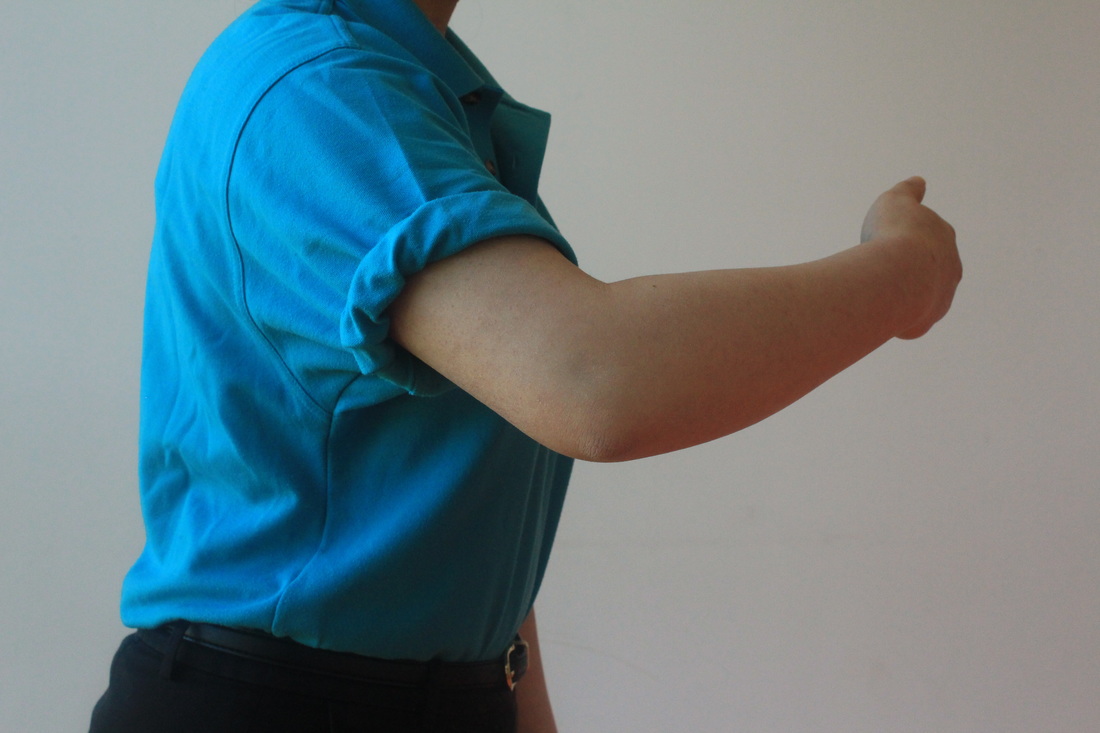
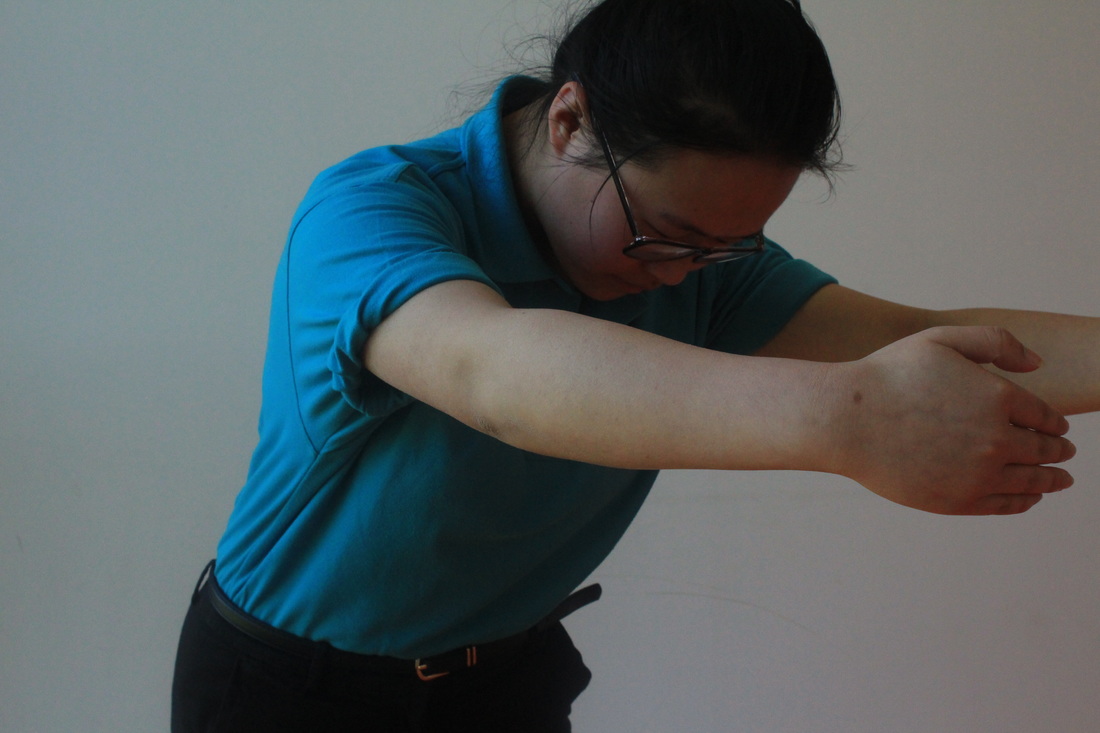
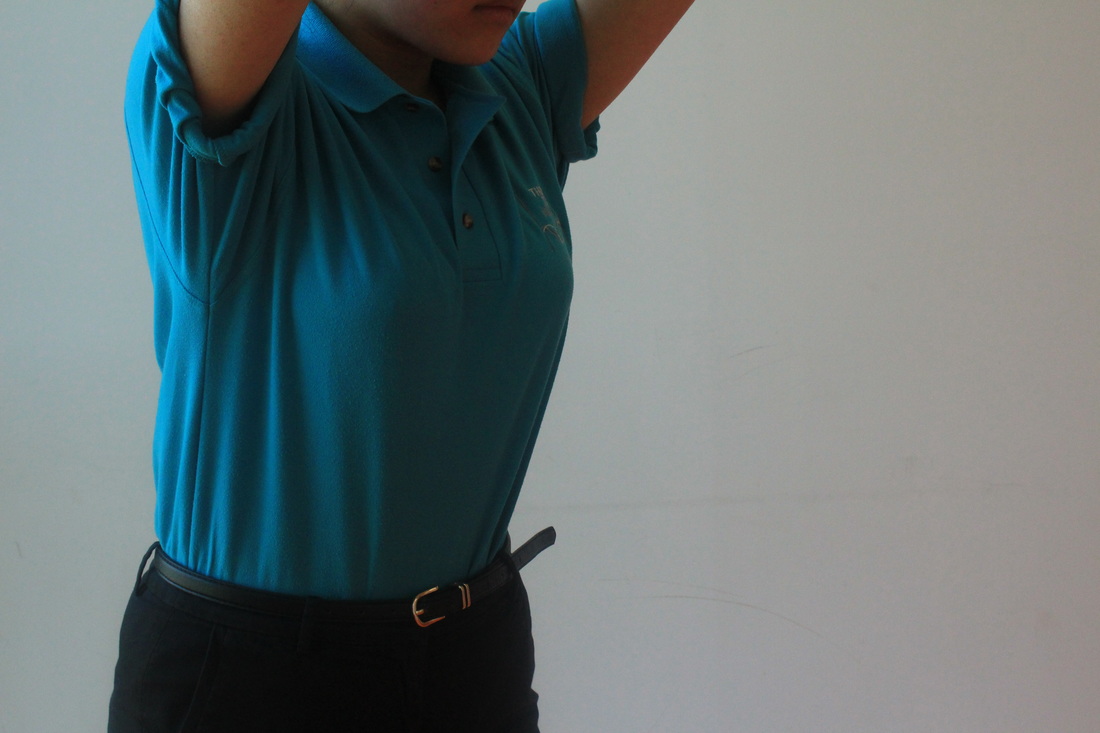
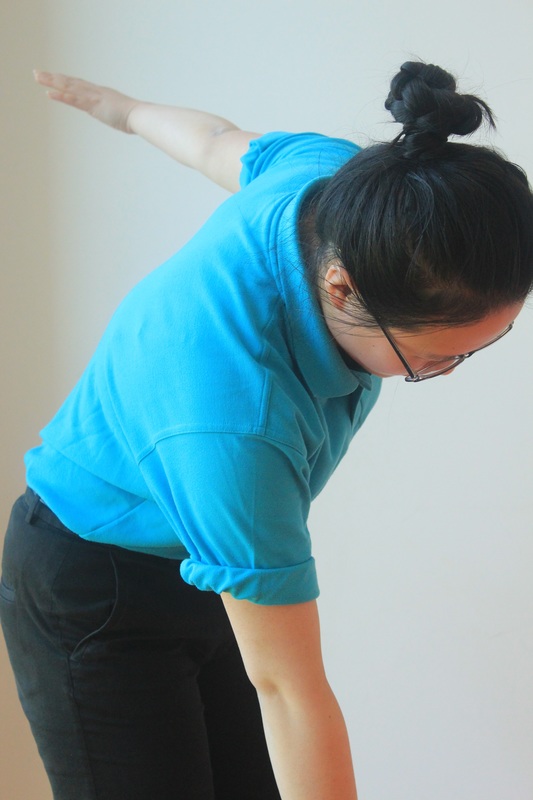
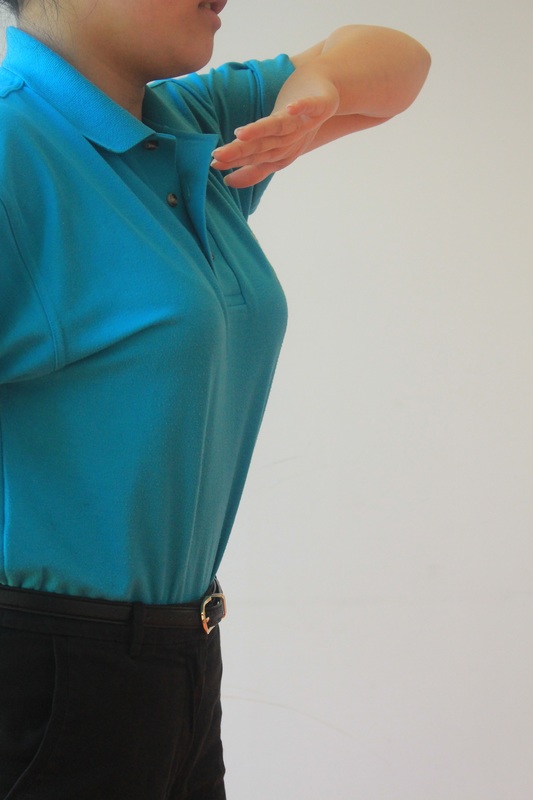
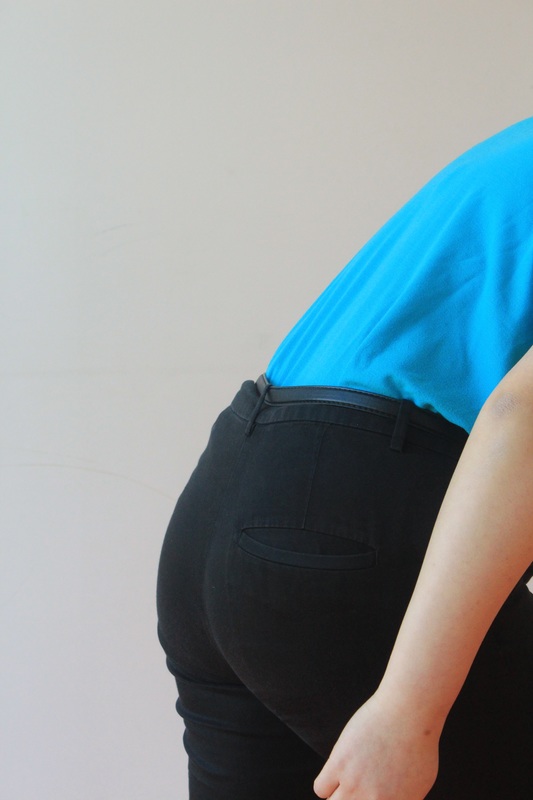
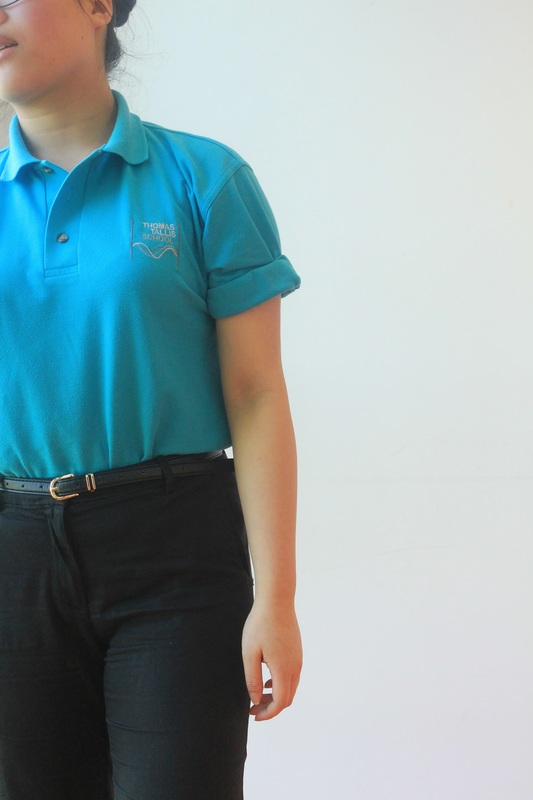
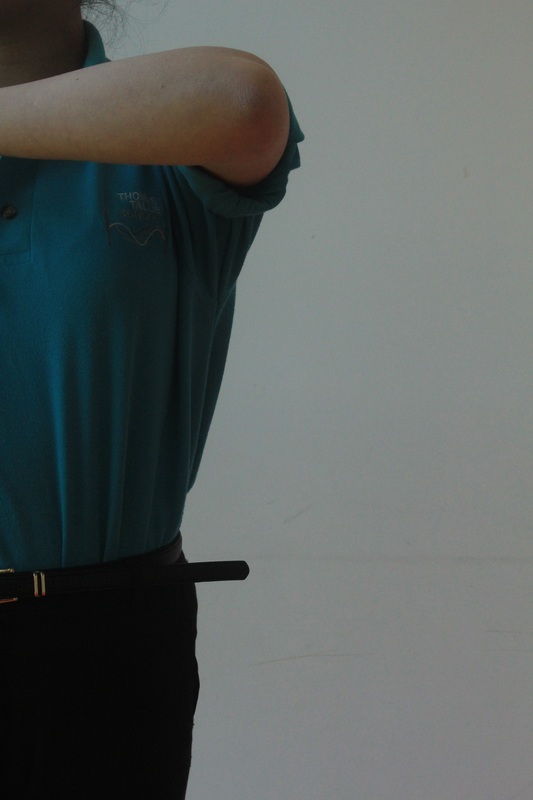
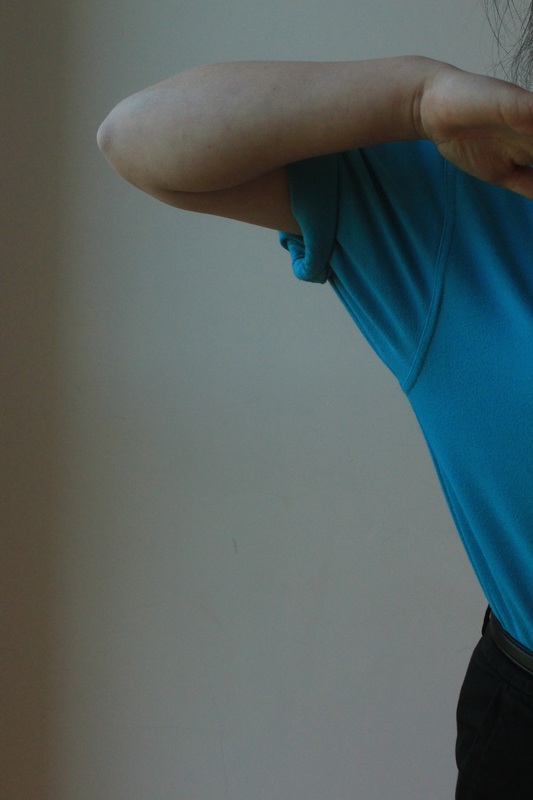
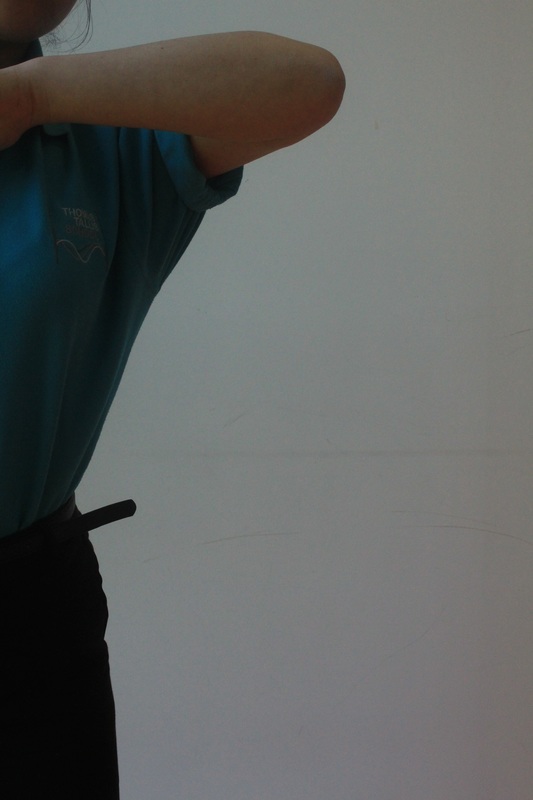

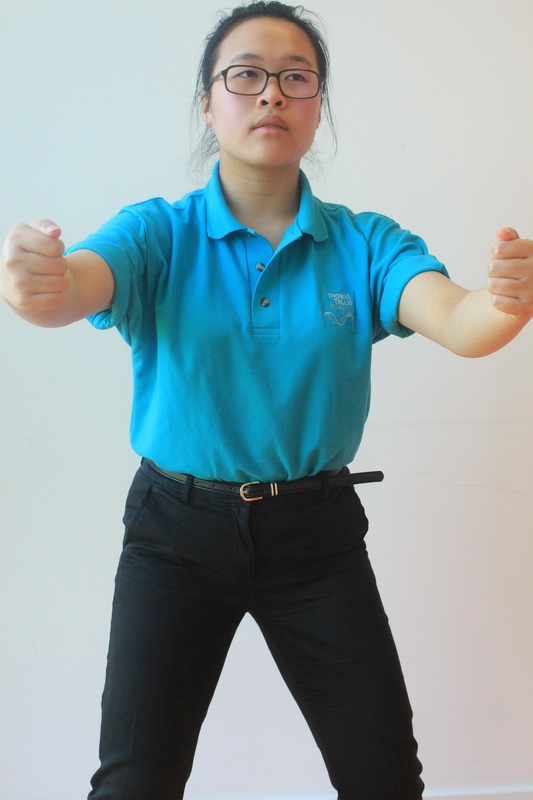
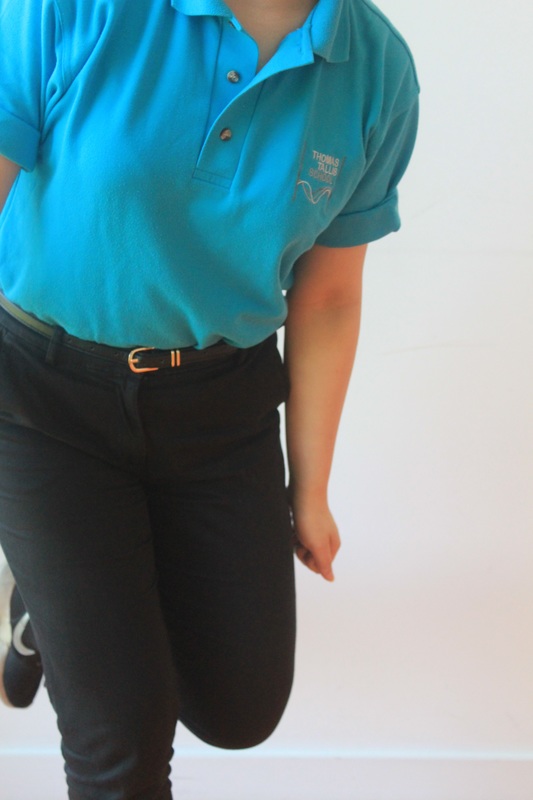
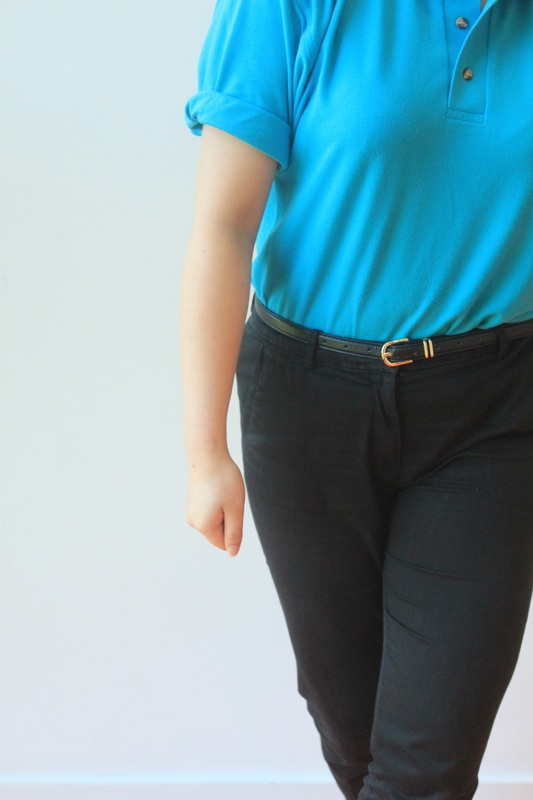
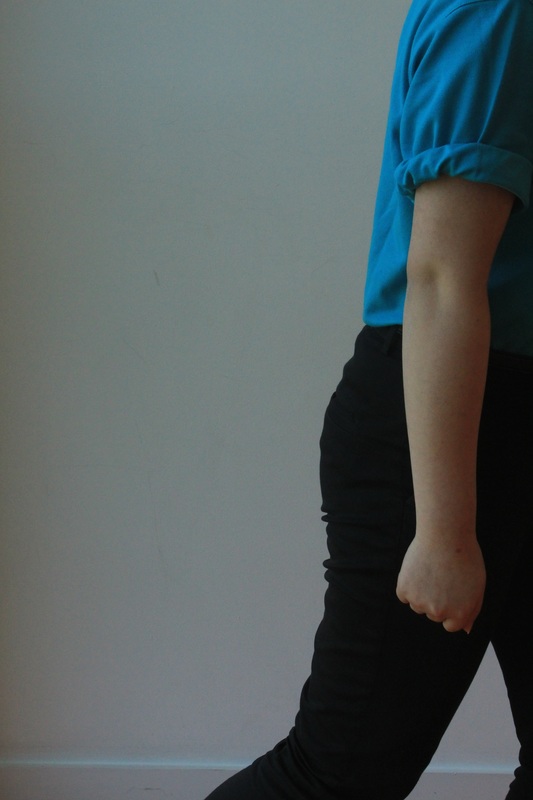
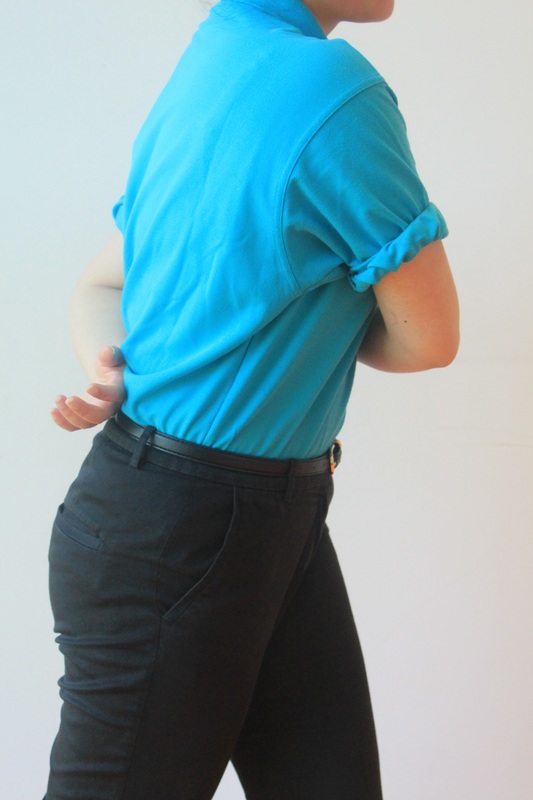

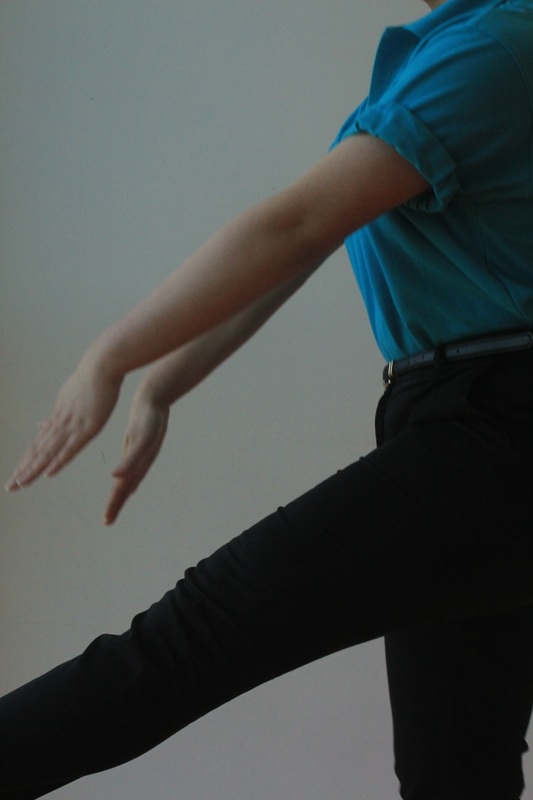
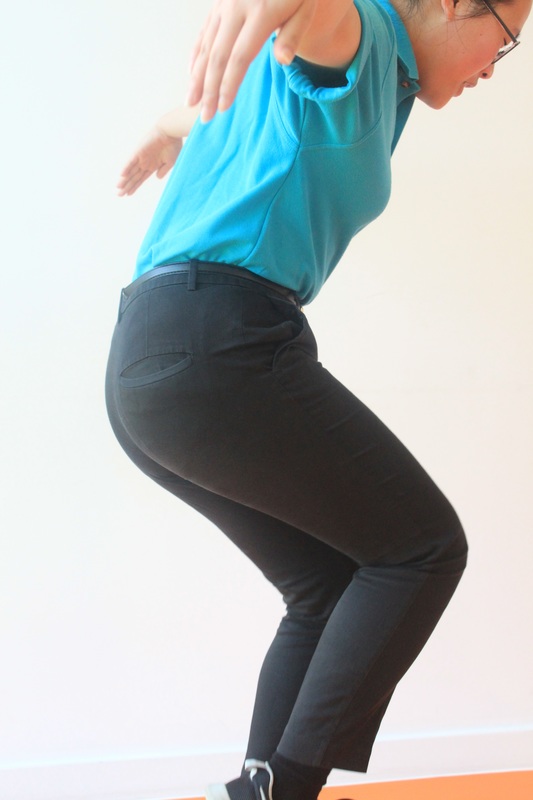

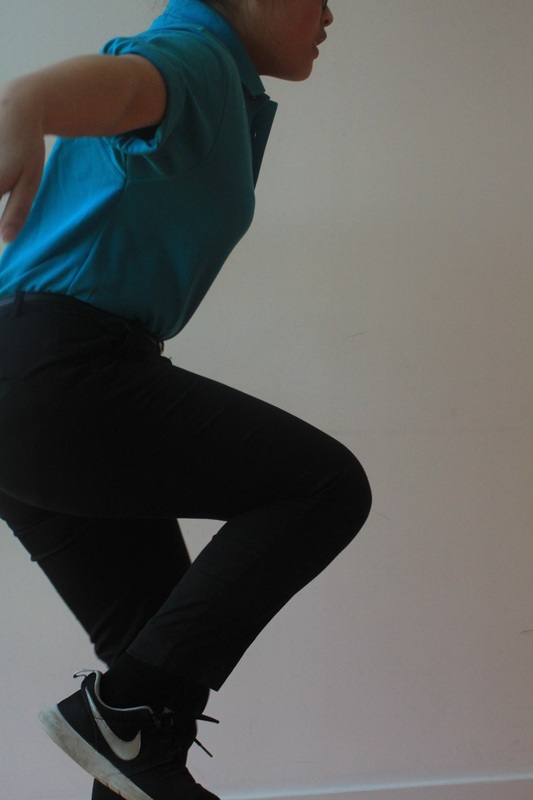
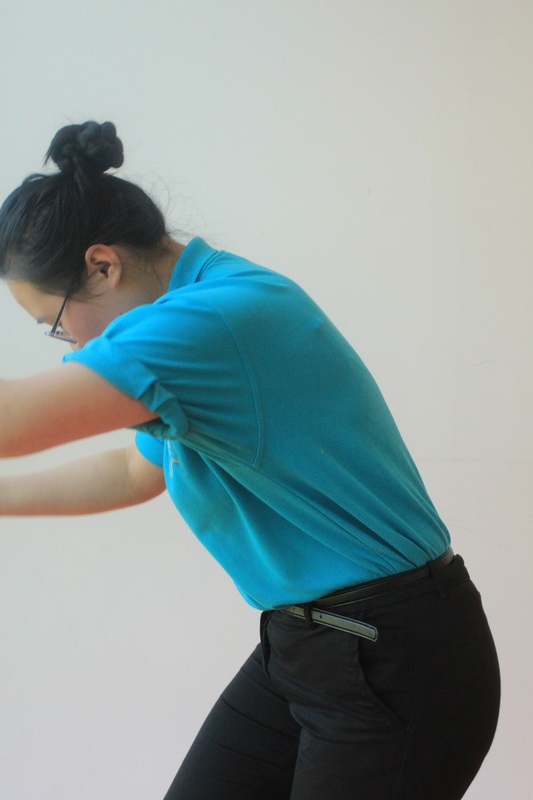
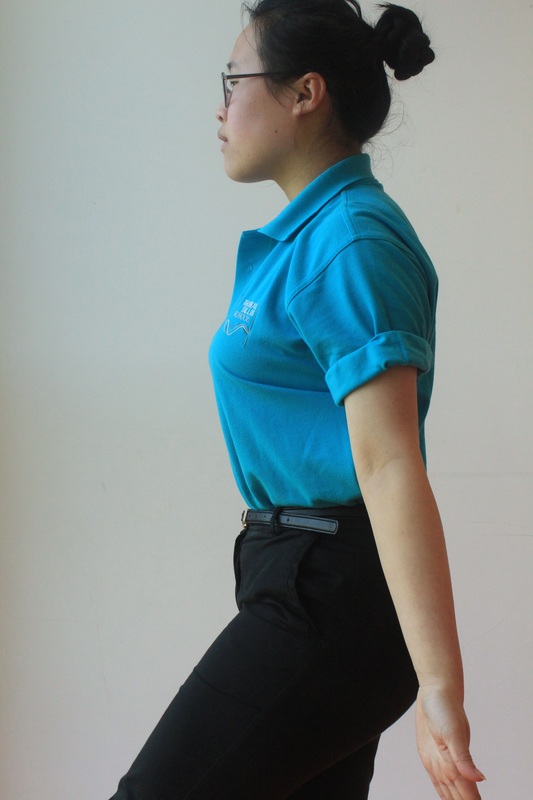
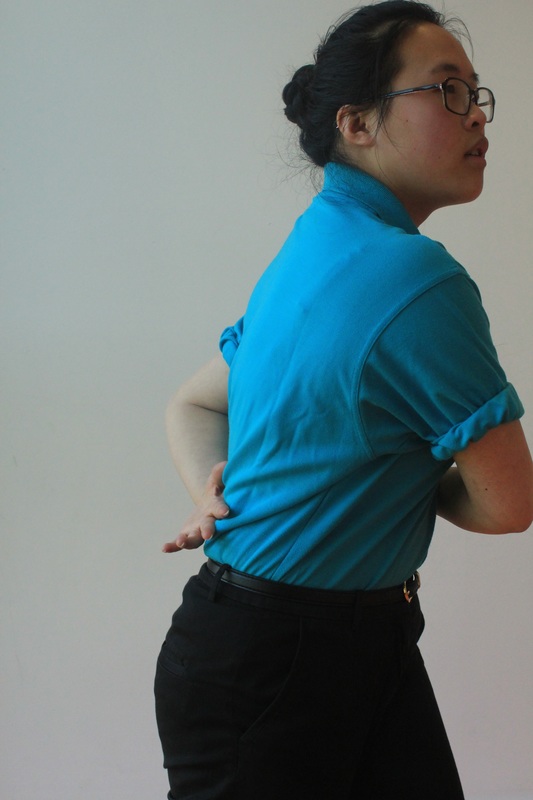
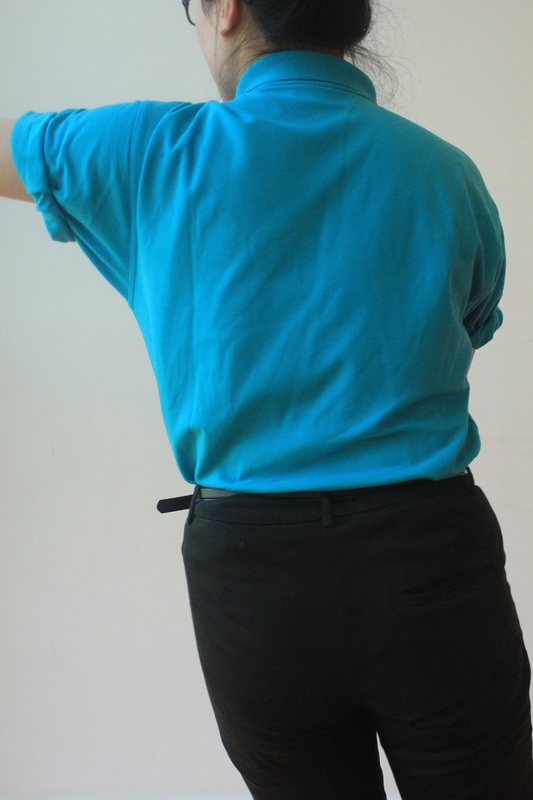
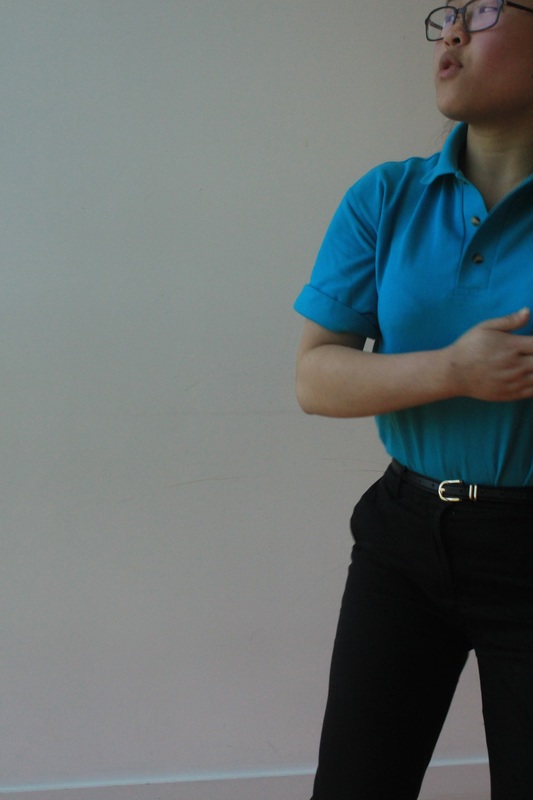
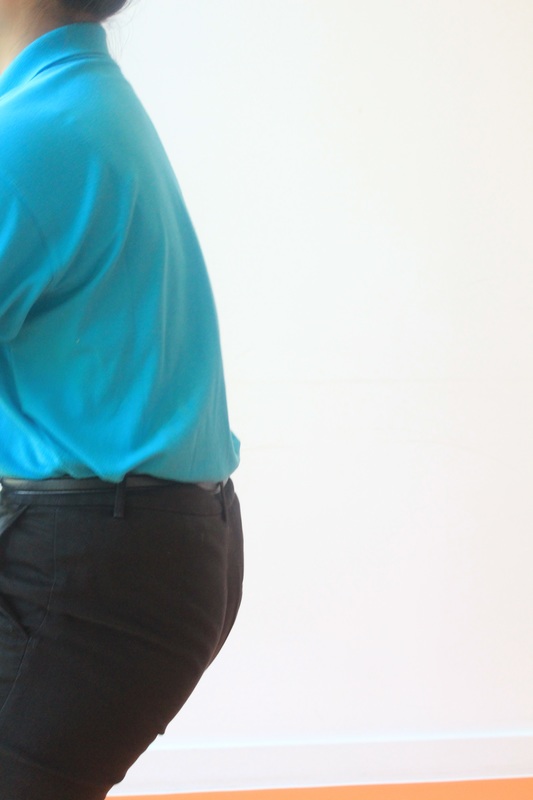
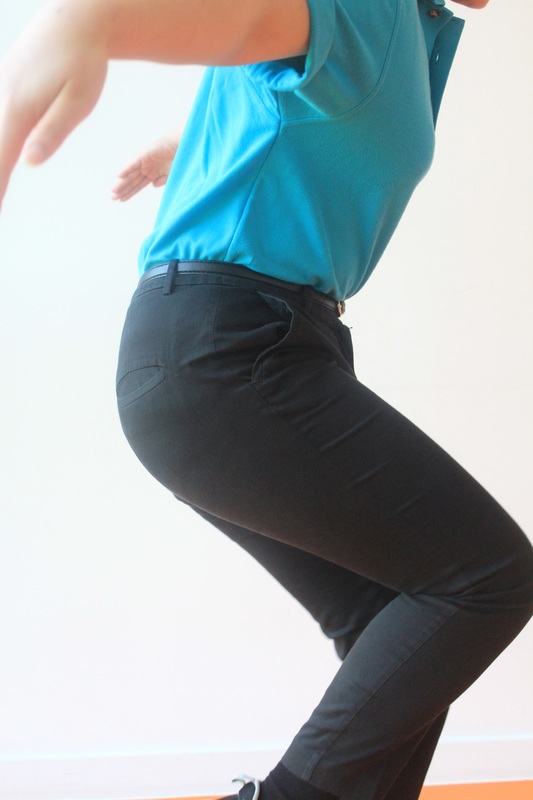
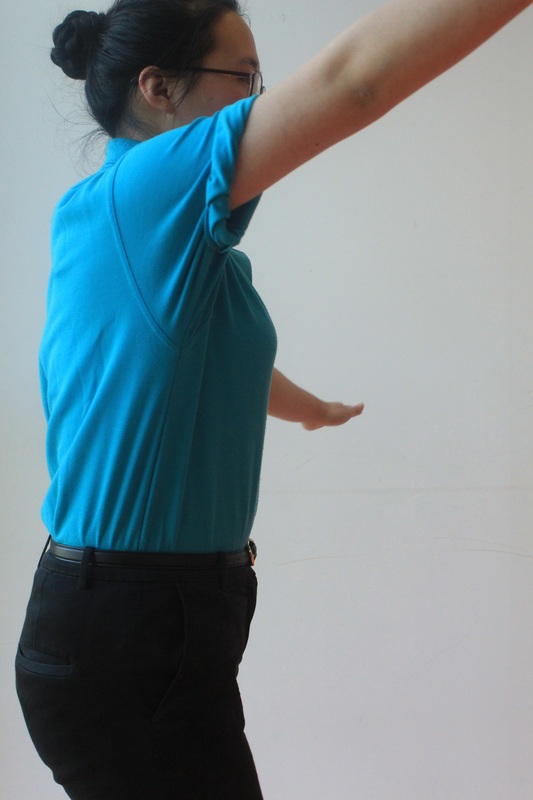

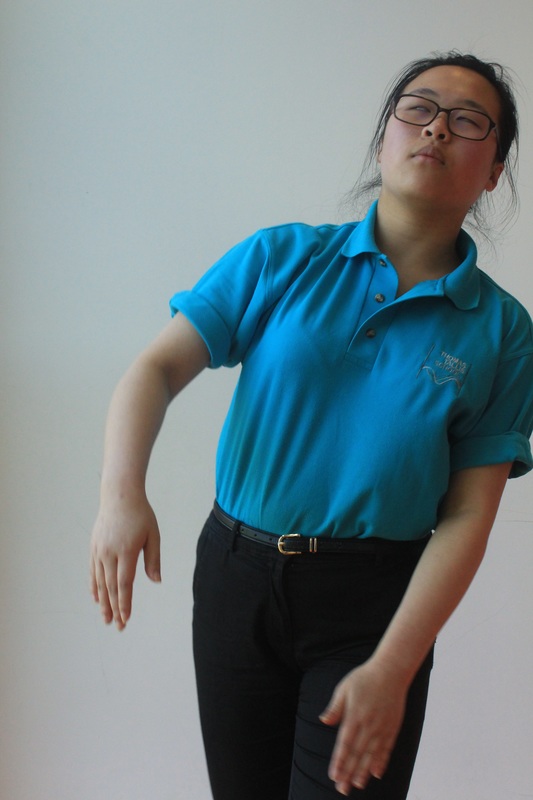

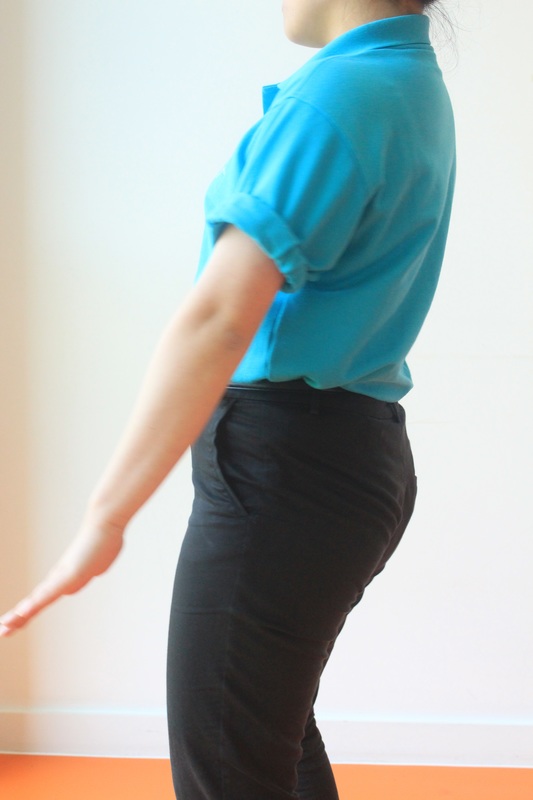
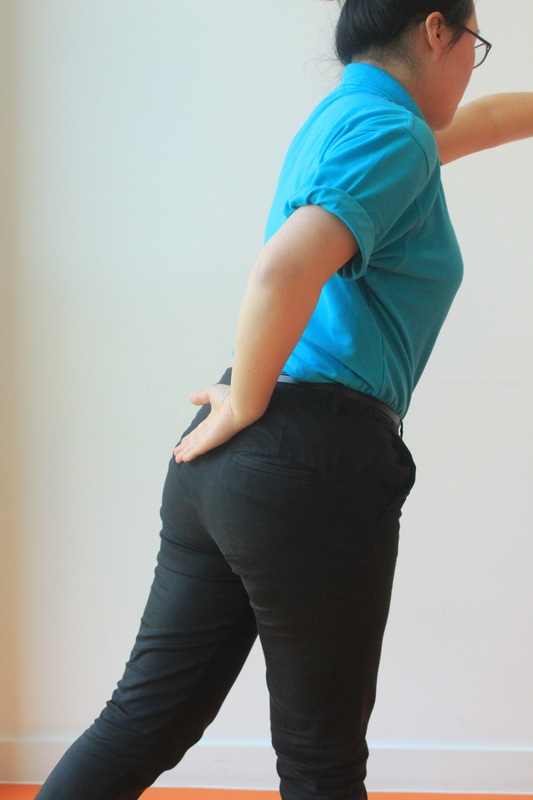
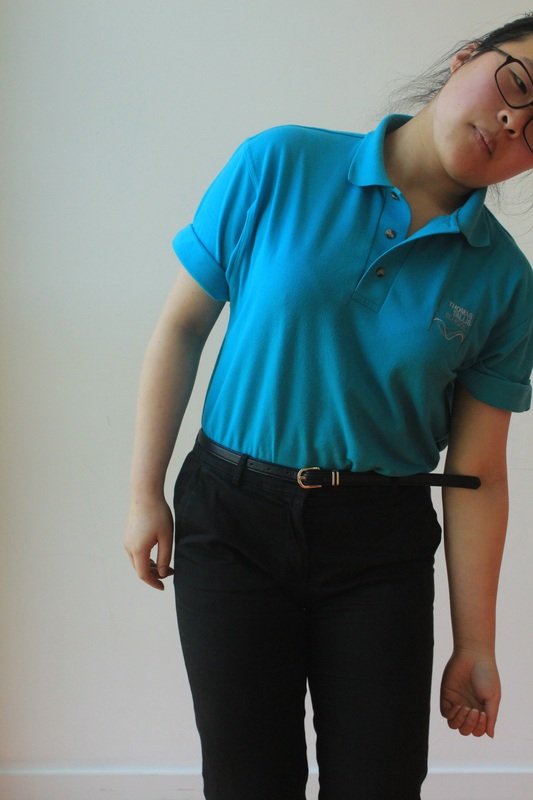
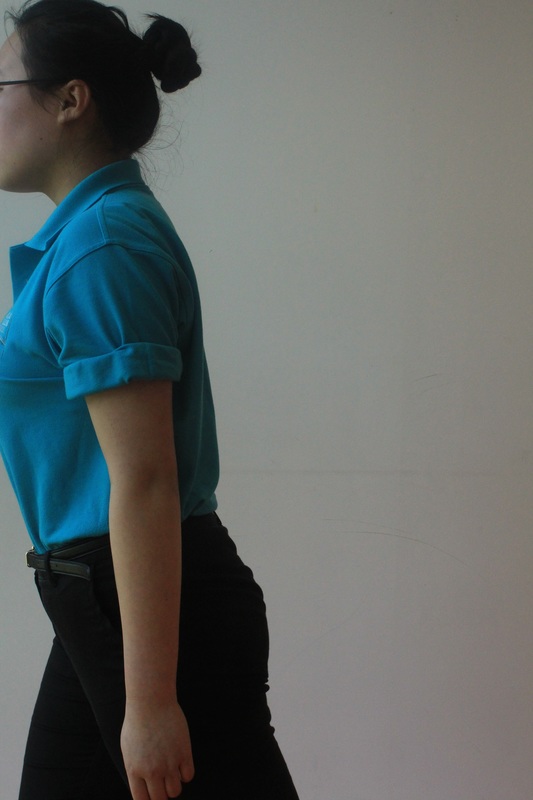

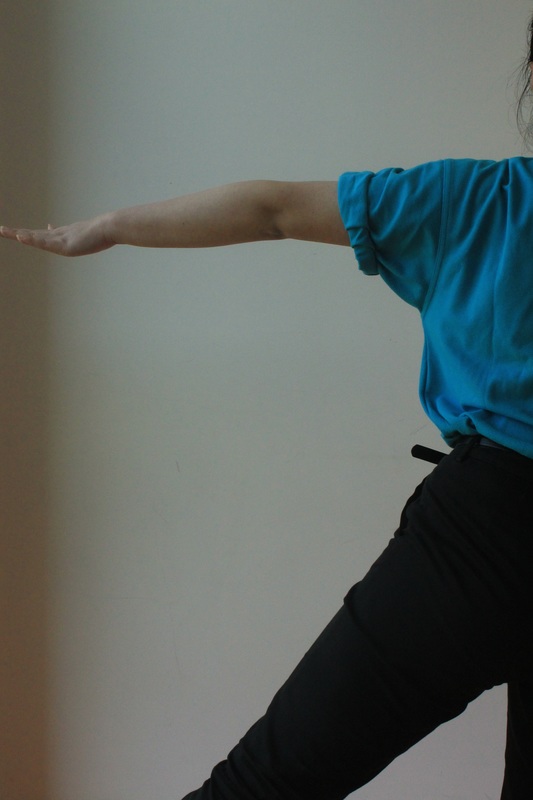
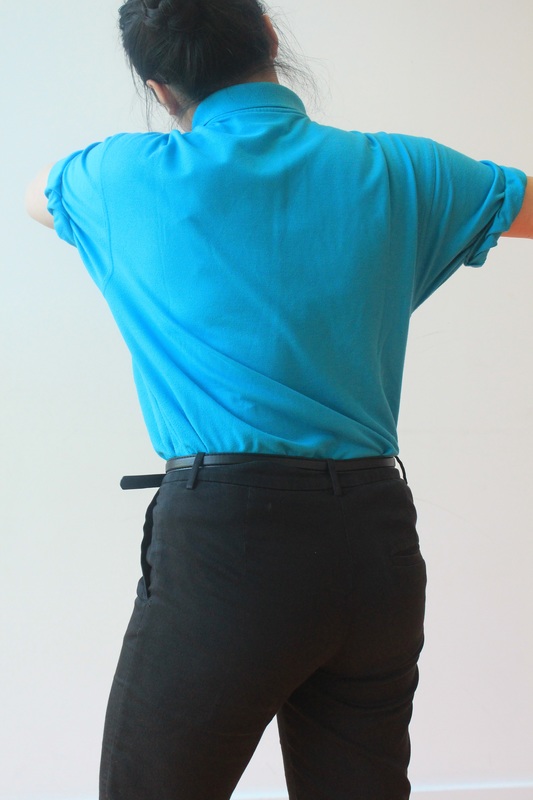
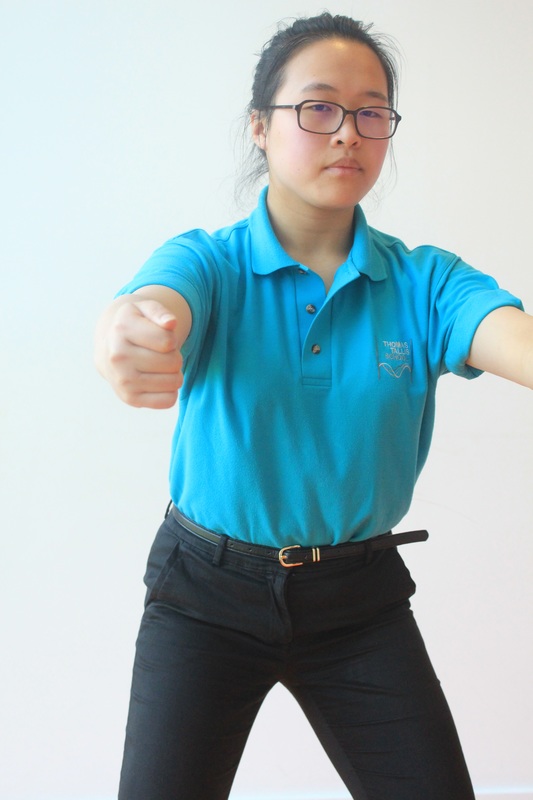
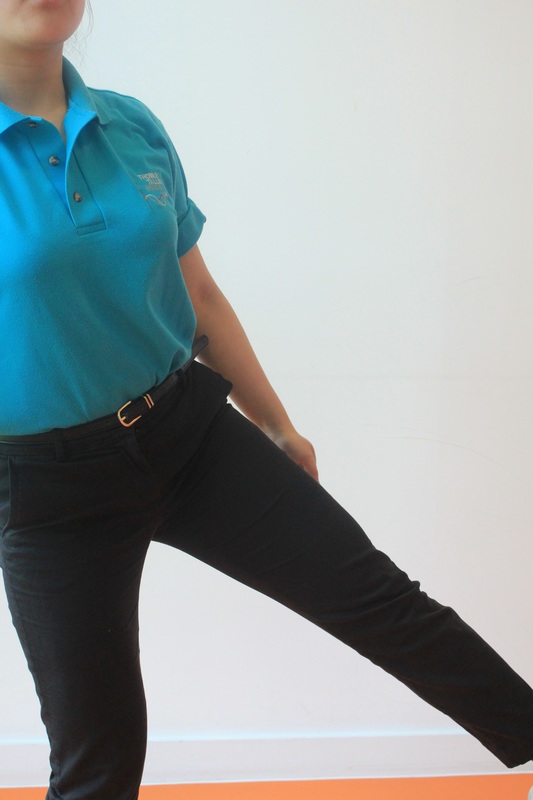
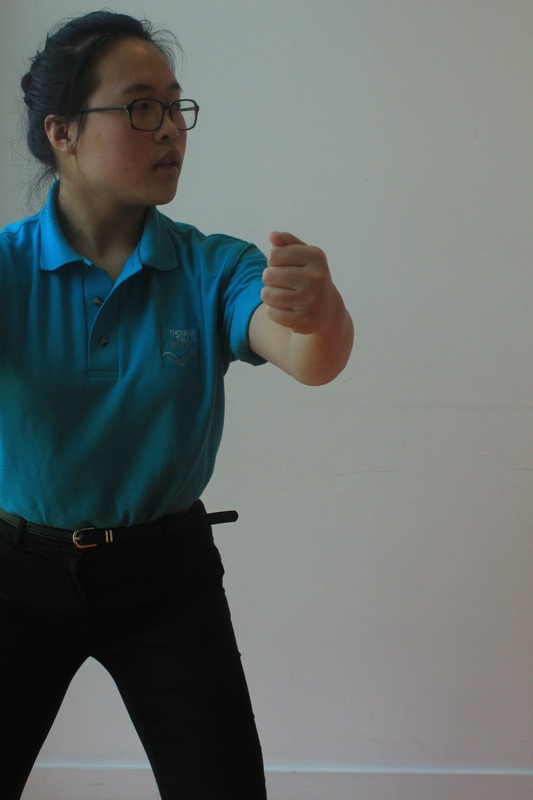
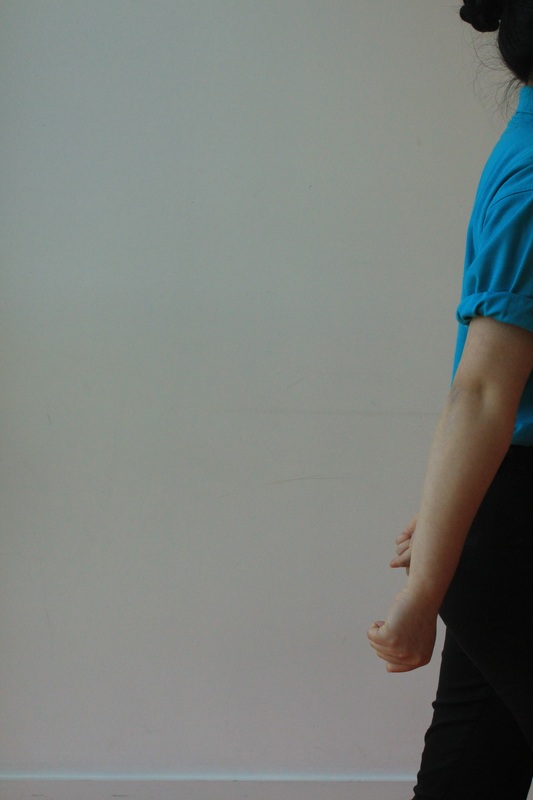
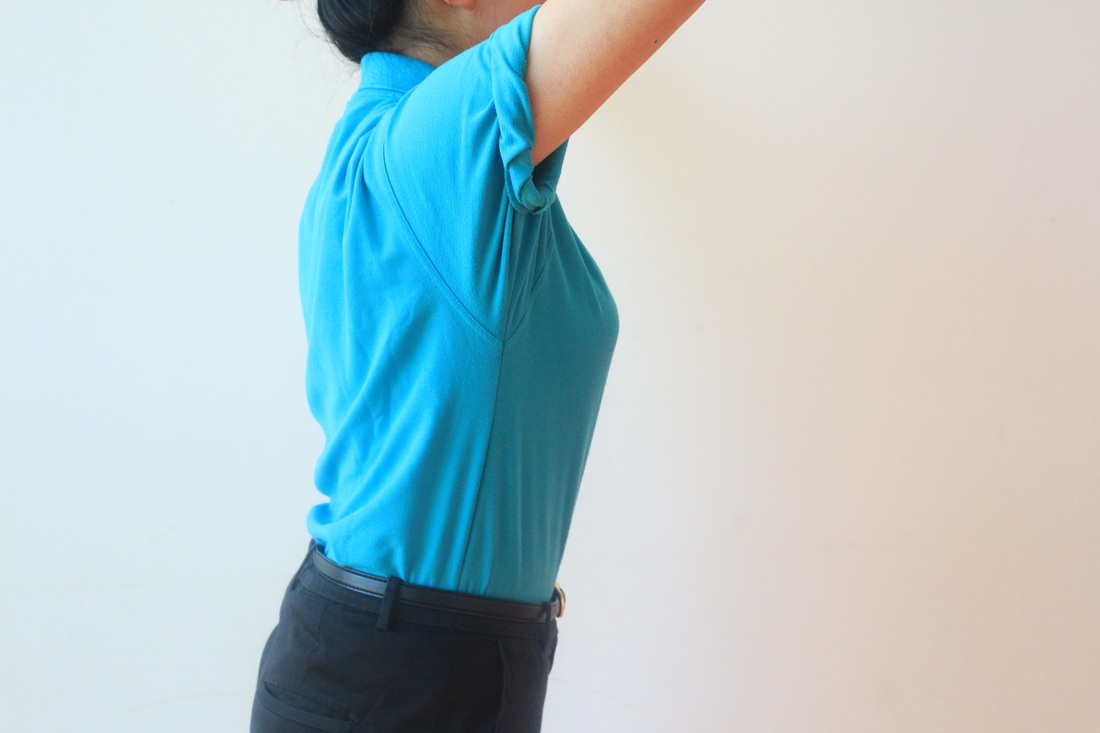

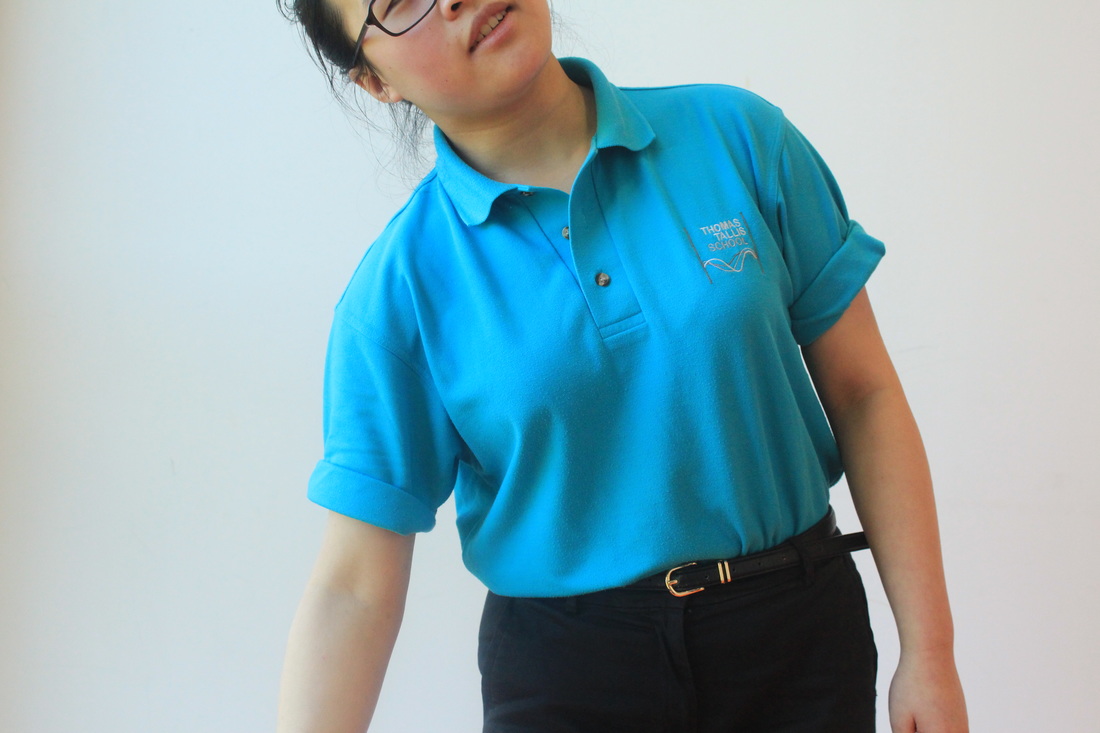

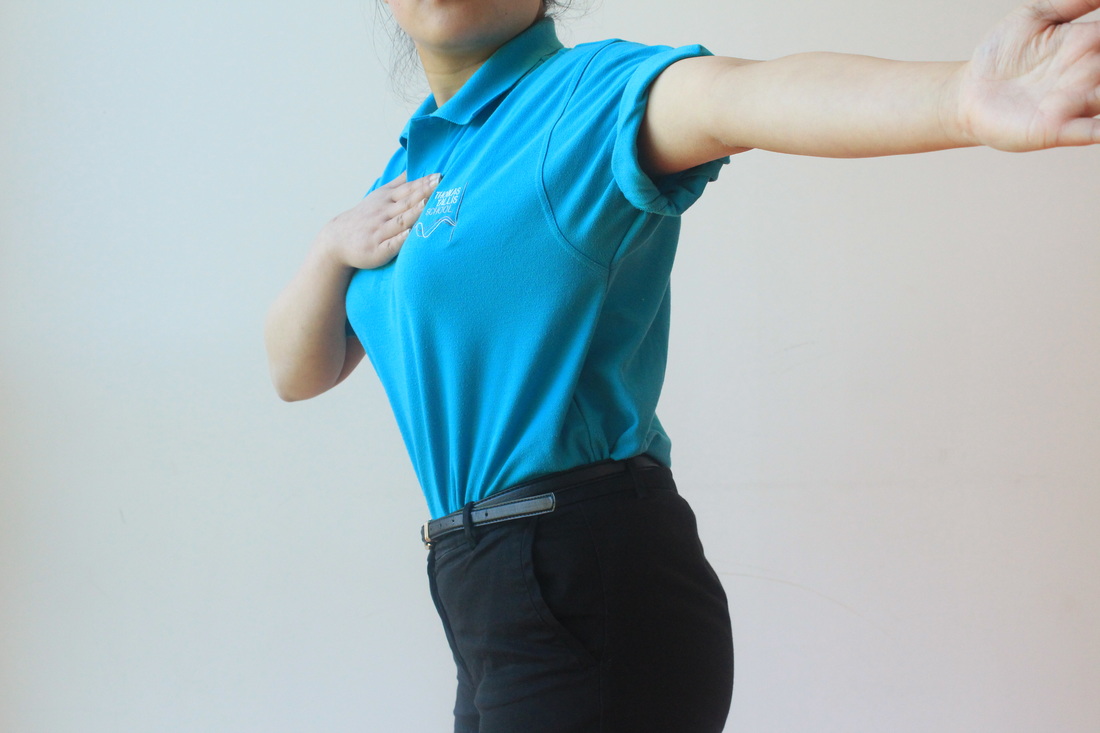
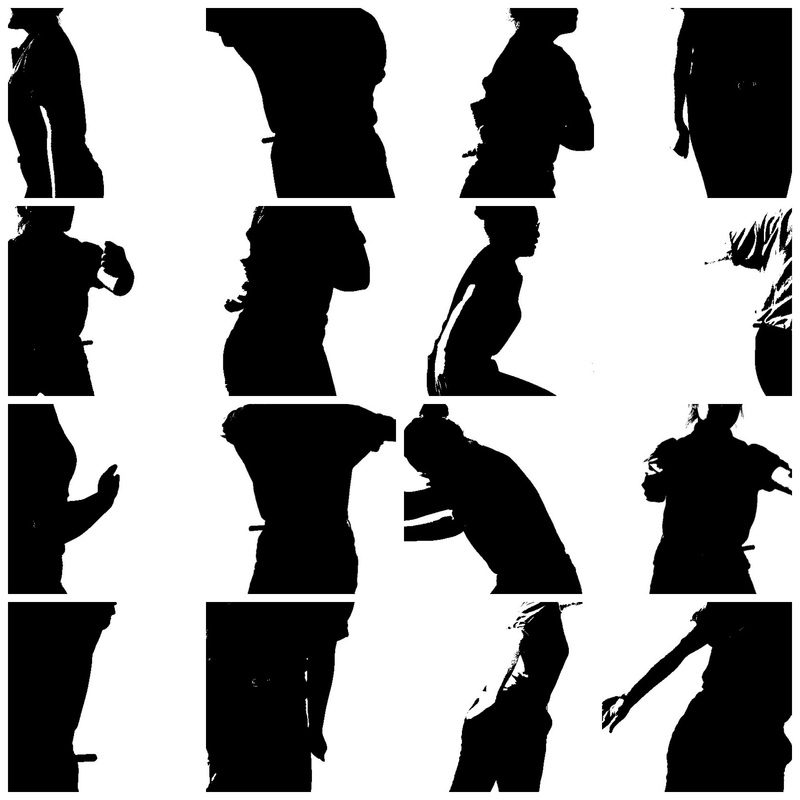
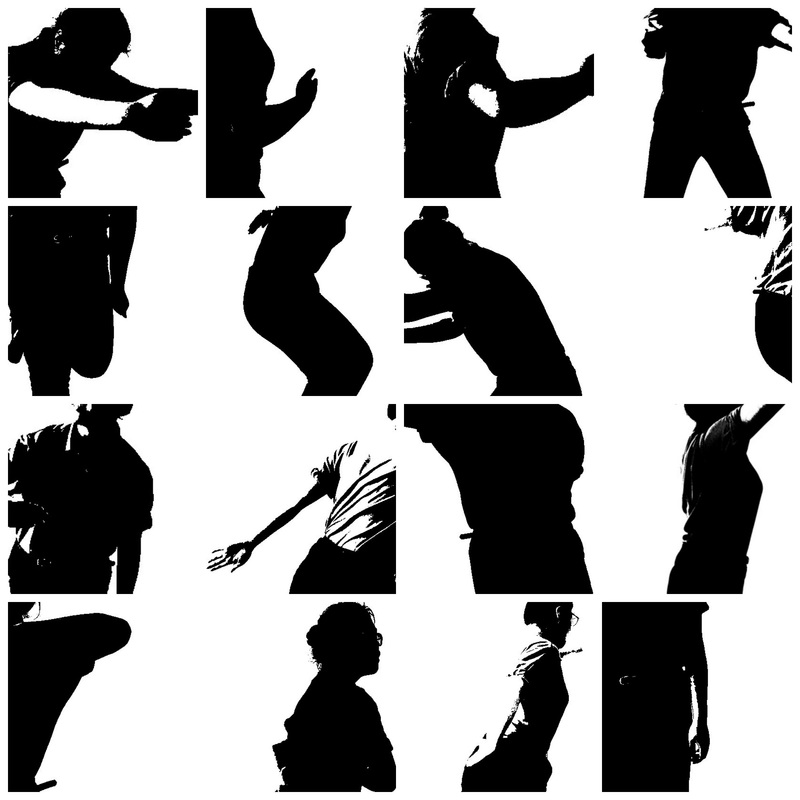
To complete this experiment, i asked one of my peers who takes dance as a GCSE to perform one of her dance routines whilst I captured various mages. I asked her to dance so that she was not thinking about the individual positions she was in, to distract her from the face that i was sitting in front of her with a camera. if i has asked her to just do random poses then she may have become uncomfortable and the images would look stiff and there would be less variation in stances. Because the model was constantly moving, i increased the shutter speed in order to gain a static image and to insure that the image would have been in focus. I love how i have managed to capture such a range of different and unusual poses. Each pose is different and tells its own part of a story. I took these images against a white background that has quite a good source of natural lighting, in order to try and increase the contrast before the editing process. I captured images of fragments of the models body, for example just the torso in order to create a fragmented image.
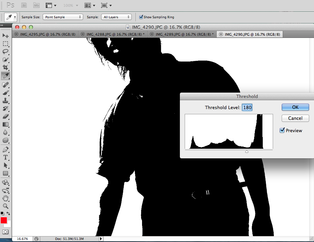
Photoshopped images. |
Step 1- Open the photoshop application. Step 2- Press, file - open, and select the photograph you would like to edit. Step 3- Press- Image-Adjustment-Threshold Step 4- Adjust the threshold level, in order to change the contrast to the desired effect. |
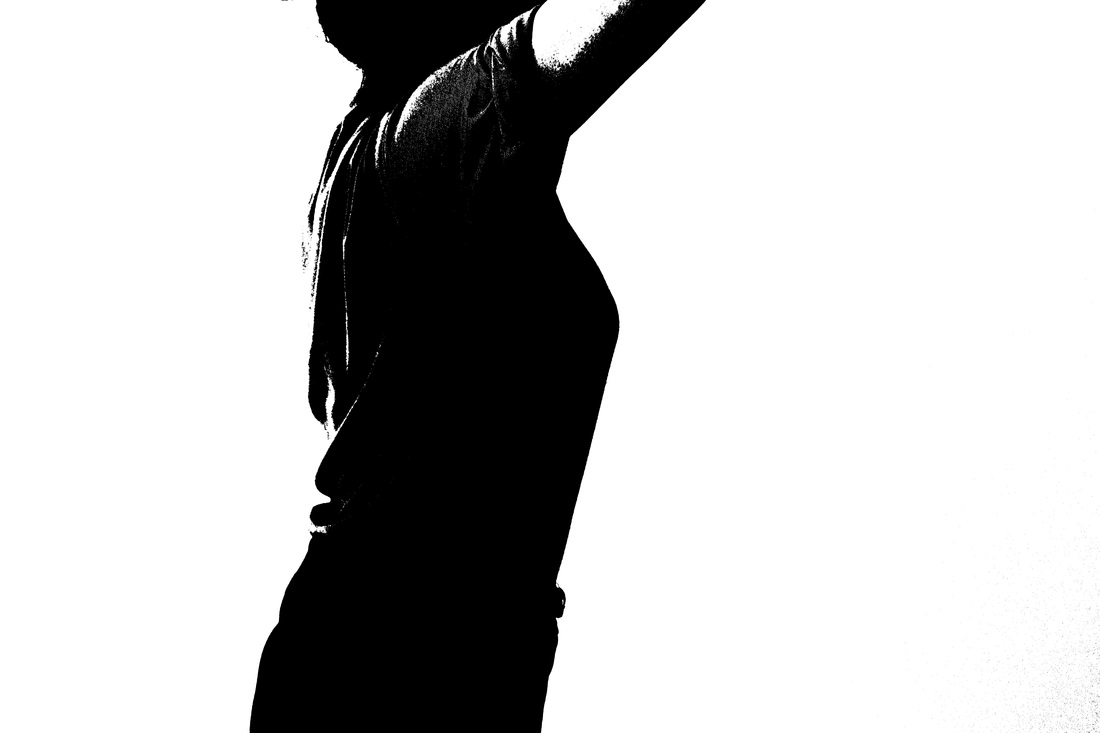
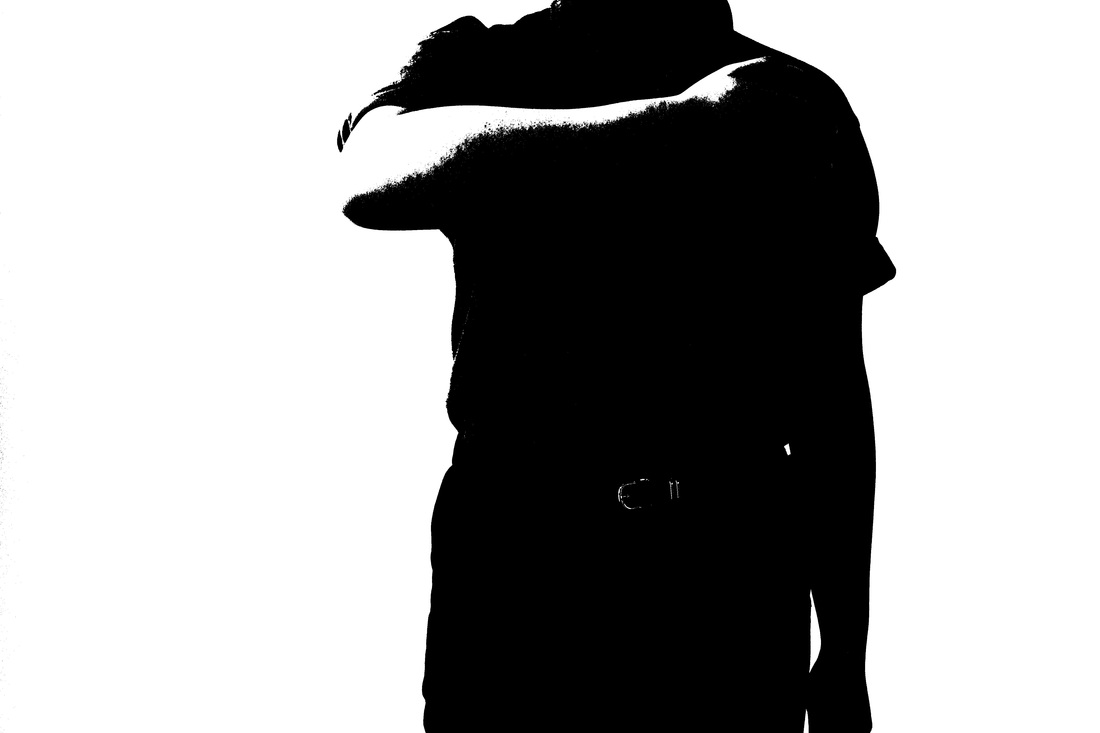
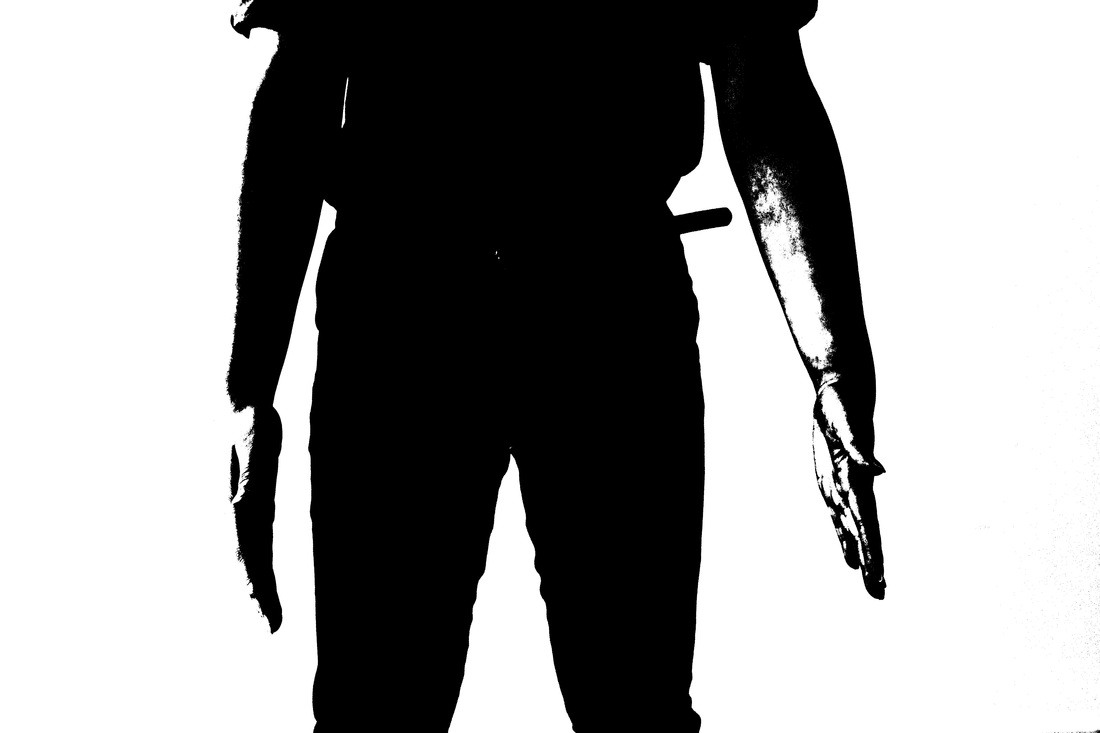
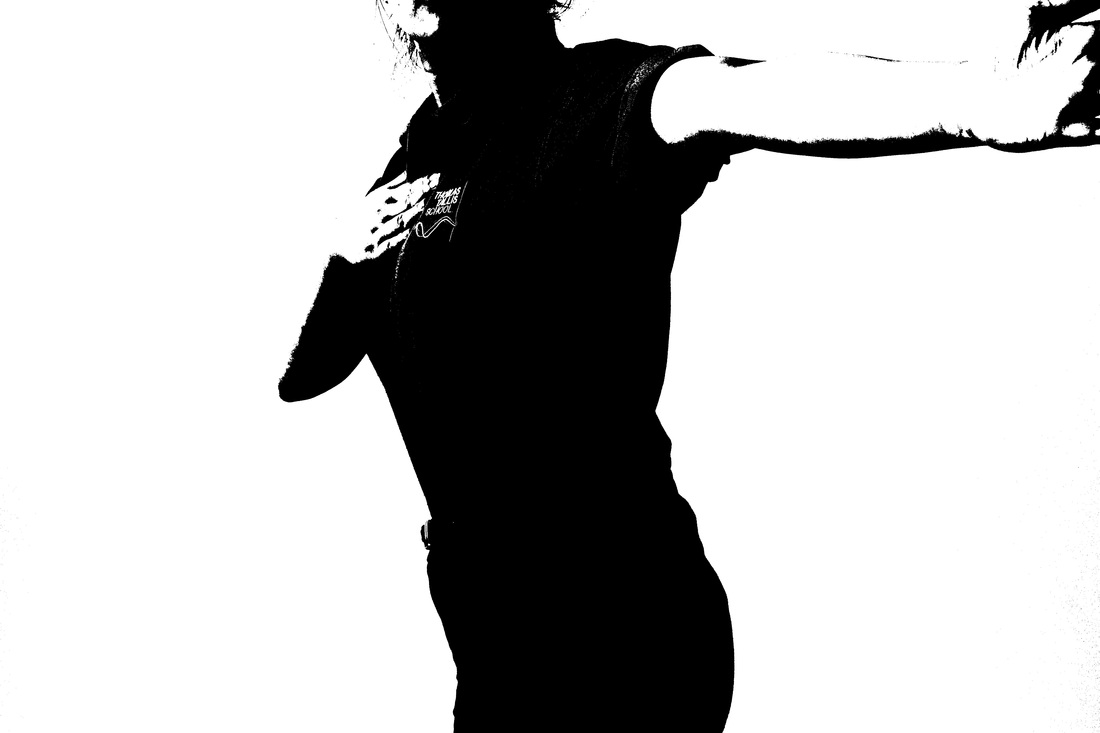
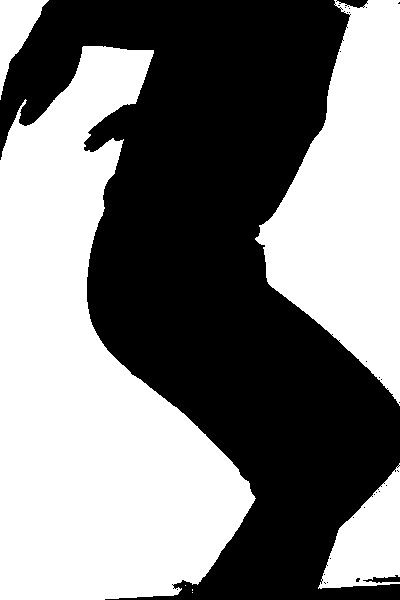
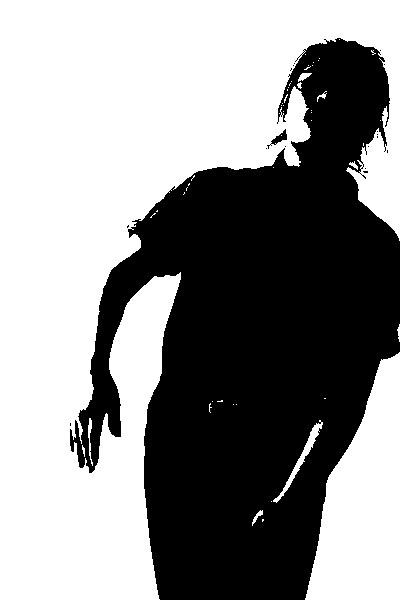
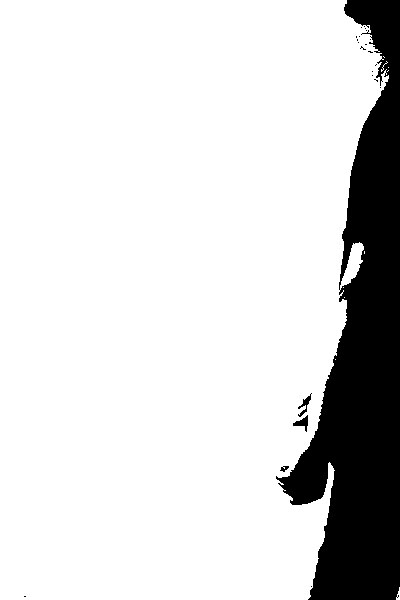

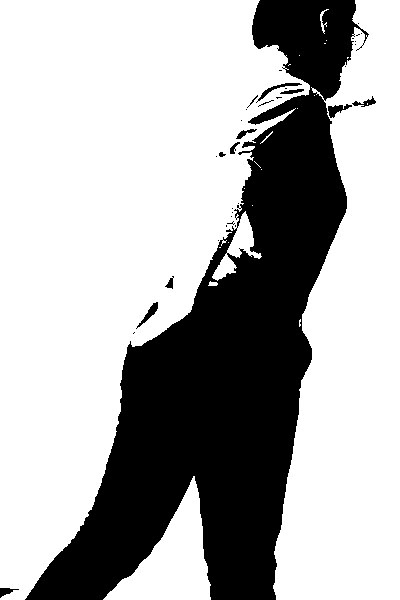
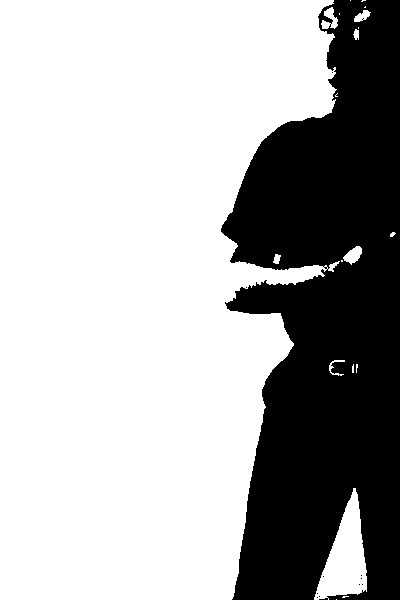


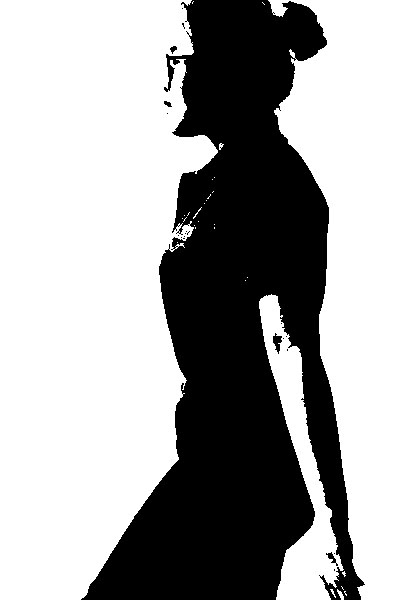

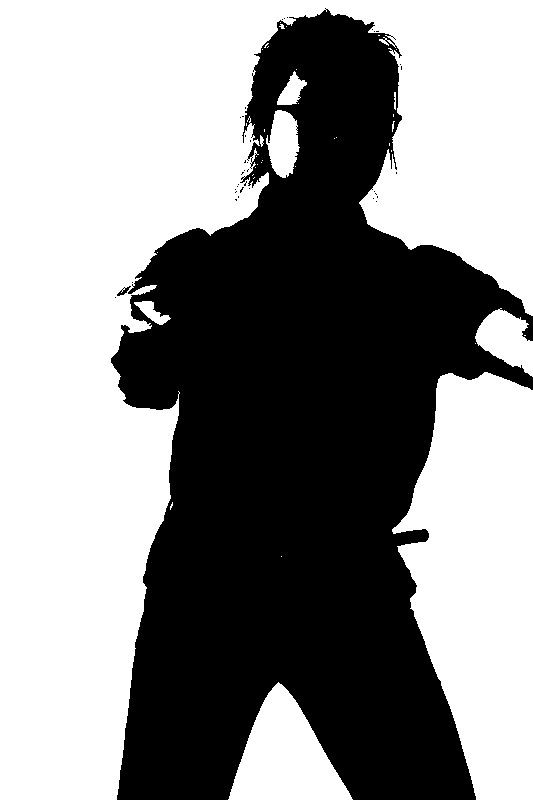

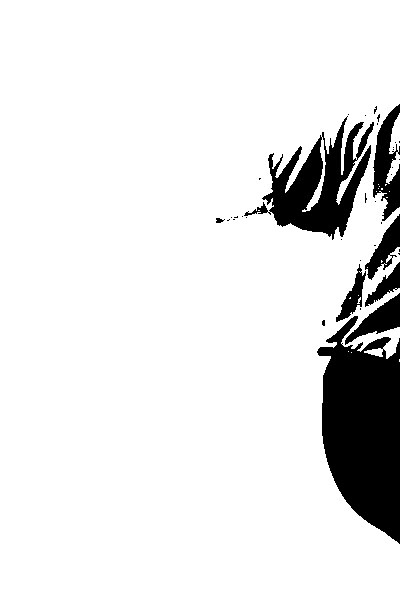


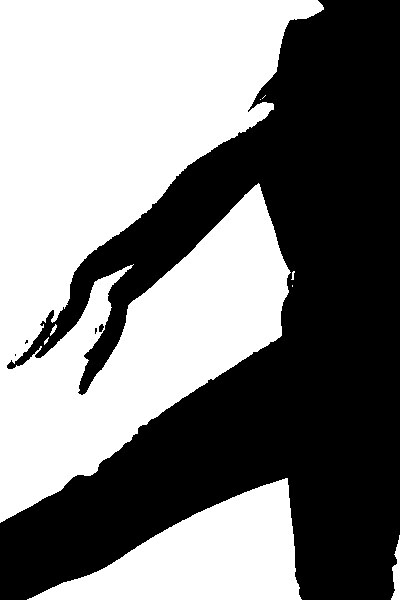

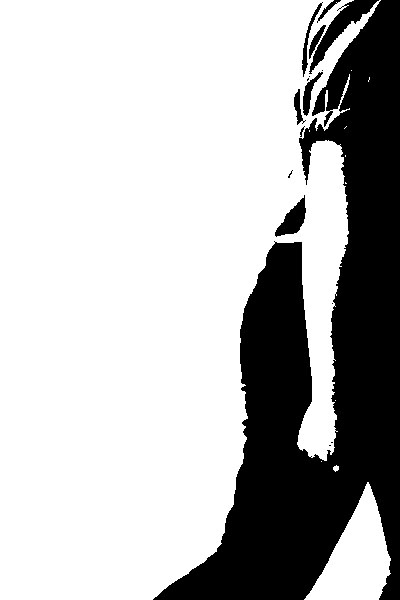
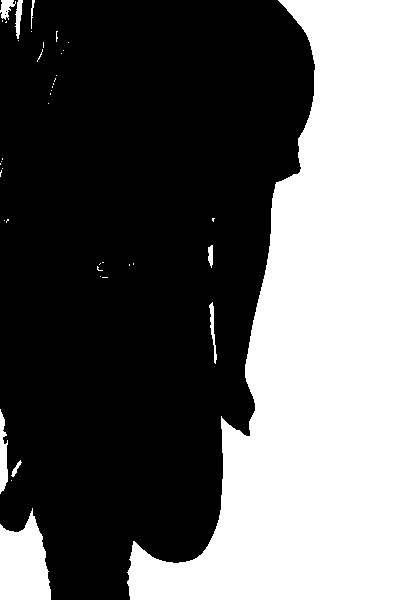


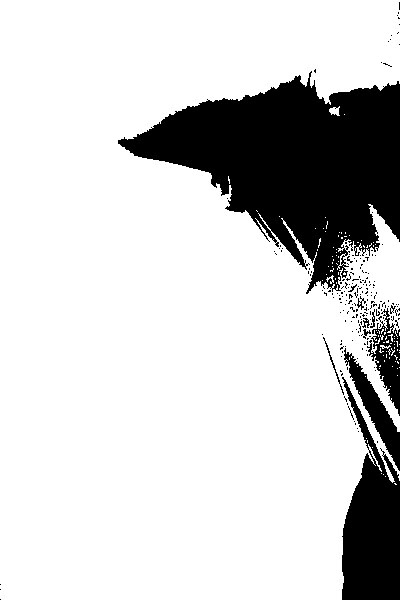
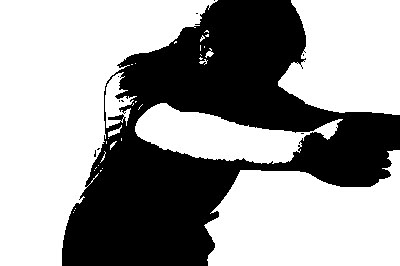

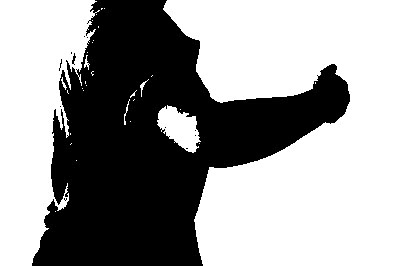
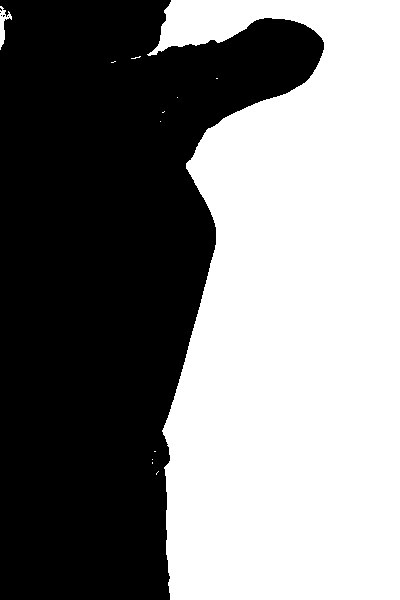
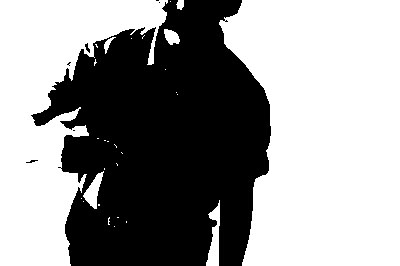

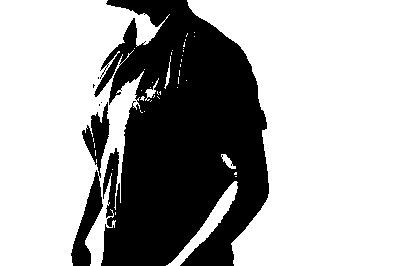
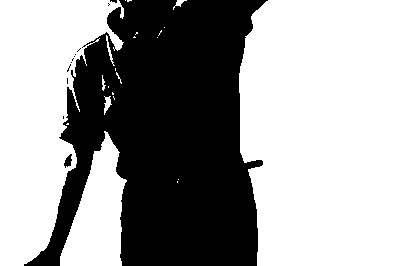
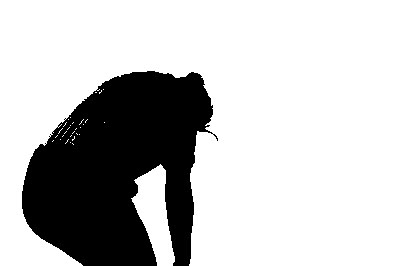

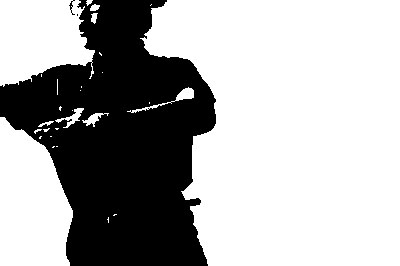
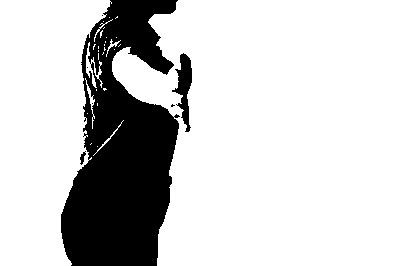
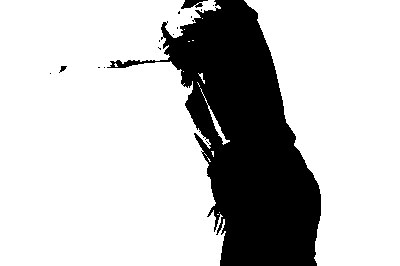


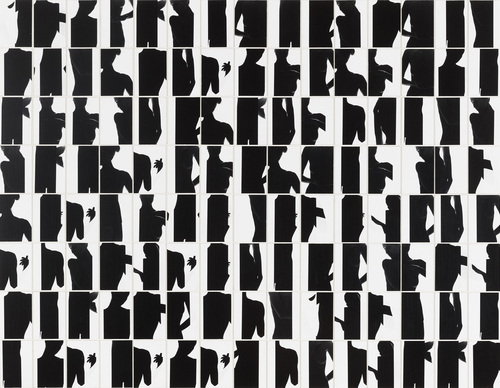
Using Photoshop, I used the threshold tool to adjust the level of contrast with the images. I increased the threshold as much as i could before the background began to darken. I feel that these images were highly successful as the subject of each image has been boldly highlighted to show the bulk outline of the subject. This stark contrast has allowed for emphasised lines to be created within the images. The unusual shapes from the models dance really fills the negative spaces within the images. To develop these images i am going to try to mix the images in a large grid to give the same visual effect as the composites made by Ray Metzker.
|
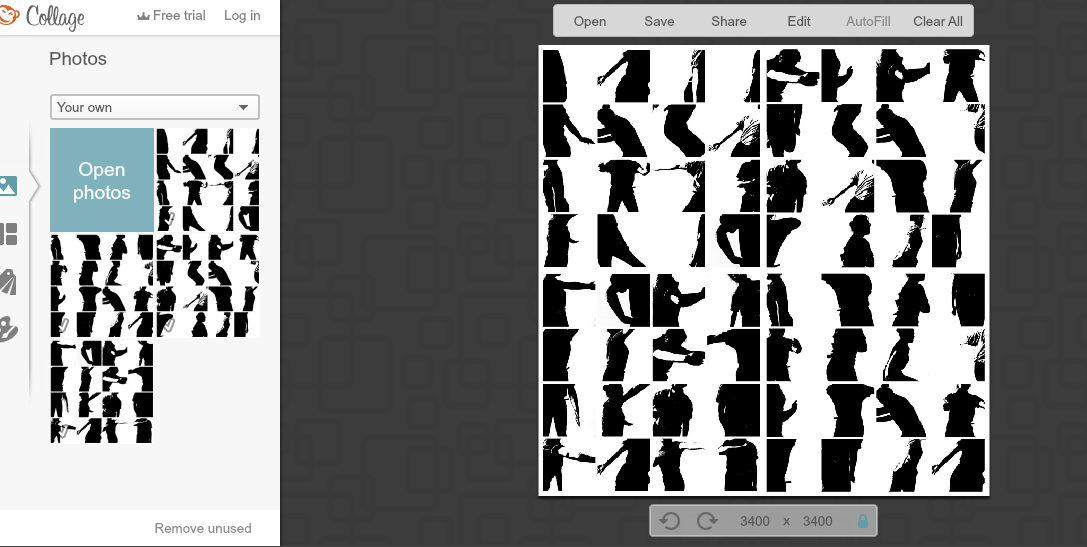
Using the Editing website, Pic monkey, I uploaded and placed all of my images randomly onto the grid into random places. Once they were all placed, i rearranged the images to form a specific pattern. I made 4 individual grids, and then saved each grid. I used 4 square grid to put the 4 previously made grids together on a larger template, in order to form one larger more detailed template containing small frames of the original images. |
Forming the grids
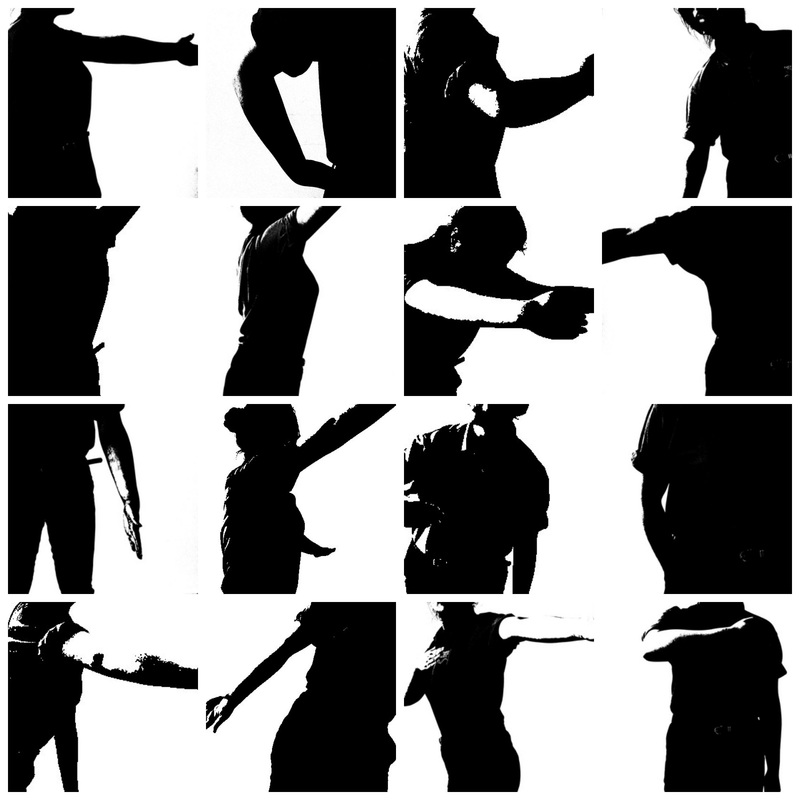
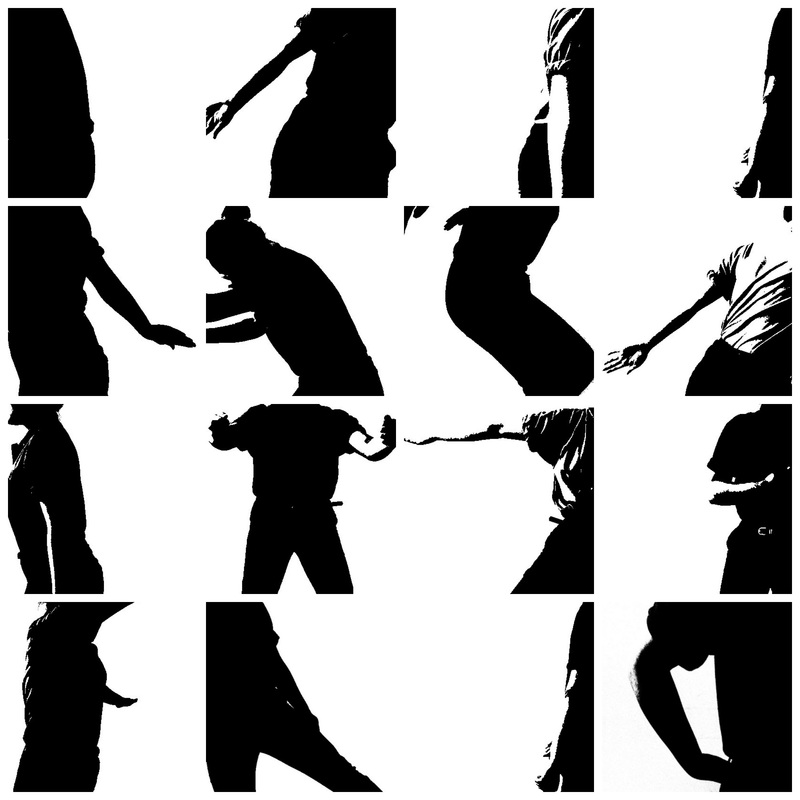
I made 4 individual 4by4 grids, using each edited image from the original photo shoot. I also really like the fact that within each grid the different images have different light exposures, meaning that some are lighter than others and some are darker than others, this means that within each grid there is a range of tones and textures visible.I really like how these image turned out, in the fact that from a distance the images look like a random pattern, it is not until you look closely at the image, that you realise the grids are made up of fragments of individual body features, for example a torso and an arm. To develop these images I would like to create a larger grid made up of some of the smaller grids, in order to make the images seem more busy and this will allow me to create a more intricate pattern, in which it is more difficult to seethe individual frames of the body parts.
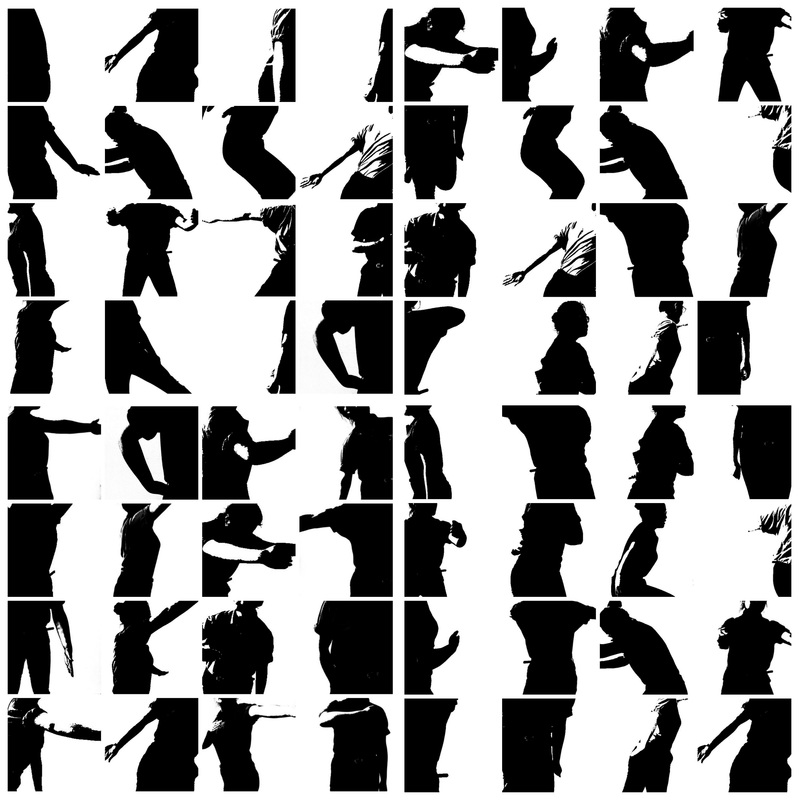
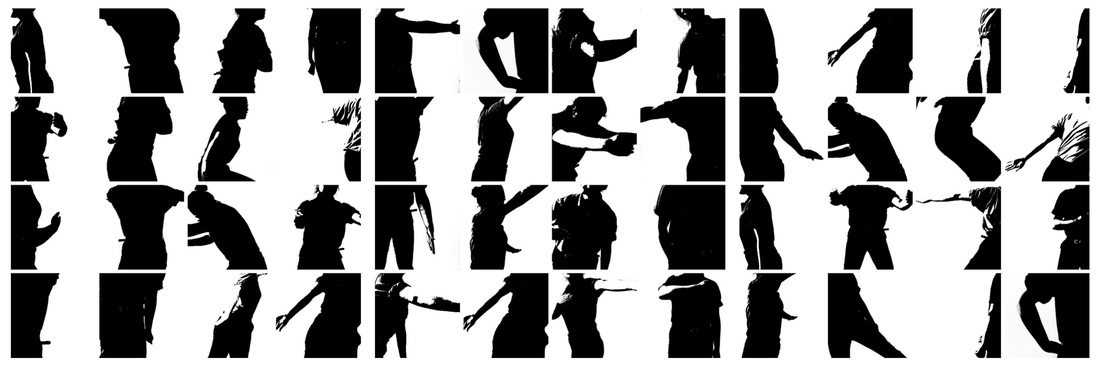
I made two different types of grid, one is made up of three smaller grids, I quite like this qrid because each individual grid can be seen more clearly and it would look nice as a display, however i prefer the larger grid, which i made up of four smaller grid. I love how busy the image is and how the individual frames are less visible meaning you would have to look at the image closer and in more detail for the detailed effect of the image. The intricate detail is less visible and they eye has to adjust to the patterns made up by the whole mixture of the frames, in order to fully see the mystery behind the creation of the patterns. in total the larger grid is made up of 64 individual frames. The smaller grid is made up of 48 individual frames. For both grids there is such a strong level of contrast, with a range of tones and textures. These individual frames have formed a story within the grid and by doing this they have also added a vast range of lines within the grid.
2nd Final Piece


For my second final piece, I am going to use these four 4by4 grids. When displaying these images i am going to display them in a larger grid. These images are going to be printed in a3 so that the images are quite large, and then i am going to stick them in the 4 square grid to display them. This way the piece will be as large as i can get it. If I was to print the 8by8 grid then the image would not be as large. I like the fact that within each image, there is a bold black, a bold white and not much in between.
Unit 2 Evaluation.
Within Unit 2, I have decided to work with the theme of Outline. I chose Outline due to the vast opportunities for experimentation that presented itself when reading the overview of the topic. When first being presented with the Exam Paper, I was immediately drawn to the outline topic, I was able to think of a range of initial ideas that would get me started within this project. I knew that would be able to create a varied range of experiments using a range of technology. When brainstorming my initial view points of outline, I realised that there can be multiple interpretations of the general outline, for example, Each object has a general outline when in two dimensional form, however when in three dimensional , there is one continuous outline that has no prominent beginning and no distinct end. When investigating this theme, i knew that this theme would force me to step outside my comfort zone.
The artists that i researched that influence my work the most, were Ray Metsker and Man Ray, I feel that the style of their photograph had a strong impact of the outcome of my final pieces, I was able to use the similar characteristics within their photographs that I evaluated during the beginning stages of the unit and incorporate them into my ideas in order to produce the images that I did, Without their research i feel that my final outcomes would have been nowhere near to the standard and quality that my current pieces are. The their Artists that i researched, Greg Sand and Bill Beckly did also have an influence on my work however not to the dramatic extent that the two previously mentioned artists did.
Throughout the Outline theme , I have developed the idea of accentuated and highlighted outlines, in which the subject of the image can be emphasised against the background of the image, Primarily throughout my project I have used the human outline, however my research on Bill Beckley allowed me to understand the visual differences when using a flower, rather than a person. In order to develop the outline as a dominant feature within each series of images i used multiple different techniques, for example, I made multiple series of images working with solarization during the beginning of the unit. This was my favourite series to work on, I really enjoyed the use of the dark room and being able to re-create historical discoveries within the photography world, as well as in general I really love working with film cameras and the negatives from the film camera which i was able to do within this series, as the initial images before they were refined, were taken using a minoltafilm camera, using 35mm black and white film. I really liked having a hands on approach within the solarization as it allowed me to gain a deeper understanding for the technique, as well as allowed me to know the different alterations I can make to my method in order to create the ideal outcome, For example a longer exposure time, which would create a stronger contrast between the white outlines and the dark background. After being told and researching the circumstances in which the solarization images were created, ( whilst developing film images, a rat ran over the foot of man rays wife, lee miller resulting in her turning on the lights in a panic) I decided to put myself in that situation, counting how long I initially left the light on for in order to create a rough starting point for the method of my images
. I made sure that I scanned and uploaded the failed images as well as the successful solarization images to my website so that i would be able to evaluate and see what I would have to change to improve these images. I was also able to not just change the method to create a better image, but i also ran experiments using different paper types, and how the different characteristics of the paper would change how the image would show up.
I also followed the development of the outline of the images in other series within my project, for example, following my research of Ray Metsker, I decided to experiment with the creation of composites. I was able to create harsh silhouettes, in which the outline of the subject stood out boldly against the white background, using the threshold tool on photoshop. I really enjoyed creating the composites as I was able to experiment with a new tool on photoshop, as well as I was able to customise the layout of each individual grids using an online photo editing software called 'PicMonkey' to give it the specific effect that I had aimed for. I have made a concious effort to encourager at least one dominant feature within any series of images. I found that having a dominant outline within an image allowed the introduction of new tones , textures and line to the image, as well as giving the image a focus point to which the eye is drawn. Furthermore this adds contrast within the images. When taking the images in the studio, that i later refined and removed the main figure of the image and filled it with a coloured fabric, I used the lighting equipment in order to create the shadow effect around the model within the image. For the studio images I used a Digital camera, as this was the form that i felt would give the clearest image, as well as the digital camera was easily accessible and i was familiar with using the digital camera meaning the capturing process was quicker, only changing aperture of the camera and the composition of the studio lights was necessary before and during the photo shoot.
Overall I feel that throughout this Unit 2 topic, I have managed to develop further a wide range of skills as well as introduce and develop new skills that i have not previously been introduced to in past topics. This topic has introduced me to a new passions within photography, film photography, and solarization. I was able to use a vast range of media and techniques in order to create the outcomes that I did. I created two fully refined and developed final pieces which I am really proud of. I would have liked to make more final pieces but due to the time I spend refining these images and the number of weeks I previously spent creating different experimentations, I was only able to make two, however I am proud of these final pieces and am confident in submitting them. I feel this Unit has been my most successful project, I have been able to answer the question given to be and represent the outline theme, whilst still being able to step outside my comfort zones and try new things in which may be useful to me in the future, The ability to step outside my comfort zones has allowed me to explore new sections of the outline theme, for example, the philosophical side of outline, the different ways in which an objects outline presents itself.
